
Prev
1 / 9
Next
 Trek Gears Tips & Reviews
By Preetam Singh Rawat|Feb 19, 2026
Trekking Backpacks To BuyWe’ve covered you when finding the perfect backpack for your upcoming trek! 😊 We’ve compiled a list of top-notch backpacks that will meet your needs, whether you’re embarking on a 4-day or 10-day adventure. 🏞️ We understand that choosing the right backpack can be overwhelming, so we’ve taken the liberty of surveying seasoned trekkers to get their input on their favourite backpacks. 🤔 And guess what? Most of them have been using backpacks within the 40L-60L volume range! 😱 This is great news for you, as it means you don’t need to invest in a massive 90L backpack. Instead, a 60L backpack will be enough to sustain you throughout your trek while encouraging you to pack only the essentials. 💰 So, without further ado, here are our top picks for the best backpacks for your trek. Happy reading, and we hope you find the perfect backpack for your upcoming adventure! 📚 Before we delve into the purchasing guide, we suggest first-time trekkers consider renting equipment. This way, you can obtain high-quality backpacks at a significantly lower price. However, if you are a frequent trekker and wish to invest in a trekking backpack, here are the finest options available. Please remember that: The MT 100 Backpack is a well-liked choice for hikers due to its ability to meet all the requirements for an ideal backpack – Durable, lightweight, small in size, and comfortable to wear. With a price of approximately Rs. 5000, this backpack is one of the more reasonably priced options. Although more extensive backpack options are available, the 50 L capacity is ideal for a trek in the Himalayas. The MT 100 Backpack is a well-liked choice for hikers due to its ability to meet all the requirements for an ideal backpack – Durable, lightweight, small in size, and comfortable to wear. With a price of approximately Rs. 5000, this backpack is one of the more reasonably priced options. Although more extensive backpack options are available, the 50 L capacity is ideal for a trek in the Himalayas. The Alpine 55 backpack series by Wildcraft offers durable and reliable trekking bags at an affordable price point. These backpacks are designed to be sturdy and compact, making them an excellent investment for frequent trekkers, especially at around Rs 6000. Our trekkers find the Forclaz 50 backpack very popular, as it meets all their needs. It is lightweight, has a compact design, and features convenient pockets. For Rs 4000, it is one of Decathlon’s most reasonably priced bags. The 60-litre rucksack, which is slightly pricier, stands out with its distinctive top and front-loading design. Created explicitly for outdoor treks, it focuses on even minor details. An ergonomically designed airway back system provides improved support and flexibility through adjustable straps and a curved belt. The price for this rucksack is 6599. Now, enjoy your trek with the perfect backpack!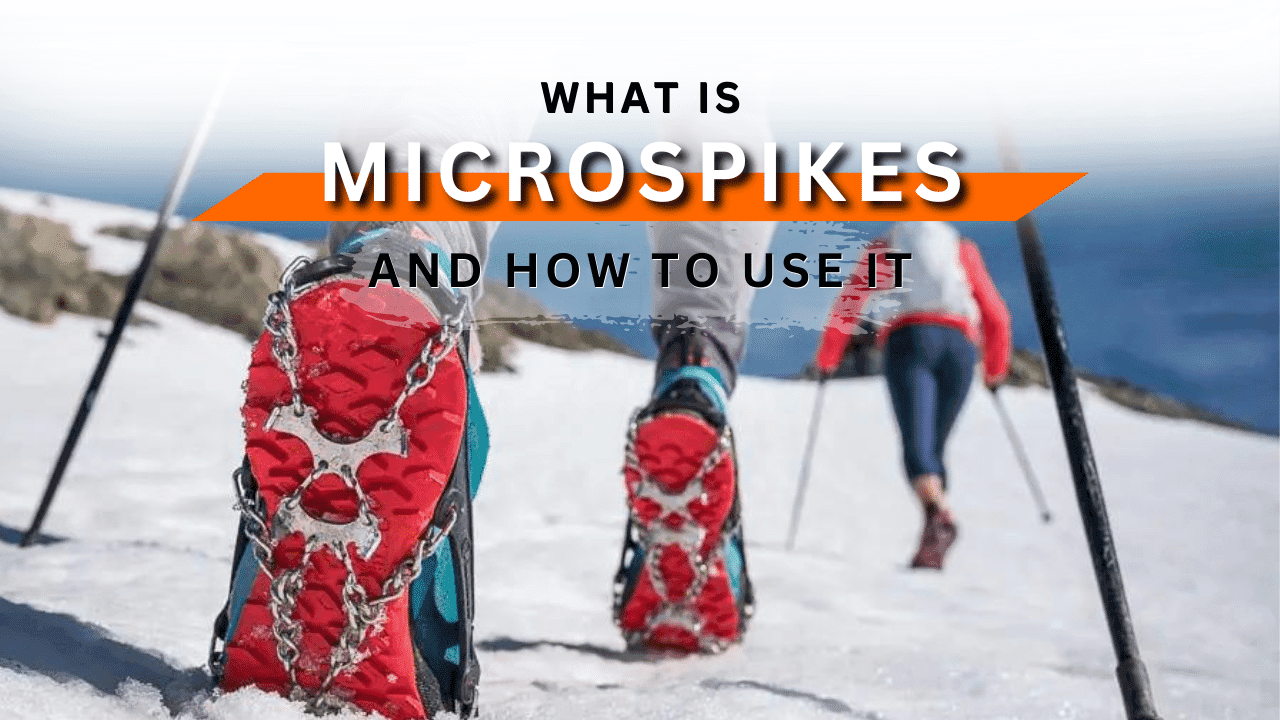 Trek Gears Tips & Reviews
By Adhish Bhandari|Feb 19, 2026
What are microspikes and how to use itMicrospikes are small, lightweight, and flexible traction devices worn over the soles of your shoes or boots to provide extra grip and stability on snow and ice during trekking, hiking, or other outdoor activities. They are typically made of rubber or elastomer and feature small metal spikes or cleats on the bottom for added traction. The use of microspikes in trekking can provide many benefits, including: Overall, using microspikes during trekking can provide extra safety and comfort, especially when navigating icy or slippery terrain. Click here for upcoming treks Trek Gears Tips & Reviews
By Adhish Bhandari|Feb 19, 2026
What Is Gaiters, How To Wear It And Its ImportanceGaiters are protective clothing that covers the lower leg and ankle, commonly used for Snow Trek. They protect our lower leg from getting wet with the snow. With these steps, you can adequately use gaiters for outdoor activities and keep your lower legs protected from the elements. Check Upcoming Treks Here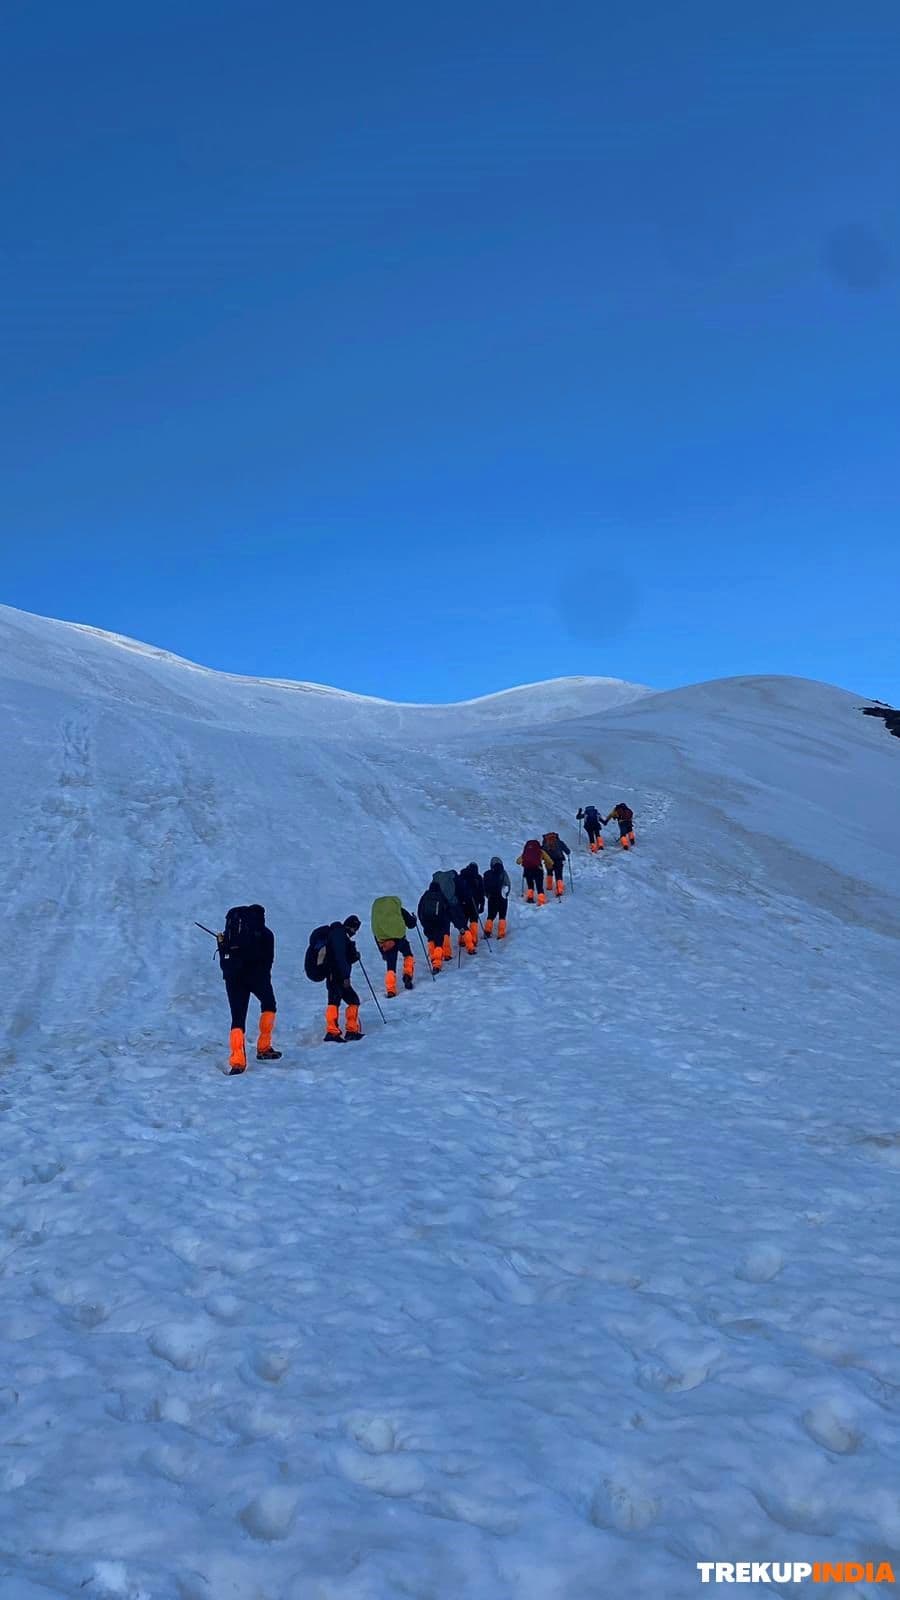 Trek Gears Tips & Reviews
By Nanda Rawat|Feb 17, 2026
Wind Chill on Indian Treks: What Every Trekker Must UnderstandIn the Himalayas in India or in other high altitudes that are exposed Cold temperatures are not the only risk. One of the least understood environmental hazards are the wind chill--a condition that makes moderate temperatures appear dangerously cold and dramatically increase the likelihood of frostbite as well as hypothermia. On TrekUp India, our trek guides regularly monitor trekkers who rely entirely on weather forecasts, and not taking into account the wind exposure. This is a frequent source of discomfort due to cold, and safety concerns during high-altitude treks. "Wind chill" is the perceived reduction in temperature due to the wind's ability to accelerate heat loss from the skin exposed. Although the actual temperature is unchanged, moving air removes that thin blanket of warmth that surrounds the body, causing it appear colder than the thermometer indicates. For instance: At higher altitudes this impact can be intensified by: Mountain passes that are exposed, such as Roopkund the Trek, Pin Parvati Pass as well as Stok Kangri frequently encounter strong winds, especially close to ridgelines and campsites. In winter and during shoulder seasons, the wind chill can cause temperatures to be well lower than safe levels even in clear skies. Some peaks like Kalsubai and Tadiandamol are renowned for the strong winds that blow through them throughout and after the monsoon season. The continuous exposure of open summits can quickly lower body temperatures, which can throw hikers off guard due to the moderate altitude. The Base LayerUtilize the moisture-wicking properties of thermal wear. Avoid cotton since it holds in water and speeds up the loss of heat. Insulate LayerDown jackets or fleece retain body heat and offer essential insulation during periods of rest and cold winter mornings. Outside Shell (Critical layer):A windproof (and most importantly, weatherproof) Shell is your most effective protection against the chill of wind. If it isn't, top-quality insulation will lose its effectiveness. Professional Tips: Most heat loss on treks is through wind not due to low temperature alone. Moisture significantly increases the impact of wind chill. Even clothing that is lightly damp can result in rapid cooling when exposed to wind. The best practices are: These methods are based on repeatedly observed observations by TrekUp India trek leaders operating throughout Himalayan as well as Western Ghats treks. Wind chill is among the most under-appreciated but crucial issues faced by trekkers within the mountainous regions of India. It is a rapid process that can transform the weather that is manageable into a significant danger to safety by increasing the risk of losing heat, feeling numb, and the possibility of injuries caused by cold. Knowing how wind chill affects you and making sure you are prepared for it by layers, wind protection and timely insulation can make the difference between having a safe enjoyable, enjoyable hike and an unsatisfactory experience. TrekUp India is a company that focuses on TrekUp India, we emphasize active preparation, as the ability to survive in the mountains starts by being aware. Being prepared does more than increase comfort but also the safety, confidence and overall experience.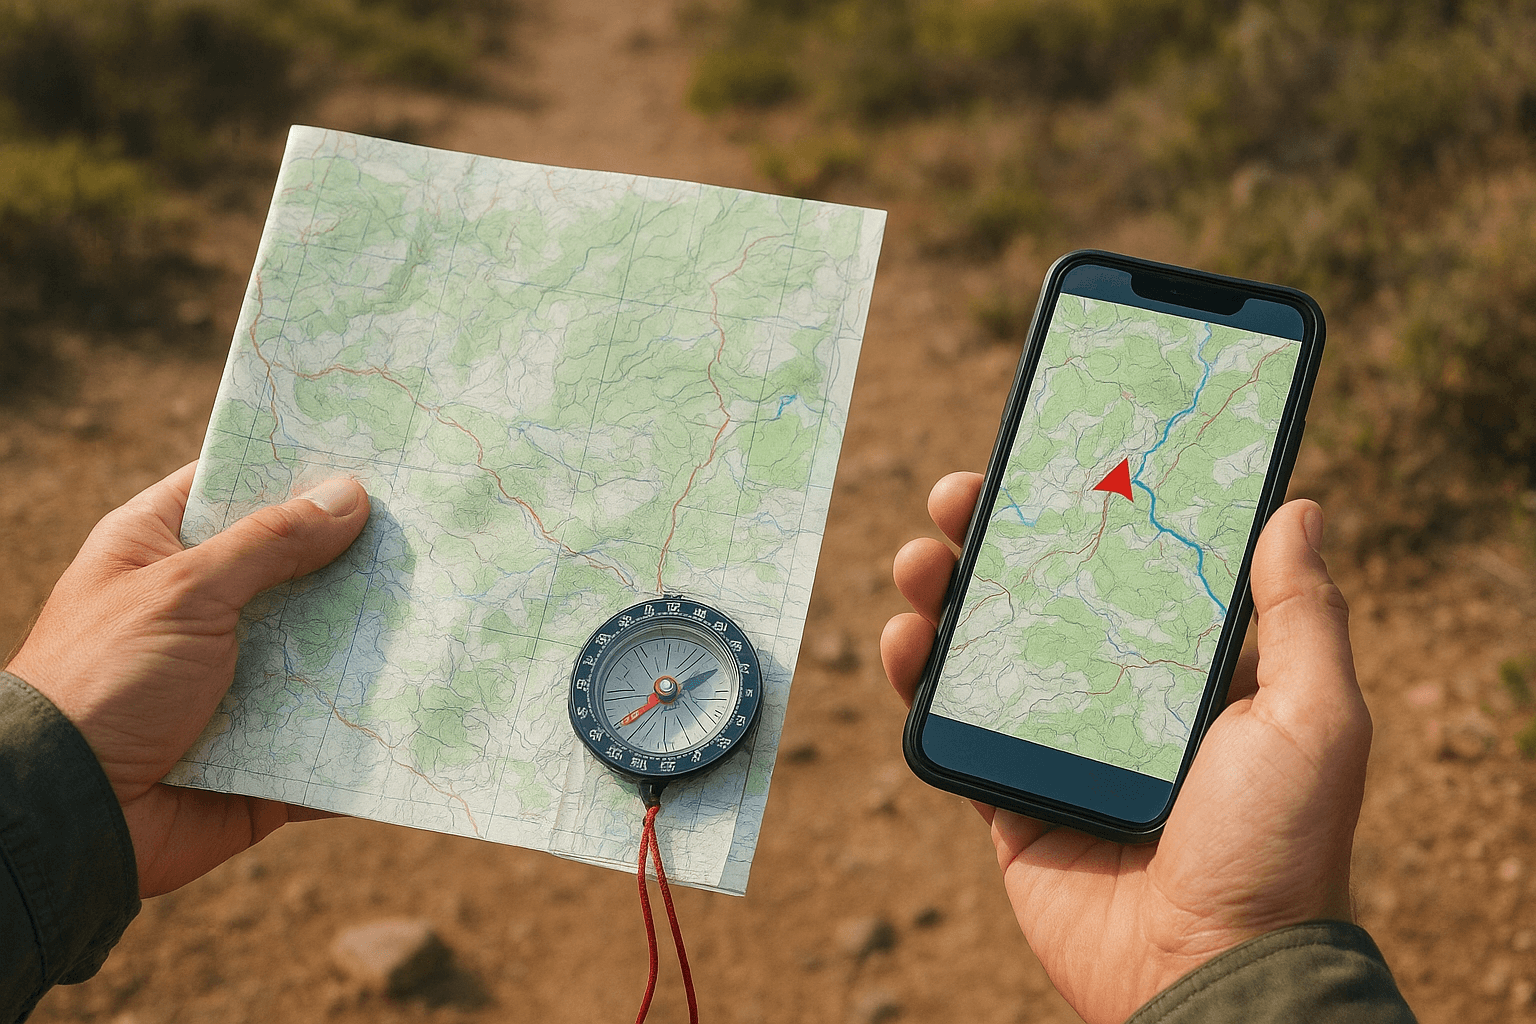 Trek Gears Tips & Reviews
By Nanda Rawat|Feb 17, 2026
Navigation Basics for Hiking: Map, Compass & GPS Apps (Offline)In India's wilds, whether traversing high Himalayan passes and the dense Western Ghats forests or remote central Indian landscapes--requires more than physical strength. Navigation is among the least-known but essential abilities required for trekking particularly when trails are hidden by fog, snow or thick forest cover. On TrekUp India, trek leaders have seen time and again that hikers who are familiar with maps as well as compasses and GPS offline tools are more comfortable save energy, and are more responsive to unexpected events. Navigating knowledge eases anxiety, helps avoid dangerous detours and enhances the safety of Indian trails. Numerous trekking routes in India: Strong navigation skills help trekkers: Navigation isn't about speed. It is about safety and control. The Topographic maps is the basis of a secure navigation. Always keep always carry a printed map of the outdoors in a bag that is sealed. Note your routes and campsites ahead of time and keep track of your progress throughout your trek. The compass does not require charging and is able to work in any condition. This technique is invaluable This method is extremely useful fog-filled meadows, snowy conditions, or in forests in which landmarks disappear. Learn to use compass at home, or on short walks before using this in mountain terrain. Smartphones are a great tool for support but only when they are used with care.. Download maps prior to the hike using GPS apps that allow offline usage. Signals are not reliable or even absent in the majority of trekking regions. GPS is supposed to be able to support rather than replace traditional navigation. Reviewed by Dev Rawat - Trek Leader, TrekUp India This article was examined by Dev Rawat, who has vast experience on the ground in leading treks through India's Himalayas, Western Ghats, and forested trails in India. The guidelines for navigation in this article can be verified through real-world conditions on trails that involve fog or snow cover as well as dense forest navigation as well as emergency corrections to routes that were encountered in TrekUp India operations. The wilderness of India isn't just about technology alone. It is about preparation, awareness and a respect for the terrain. People who are able to navigate using maps, an compass, and use GPS applications offline can move more confidently and with lower risk. We at TrekUp India, we have observed that mixing traditional navigation techniques with the latest technology lets trekkers travel more securely, avoid unnecessary stress, and to enjoy their travels more. A reliable navigation system will not hurry you to your location. It can help you to understand the terrain and react calmly to any uncertainty and safely navigate the natural world. Take your map with you. Be sure to trust your compass. Make sure to use your GPS in a responsible manner.And let the navigation guide you and not frighten you.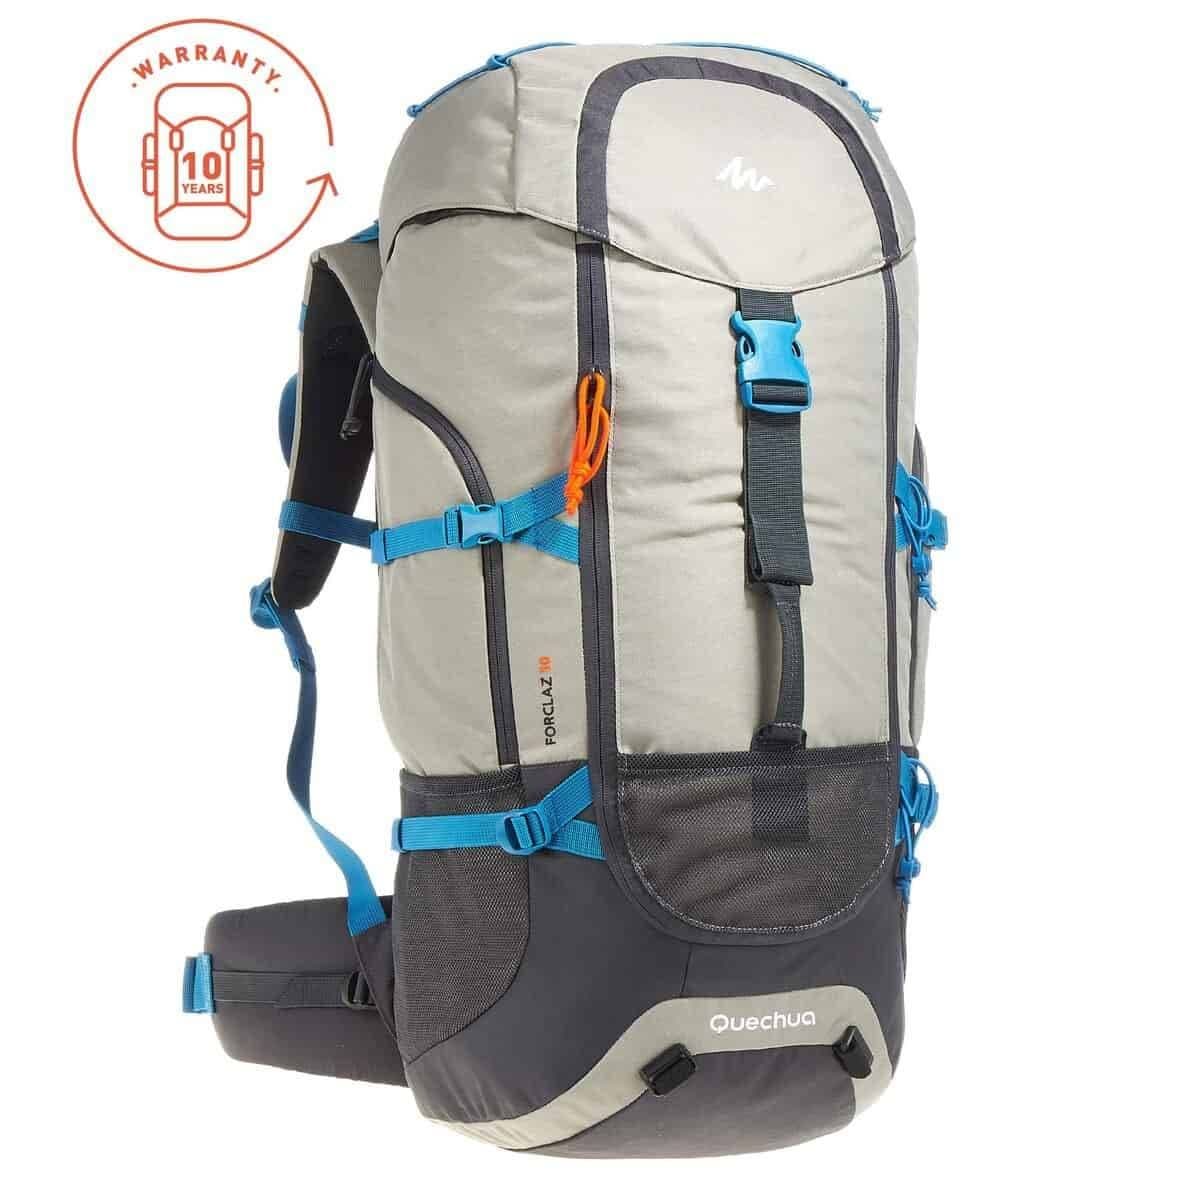 Trek Gears Tips & Reviews
By Preetam Singh Rawat|Feb 16, 2026
Essential Factors To Check Of A Backpack Before PurchaseWhen shopping for a trekking backpack, it’s essential to consider several key factors to ensure you’re getting a high-quality product: Familiarizing yourself with the components and design of a backpack is crucial before making a purchase. This knowledge enables you to select a backpack that suits your specific needs and avoid buying one that exceeds your expectations. Unfortunately, many trekkers neglect this important step and end up with a backpack that doesn’t meet their requirements, leading to discomfort or regret during or after their trek. If you’re in the market for a trekking backpack, here’s a breakdown of the essential components to look for. I’ve also explained the purpose of each feature so you can make an informed decision when purchasing. Read the factors below to ensure your backpack is equipped for your next adventure. Top Pocket: The top pocket is designed to store items you may need to reach quickly, such as sunscreen, sunglasses, guidebooks, reading material, and maps. Typically, this pocket has a zipper that opens towards the back. Properly packing the top pocket is essential as it helps organize the backpack and contributes to its balance. Top Inner Pocket: This pocket is located within the top compartment and is perfect for storing essential items such as batteries, headlamps, camera accessories, power banks, and important documents. Keep them readily accessible and organized in this convenient inner pocket. Handle Of Backpack: The handle of your backpack should be durable and robust, as airline handlers often use it to lift and move your gear. If the handle is not present or not strong enough, they may grab the strings near the top compartment instead. It is advisable to ensure your backpack is well-protected in such situations. Adjustment Straps for Load Distribution: The significance of these straps is the body. Only a backpack with these straps is highly recommended, as they ensure proper weight distribution. Shoulder Straps: The shoulder straps are designed with a curved, boomerang-like shape, providing optimal support and comfort. They are well-padded and won’t dig into your fingers, ensuring a secure and comfortable fit. The unique shape and padding distribution ensures that the straps can handle the entire weight of the backpack, making them an essential feature for a comfortable and functional backpack. Shoulder Straps Adjuster: Adjustable shoulder straps ensure your backpack sits comfortably. They prevent the bag from slipping down towards your lower back while also preventing the straps from digging uncomfortably into your shoulders. By adjusting the straps to fit your body perfectly, you can enjoy a snug and comfortable fit that allows you to carry your gear with ease. Remember to reposition the shoulder strap adjusters after your initial day of hiking. It typically takes a day for them to adapt to the bag’s size and height. Compression Strap: The compression strap is a highly beneficial but often underutilized feature for hikers. These straps are essential for keeping items secure and organized within the backpack. Maintaining the shape of the backpack is crucial during trekking to ensure balance and reduce hazards. The compression strap plays a significant role in keeping everything in place. Chest Strap: The sternum strap is often overlooked but is a helpful load-sharing tool. It helps alleviate the strain on your shoulders, making your backpack feel lighter and more comfortable. Remember to consider the benefits of using a sternum strap during your treks. Side pockets: A brilliant design feature, these side pockets provide easy access to frequently used items. Perfect for storing gloves, sunglasses, umbrellas, balaclavas, scarves, and medicine kits. Avoid overloading them, as this could compromise the backpack’s balance. Hip belt: The hip belt is an essential component of a backpack, shouldering the bulk of the load and alleviating the burden on your shoulders by up to 80%. By redistributing the weight to your hips and legs, the hip belt enables you to carry your backpack with greater ease and comfort. It’s important to note that the hip belt shouldn’t be allowed to slip down your legs, as it’s designed to function as a supportive suspension system for your backpack. Hip pouches: Contemporary backpacks have adopted the inclusion of hip pouches, allowing for the convenient storage of frequently used items. These pouches are ideal for holding small essentials such as pen knives, matchboxes, pens, candies, and chargers, providing easy accessibility and streamlining the carrying experience. Stabiliser Strap: The Stabiliser Strap plays a vital role in ensuring that the backpack load is evenly distributed across the hips. Connecting the hip belts to the backpack’s main body helps to adjust the pack’s weight for optimal comfort and stability. Ventilation: A proper backpack should include a ventilation system made of mesh to keep your back dry by allowing air to flow through. Lumbar pad: The lumbar pad is a valuable tool for supporting your spine by maintaining proper alignment, providing cushioning, and reducing the risk of injury. Its specific design is crucial for effectiveness, so it’s important to avoid overly soft options that can exert pressure on your spine. Lumbar pads are an essential element of backpack construction. Beneath the main compartment, you’ll find a spacious lower section. In the past, this was the perfect spot for sleeping bags. However, with modern trekking practices, it’s better used for storing rain gear, inflatables, soiled clothes, and liners. Ice Axe Loops: Seasoned trekkers utilize Ice Axe Loops to secure their ice axes or other tools like carabiners, while trekkers hardly use them. These loops are not intended for hanging floaters or water bottles; keeping your bag free of dangling objects is essential. Accessories pouch: An accessory pouch is essential for storing water bottles and miscellaneous items. It is convenient for those who prefer to avoid using hydration packs and need quick access to their water bottle. A backpack with an accessory pouch is practical. Additionally, the pouch can be used to keep trash and wrappers organized. Rain cover: A waterproof rain cover is essential to a well-designed backpack. Typically, it’s attached to the pack’s interior, ensuring it remains secure and doesn’t get misplaced. Moreover, it conveniently slips over the entire bag, providing effortless protection from the elements. Hydration pouch: The hydration pouch is typically in the backpack’s centre towards the rear. It is designed to store your hydration pack and usually features a slot at the top for the nozzle to come out. Additionally, there is often another compartment in front of the hydration pouch for storing items such as maps or essential documents like a passport. Choosing a high-quality backpack to alleviate strain on your back and shoulders is essential. Selecting the wrong gear can negatively impact your trekking experience. Finding the right bag will enhance your enjoyment of the trek. Considering these factors, you can find a trekking backpack that meets your needs and helps you make the most of your outdoor adventures. click here Backpacks To Buy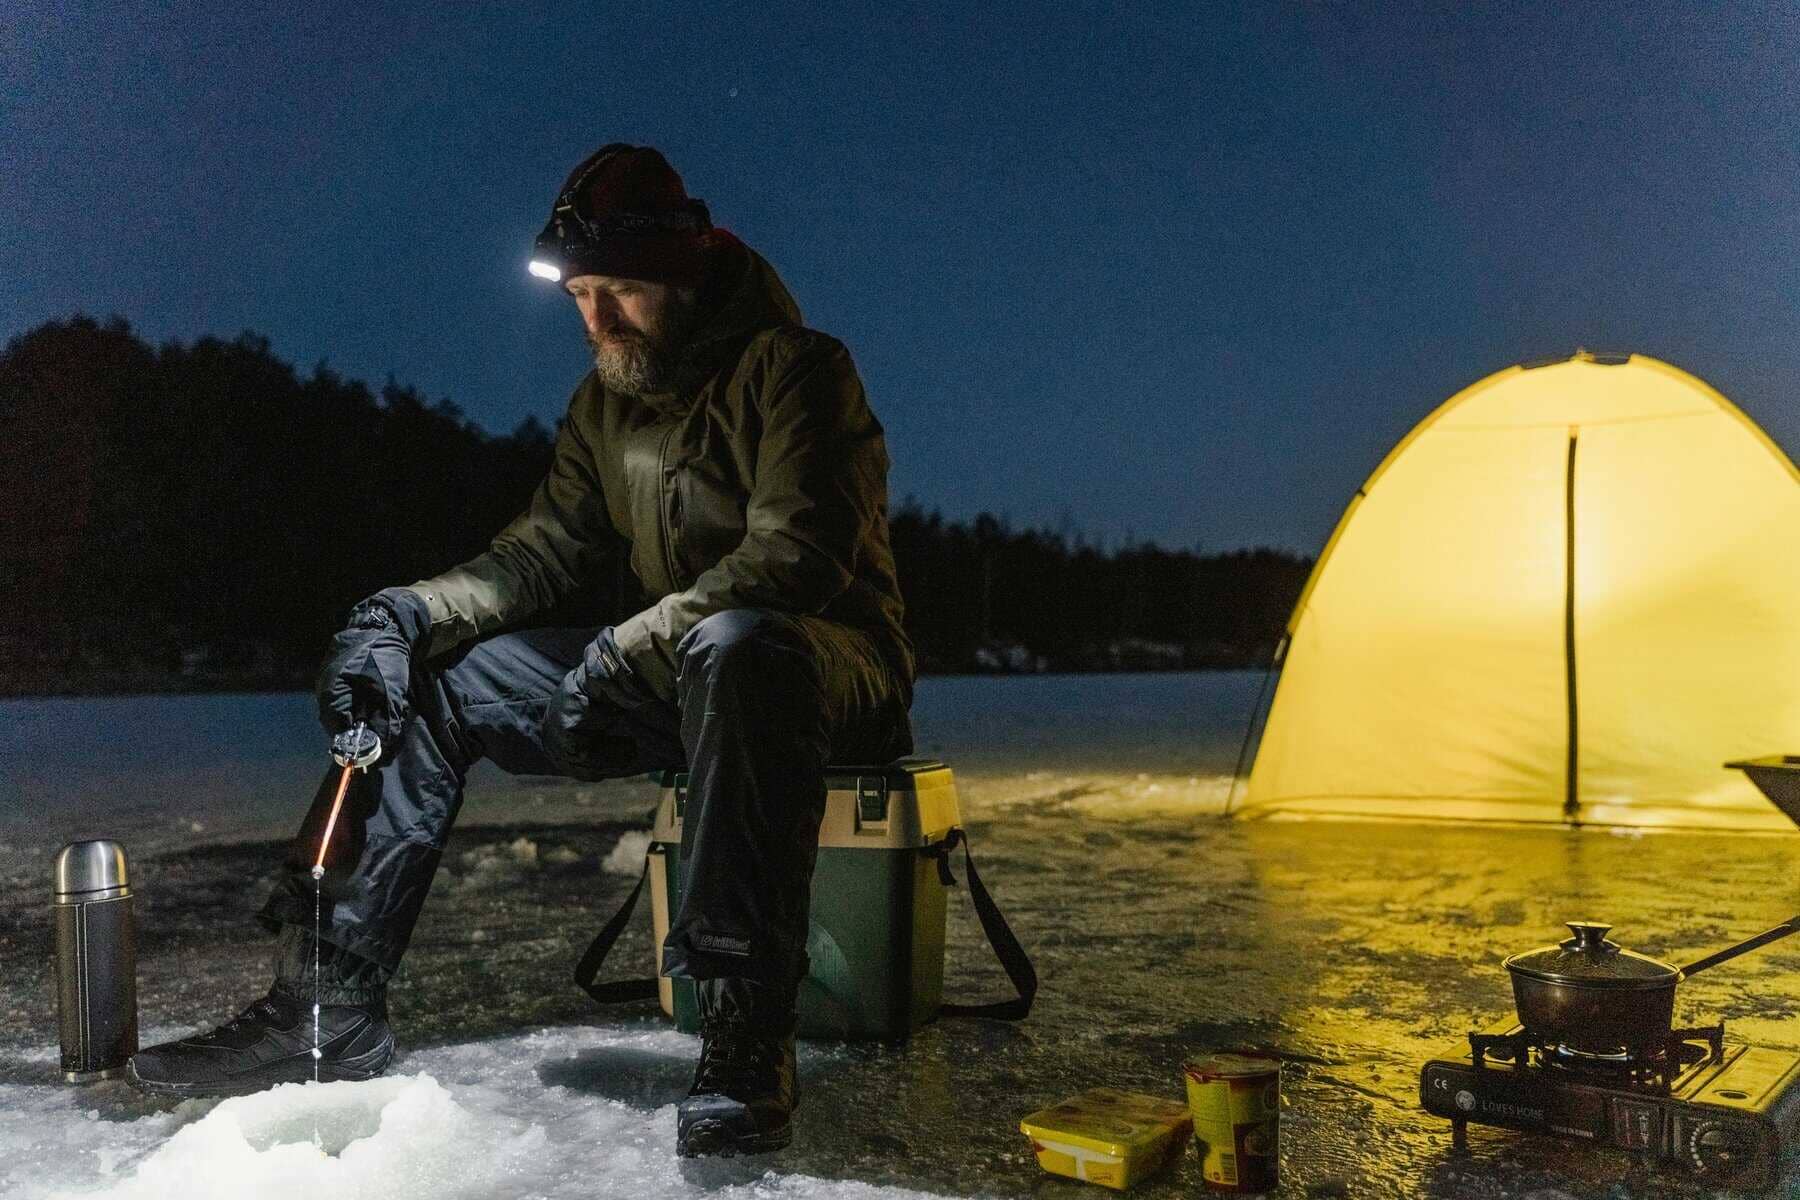 Trek Gears Tips & Reviews
By Adhish Bhandari|Feb 15, 2026
Headlamp Hacks for Trekking: Red Light & Battery TipsHeadlamps offer hands-free illumination for evening hikes and making camp even in darkness. But, with the right use, a quality headlamp will become more effective, from protecting night vision by providing the bright red light to extending the life of batteries and their lifespan. Here are some essential factors that every hiker should be aware of when it comes to headlamp use. Secure Night Vision and prevent bugs:The most modern-day headlamps have an LED red feature that helps preserve night vision and prevent bugs. But, the primary function isn't for glaring as in sci-fi film characters however, it is to safeguard night vision and protect the headlamp from bugs. This mode has two major goals. Night Vision Protection:White lighting can rapidly overpower what your eyes are accustomed to seeing at night. the red light assists in adjusting them to a gradual darkness which is a huge benefit for reading maps and navigating an area in the dark. Stealth Mode In the event that you're watching animals or camp with friends the red light will not be as disruptive to both human beings (and animals). Red light is much less attractive to bugs than its white counterpart and is a good option for camping sites with lots of insects. A battery failure during a run can be extremely frustrating. Here are some suggestions to extend the life of your battery: lower brightness:To accomplish your task completed efficiently and preserve battery power it is recommended to select the most minimal setting. Higher settings will deplete batteries faster. Lock Mode Lights equipped with locks can be set to avoid accidental activation in your bag. Carriers Spares When you are planning to embark on a lengthy excursion, make sure you have additional batteries (or an extra battery bank in the event that your headlamp has rechargeability). battery storage in frigid Weather hack: The lifespan of batteries decreases dramatically in cold temperatures. To extend their lifespan and to keep them cool to ensure optimal performance keep them close to your body. A headlamp can be lifesaving in the event of an emergency Make use of it to call to get assistance! SOS Mode Most headlamps come with An SOS (or Strobe) function that allows you to assist in the event of an emergency. Make use of it when you need to! Mirror trick: Utilizing the beam of your headlamp to reflect reflective surfaces such as the phone's screen or compass to boost visibility is an instant and efficient method to boost the visibility of your headlamp. Tent Lanterns for campers: Hook it onto an elastic strap hook to provide ambient lighting in your RV or camper van and also to provide ambient light. Hands-Free Cooking Set it up on the strap for your pot or on your backpack chest strap to light up the cooking area. Reading Light Use it for reading and not disturb other readers. Use it to point it downwards as you read, and rest sure that you don't disturb other readers who might also be reading at the moment. A faulty or dim headlamp is a waste of time. Maintain its performance in top shape by following these tips for weatherproofing and maintenance Anti-Fog Trick In case your eye is susceptible to fogging, you can use toothpaste (then rinse it off) to clear it up so that condensation is less and fogging. waterproofing test: When trekking through snow or rain, be sure all seals and O-rings remain in their designated locations. When it comes to Indian trekking excursions where the weather may change quickly and routes can are extended over a long period of time in the night, a flashlight can be an essential part of safety equipment. However, you can make use of some clever tricks to transform it into something that is more efficient, allowing safety while at while efficiently utilizing the existing lighting sources.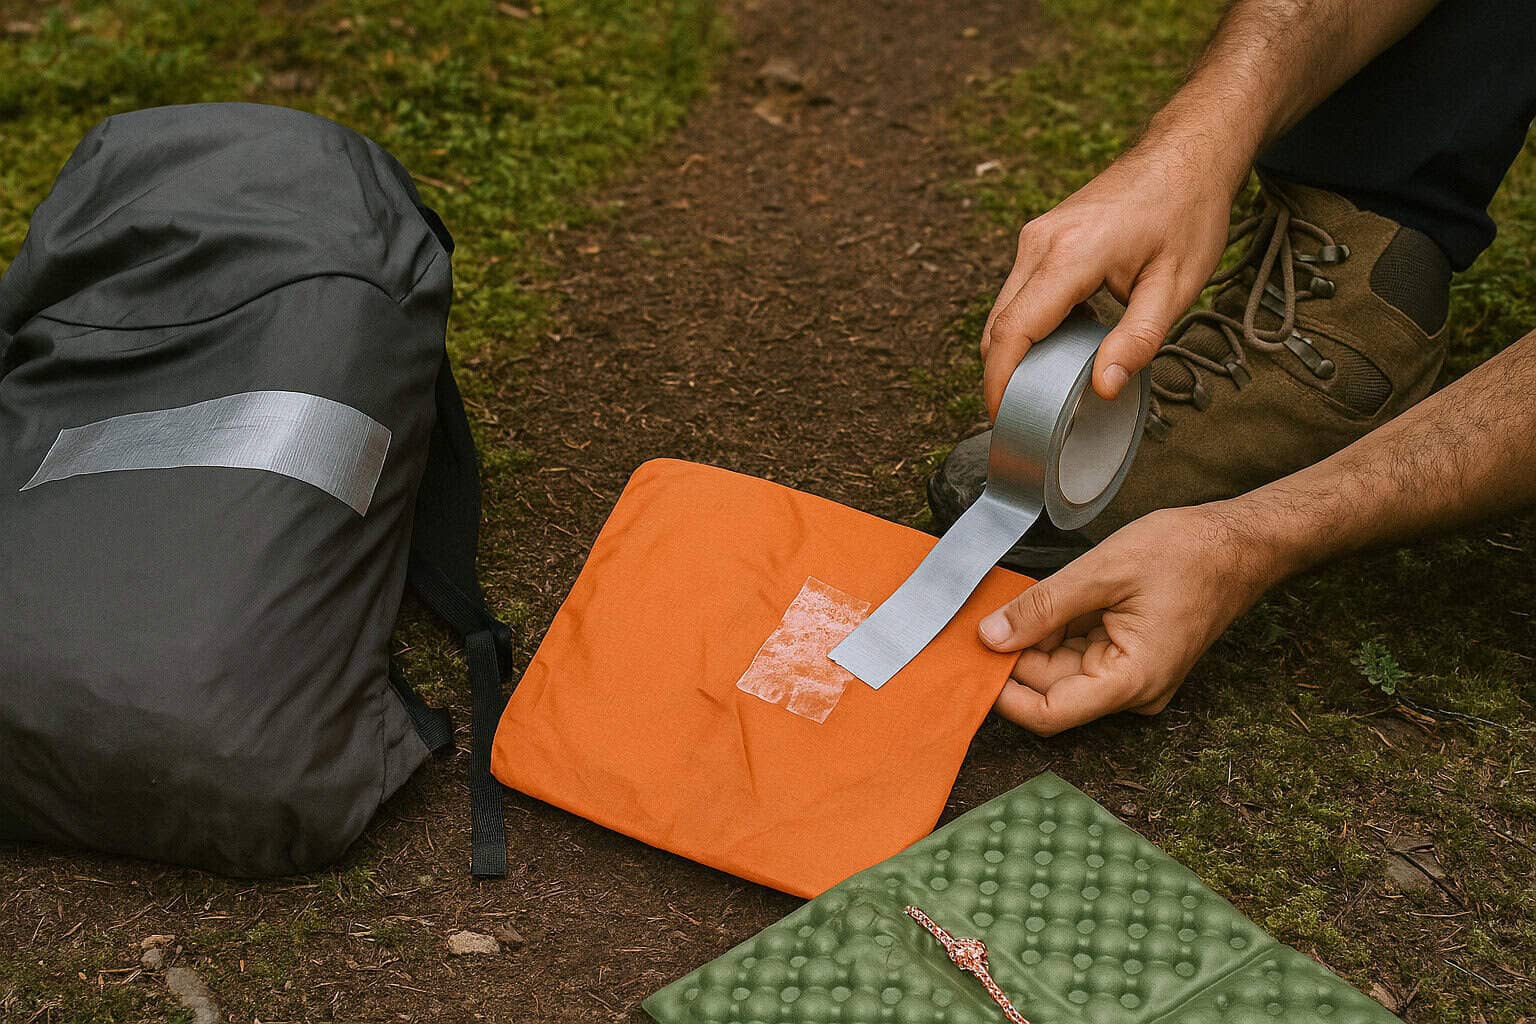 Trek Gears Tips & Reviews
By Shivam Shingari|Feb 15, 2026
Trail Gear Repair: Simple DIY Fixes That Work on TreksOnce you've entered the wilderness, problems with gear are likely to strike at suitable times. A strap for your backpack that's not repaired or a tent that's broken, or water bottles that leak could turn into a battlefield that isn't immediately repaired using tools like paracord, duct tape and multi-tools, such as the ones discussed here, which can be used to make repairs that are reliable even when you're the distance is far away from the nearest civilization. This article will demonstrate how quickly and reliably maintenance of gear can occur even when you are miles from the ghetto. It can be an issue when you carry your bag and therefore, replacing a broken strap buckle is a must. To provide quick and simple solutions: Duct tape wrap: It is recommended to fold the strap over, then then secured using Duct tape as an interim fixation in order to achieve this outcome. Paracord Replacement If your belt get completely torn Paracord can be utilized to create a new loop, and then secured with the buckle. Zip Tie trick: Thread the zip tie through the buckle holes in order to assist the strap and keep it in place. Problem: A Rip in the fabric of a tent can allow in rain, wind and insects. To ensure it is sealed, place Duct Tape Patch around both sides of the tear, creating an impermeable barrier around it. Tenacious Tape (if it is available): For repairs lasting a long time, Tenacious Tape may provide the best solution. Sewed and Tape Combination To prevent larger tears Sew the edges first, then apply TapeTape for a secure measure. Issue: A puncture in the water bottle could make you thirsty. Repair: Dry the area first, then seal any gaps using several different layers of duct tape. Superglue for tiny holes: Use using containers made of plastic (allowing the glue to dry in air prior to refilling). A damaged pole could cause disruption to any shelter, trek or even a trip. To stabilize the situation immediately, you can use the strength of a stick to create an splint aligned with the damaged part and secure it with Duct Tape. Tent Pole Repair Sleeve (if included): Slip it over any damaged areas to give additional support and strength. issue: Losing a shoe sole during a trek can be disastrous. To solve the issue, Duct Tape and Cord Wraps offer support. Tape the sole back to its original position and then secure a paracord wrap around the sole to provide additional stability. Zip Tie Lugs are a great way to give temporary grip to worn treads. Problem: A broken or stuck zipper can cause damage to clothes or backpacks. Instead of replacing the zipper pull in entirety with paracord or keyrings instead, try using one of them as a pull tab instead. Make use of lip balm or wax to help lubricate. This can help to loosen any zipper that's become stuck. Safety pins function as emergency stoppers in case the zipper's teeth get disaligned, the zipper's opening is stopped from occurring. In the wilderness, and every milligram matters, being able to make quick and efficient repairs to gear yourself could not only be a benefit It could also save lives. Broken straps tear-strewn tents broken bottles, damaged soles, paracord, zip ties, duct tape and a variety of other tools can stop a trip that is otherwise fun from turning dangerous. Trekup India frequently emphasizes "Prepare to deal with issues. Before you leave, take an emergency kit to repair as well as a solution, and be confident - particularly as in the wild self-reliance is your best friend.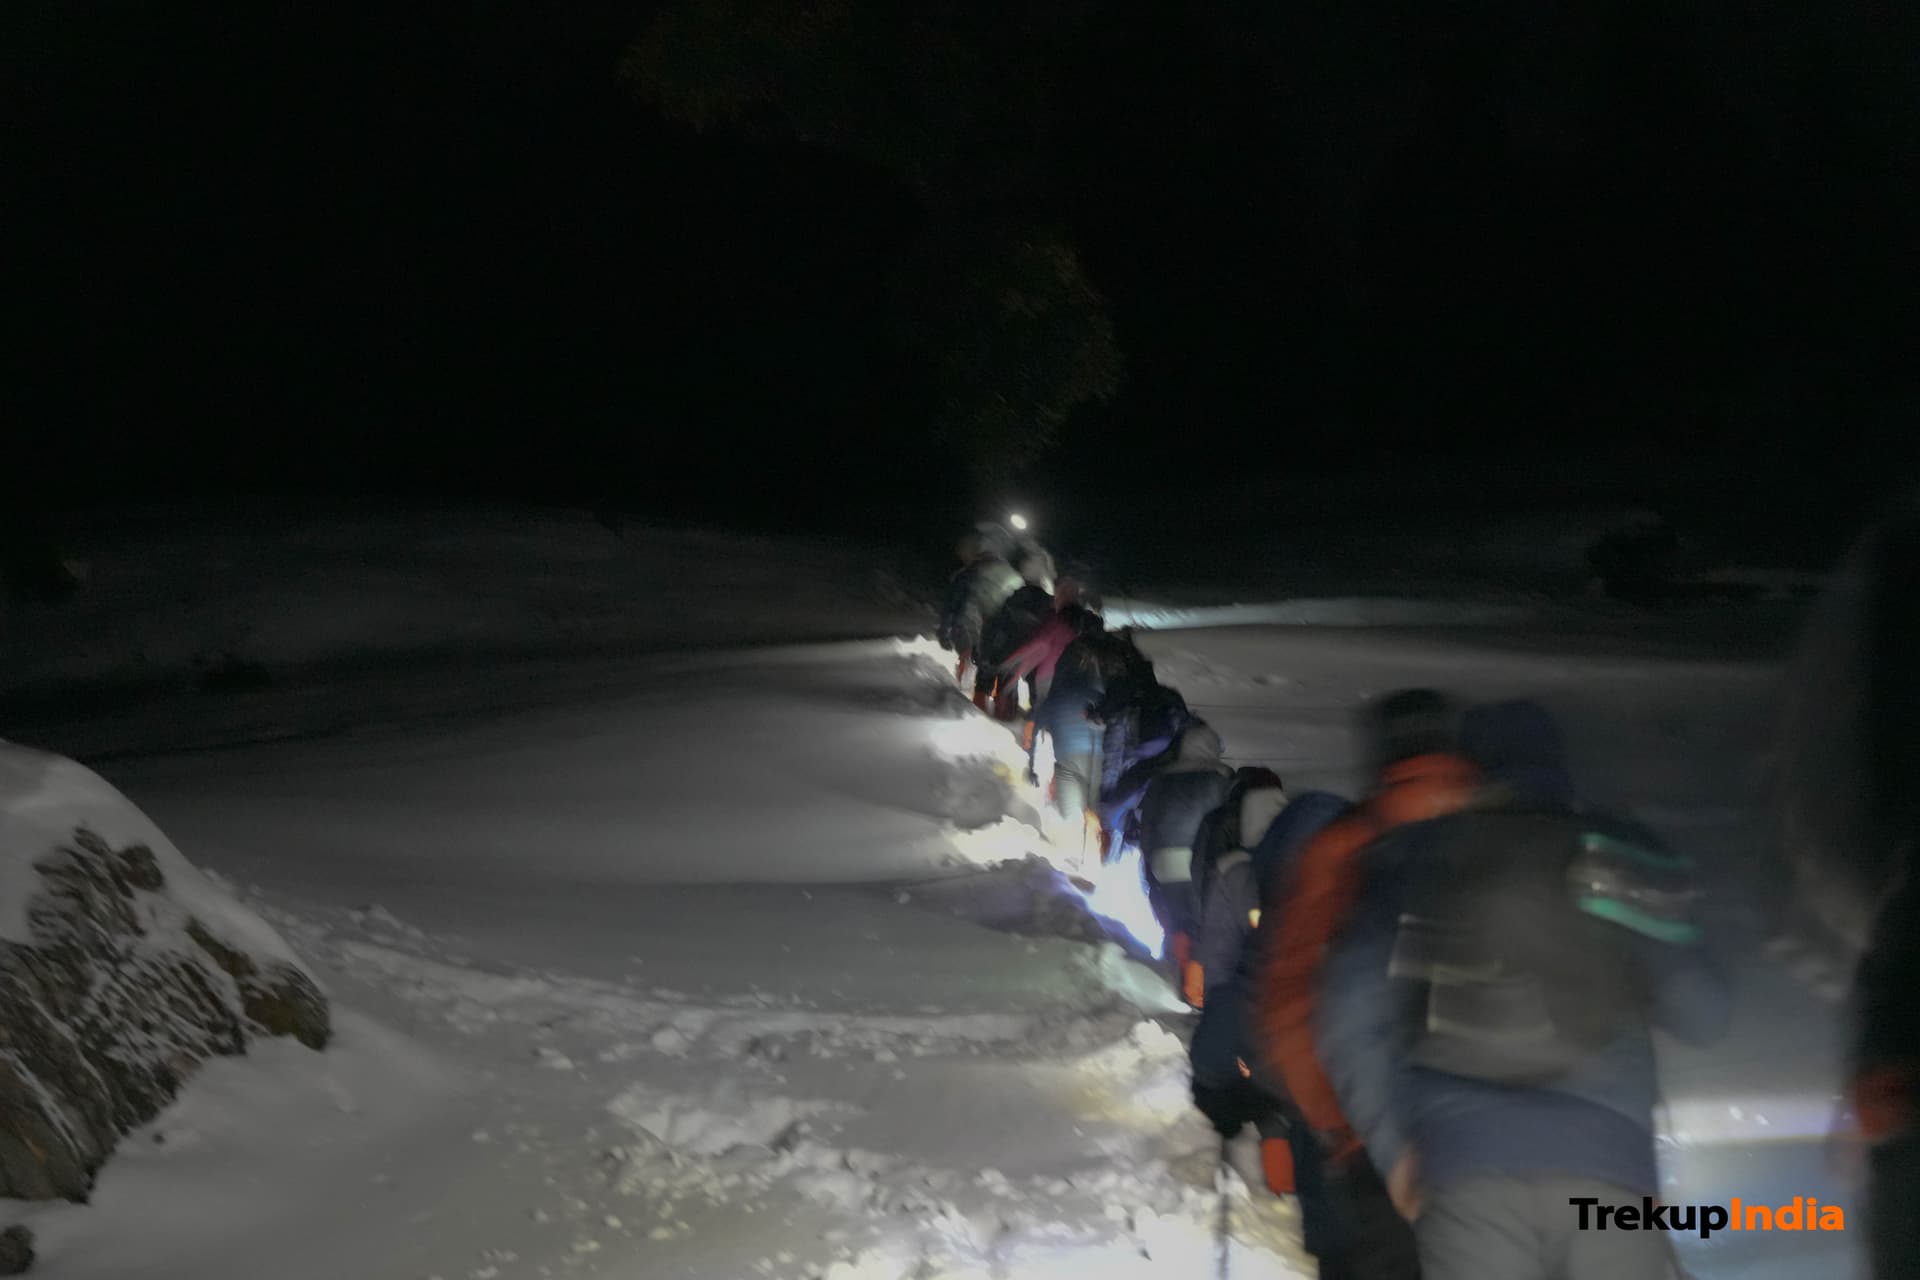 Trek Gears Tips & Reviews
By Nanda Rawat|Feb 13, 2026
Remember This Helpful Guide to the Kedarkantha Trek – Complete Trekking TipsThe Kedarkantha Trek, located in the Himalayas, is renowned for hikers because of the stunning landscape, moderate difficulty and its easy access. With winter fast nearing, it's the perfect time to begin planning the Kedarkantha Trek. This article gives a brief overview of what you can expect during the trek, and how to prepare. The Kedarkantha Peak is in the Uttarakhand Govind Garhwal region. The trek usually begins from the picturesque town of Sankri that is renowned for its beautiful scenery and welcoming locals. Sankri can be easily reached via roads from major cities, such as Dehradun and Rishikesh. The Kedarkantha trek takes six days and is appropriate for hikers of all levels, from novices to experienced hikers. A moderate score, Kedarkantha offers a good balance of accessibility and adventure which makes it suitable for both novice or experienced hikers. The gentle slope offers an enjoyable and rewarding experience and makes it a good option for families with children. The best time to visit The most ideal time to go on the Kedarkantha Trek is during winter between December and April. The area transforms into a stunning winter wonderland with the trails covered in snow, frozen lakes and dense forests. The altitude of Kedarkantha is 12,500 feet. The trek from the base camp all the way to the top is an increase in elevation of 6,100 feet in the course of three days, allowing the participants to get used to the elevation. Stays in the Trekup India Luxury Hotel in the village's bottom of Sankari and comfortable twin-sharing tents to share during the trek. Offloading service are available for a fee. If booked online via the website it will cost INR 1600 or at Base Camp Sankri, it will cost INR 2000. The weight of the bag that is used for offloading must not exceed 10 kg. Cloakroom After arriving in Sankri you will be able to keep your luggage in the guesthouse. The final ATM prior to Sankri is located in Mori. For a safe journey taking cash or withdrawing it in Dehradun is recommended.