Hampta Pass Trek
Cross Rivers, Valleys & High Mountain Passes
Trek Overview
Quick Facts
Maximum Altitude
14,100 ft.
Trek Duration
4N / 5D
Trek Distance
26 Km
Difficulty Level
Easy to moderate
Start/End Point
Manali
Nearest Airport
Chandigarh International Airport
Best Season
June to September
Accommodation
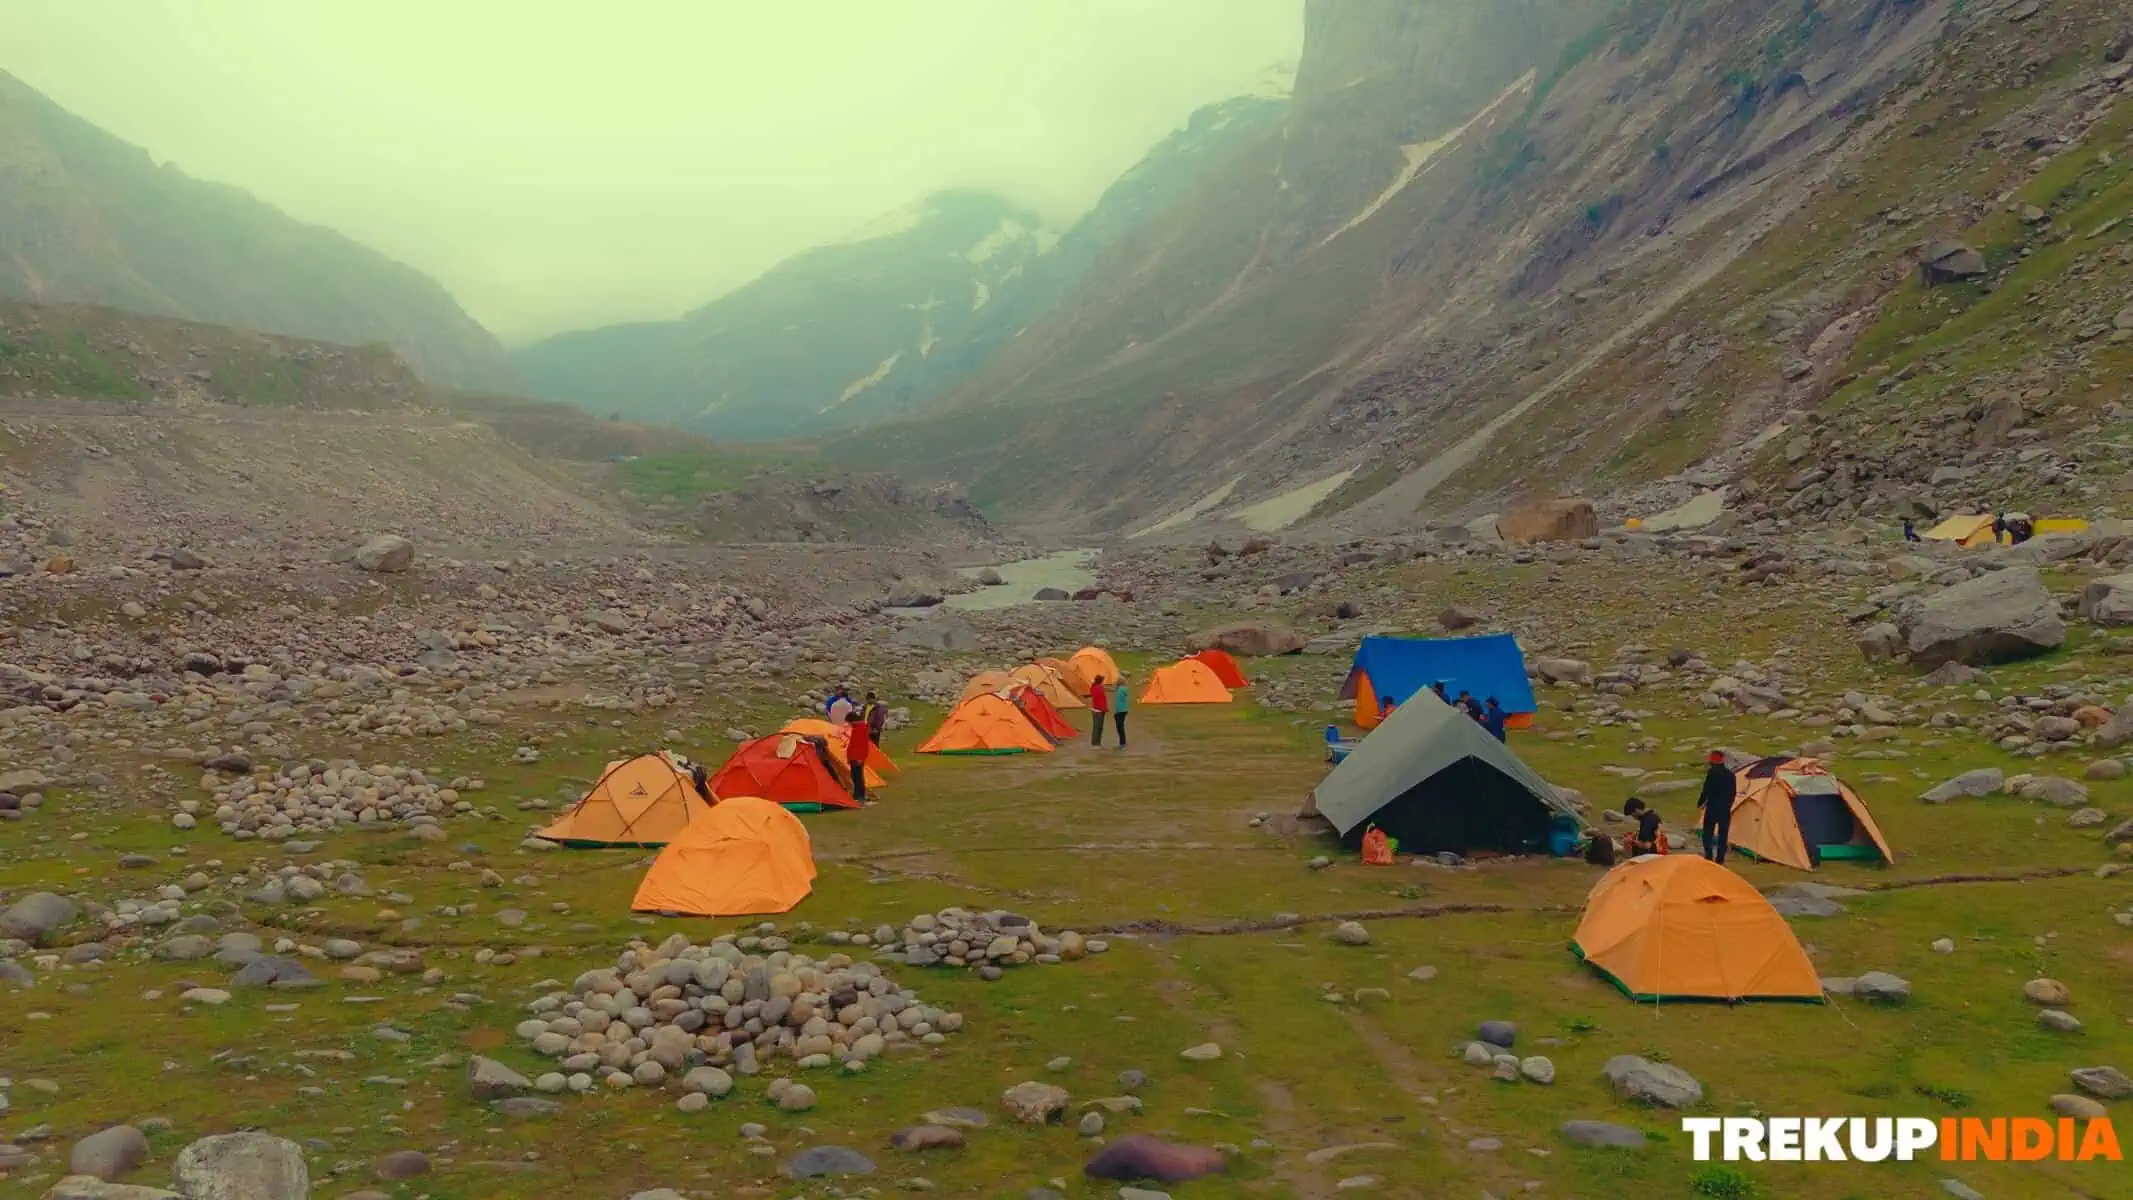
4 night at dome style tent
Meals
Breakfast, lunch, evening snacks and dinner
Permits
Forest Department & Trekking permit
Temperature
12°C to 18°C (day) ; - 2°C to 6°C (night)
Snow
November to May
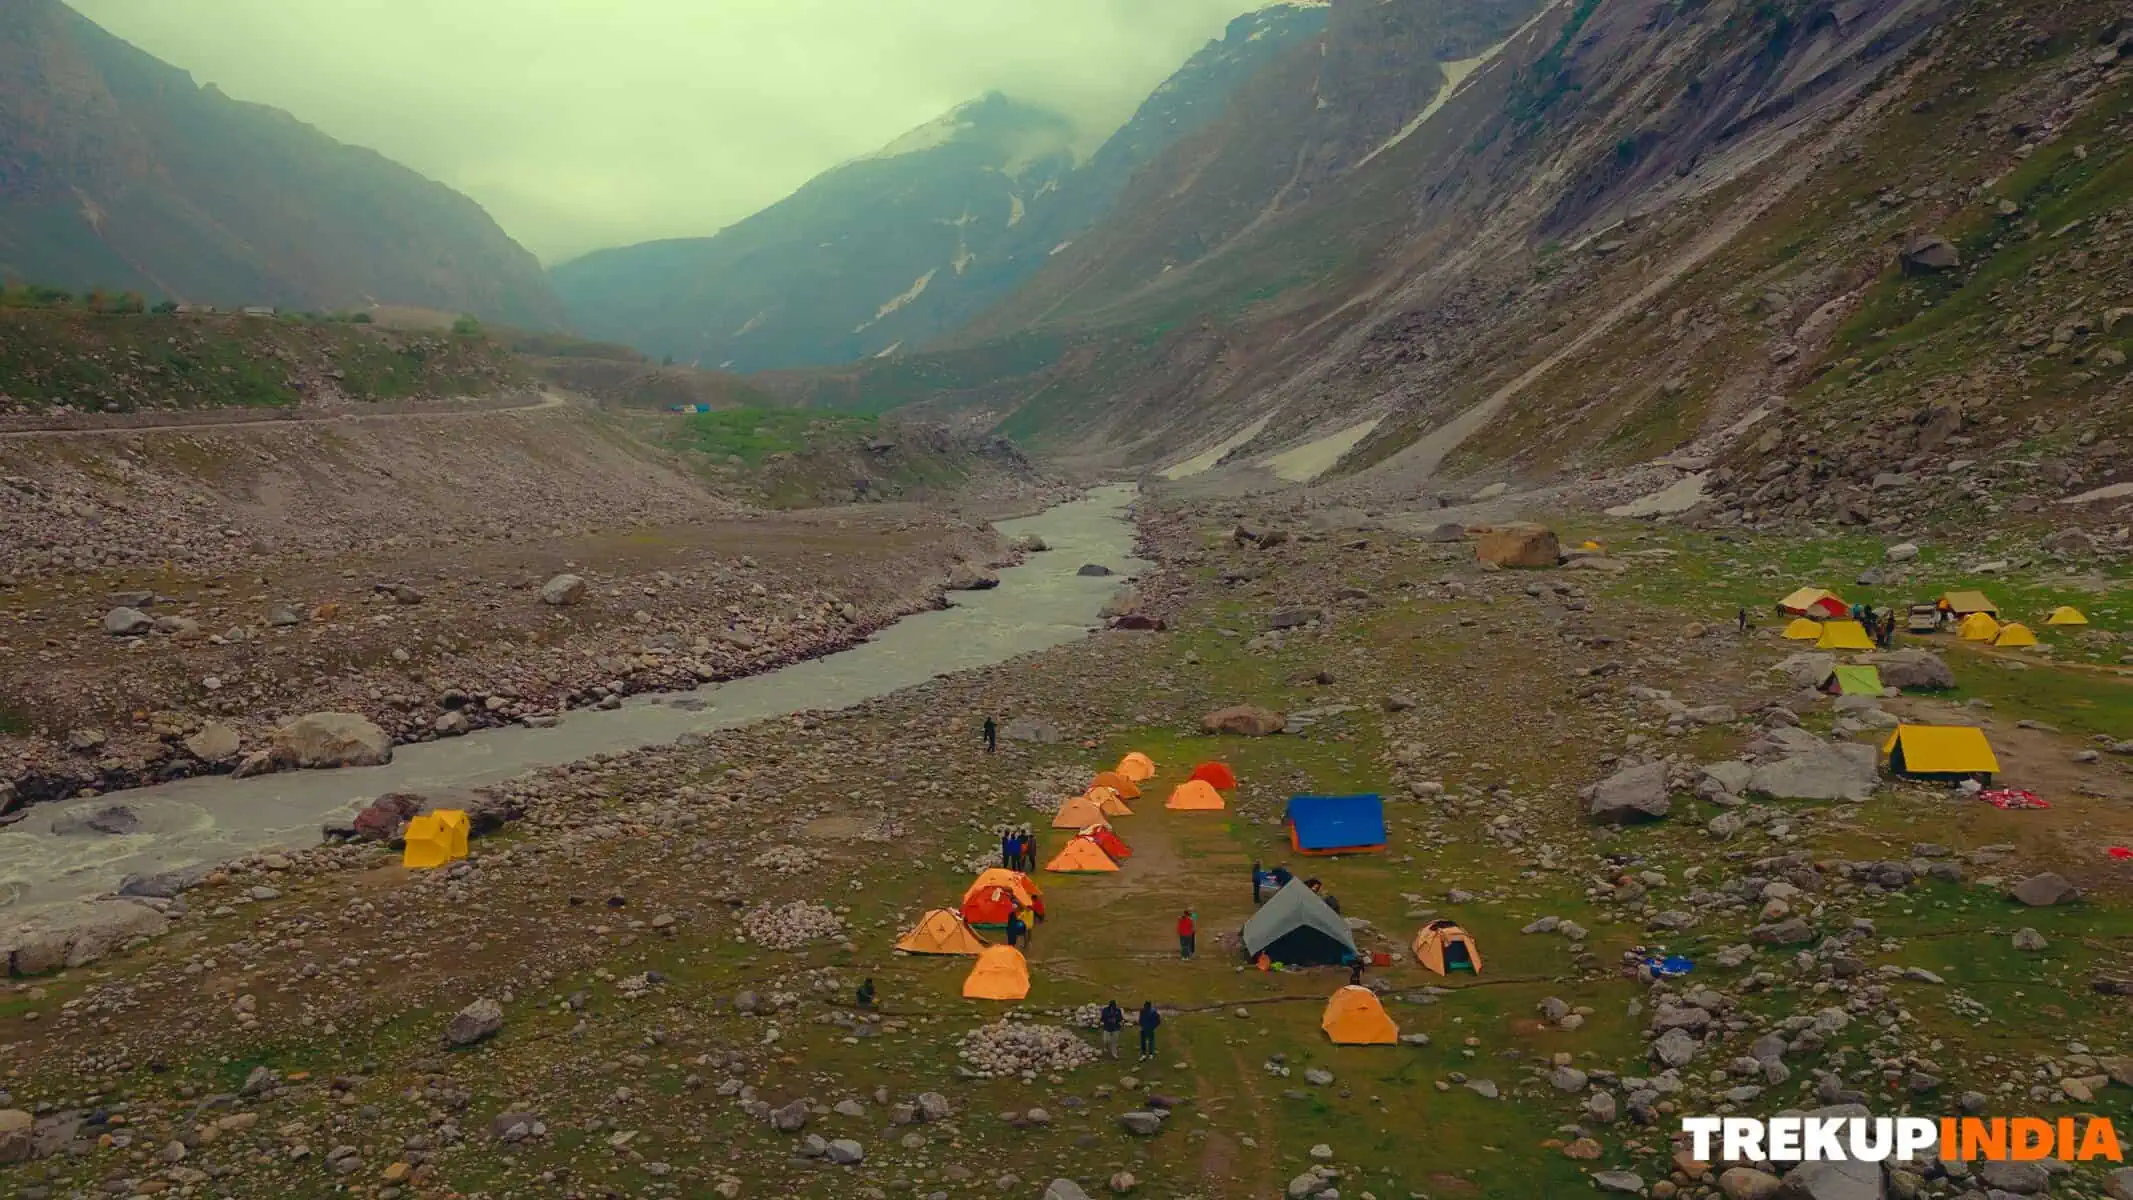
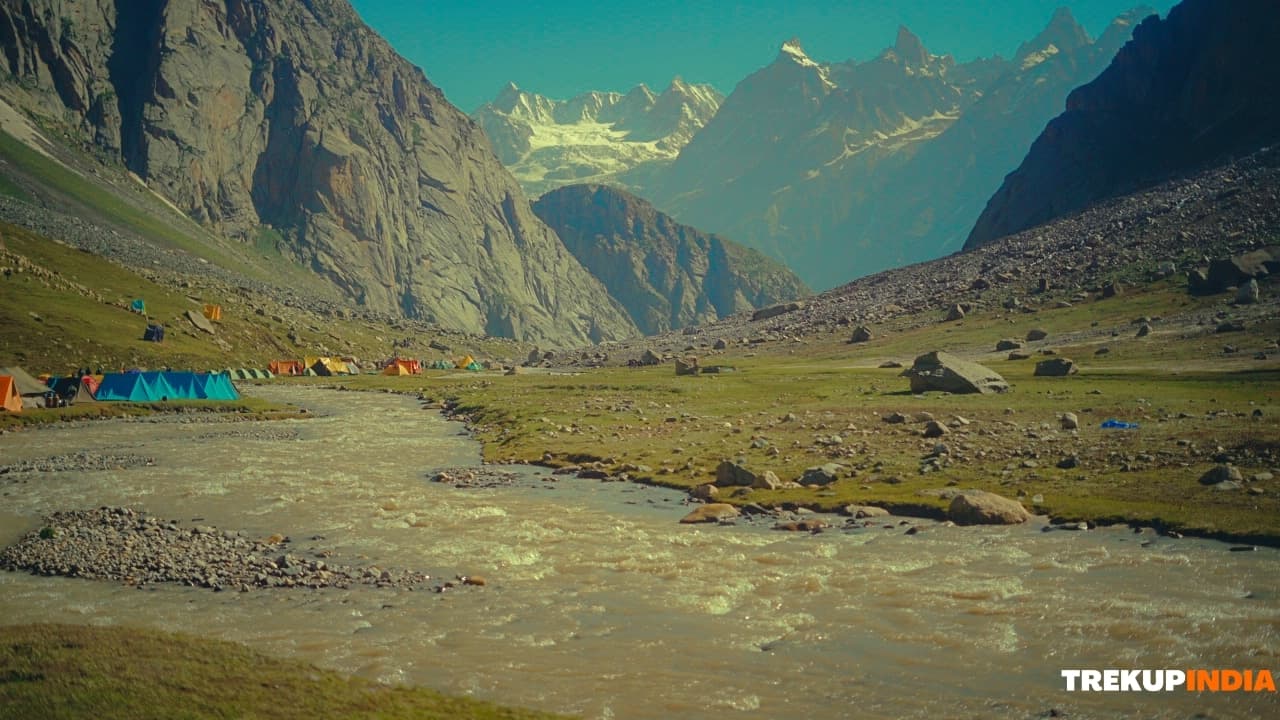
At an altitude of 14,100 feet (4,270 meters) above sea level, the Hampta Pass Trek is often considered one of the most spectacular cross-over treks in all of the Indian Himalayas. Known as the Gateway to the Pir Panjal, the Hampta Pass trail provides trekkers with the unique opportunity to trek between two incredibly different geographical environments in a matter of just a few days. The trek begins in the lush, green forests and fields full of wildflowers along the banks of the Kullu Valley, and within days changes dramatically from that environment into the barren high-altitude desert of Lahaul and Spiti. The portion of the Hampta Pass Trek where this transformation occurs at the summit (or top) of Hampta Pass where trekkers have an immediate view of the dramatically different environment just seconds after they step off the summit is the most memorable moment of the entire trek. The incredible geologic features created by the Himalayan rain shadow make this an unforgettable experience for trekkers. The trek is characterized by two complementary experiences throughout, such as going through vast boulder fields and then crossing icy cold glacier rivers, and then ending the trek with the exhilarating experience of glissading (sliding) down snowy slopes in early summer. Curry and churros are the two most recognizable meal items served at Chatru, which serves as the starting point for most trekkers completing this trek as well as the starting point for most trekkers trekking to Chandratal Lake, also known as Moon Lake, completing a remarkable ecological journey.
Why is the Hampta Pass Trek so special?
1. The Phenomenal Spectacular Crossover
This is widely recognized as one of the most outstanding examples of the Himalayan Rain-shadows effect in the world, revealing two unique landscapes both geologically and climatically all created by location and topography. The trek culminates on the narrow, windy ridge of the 14,100 ft. (4,270 m.) summit, where you are at once at both a geographical and meteorological border. Behind you is the Kullu Valley - a green, vertically-vegetated basin filled with both moisture and forested, emerald-green trees, and directly in front of you, the Lahaul Valley looks like a stark, monochromatic, high-altitude cold desert, with no greenery. In fact, the entire transition from a vertical environment of lush greenery to a horizontal moonscape of reddish-brown rock occurs as an extraordinary revelation within one afternoon of trekking time.
2. A Technical Sampler Platter
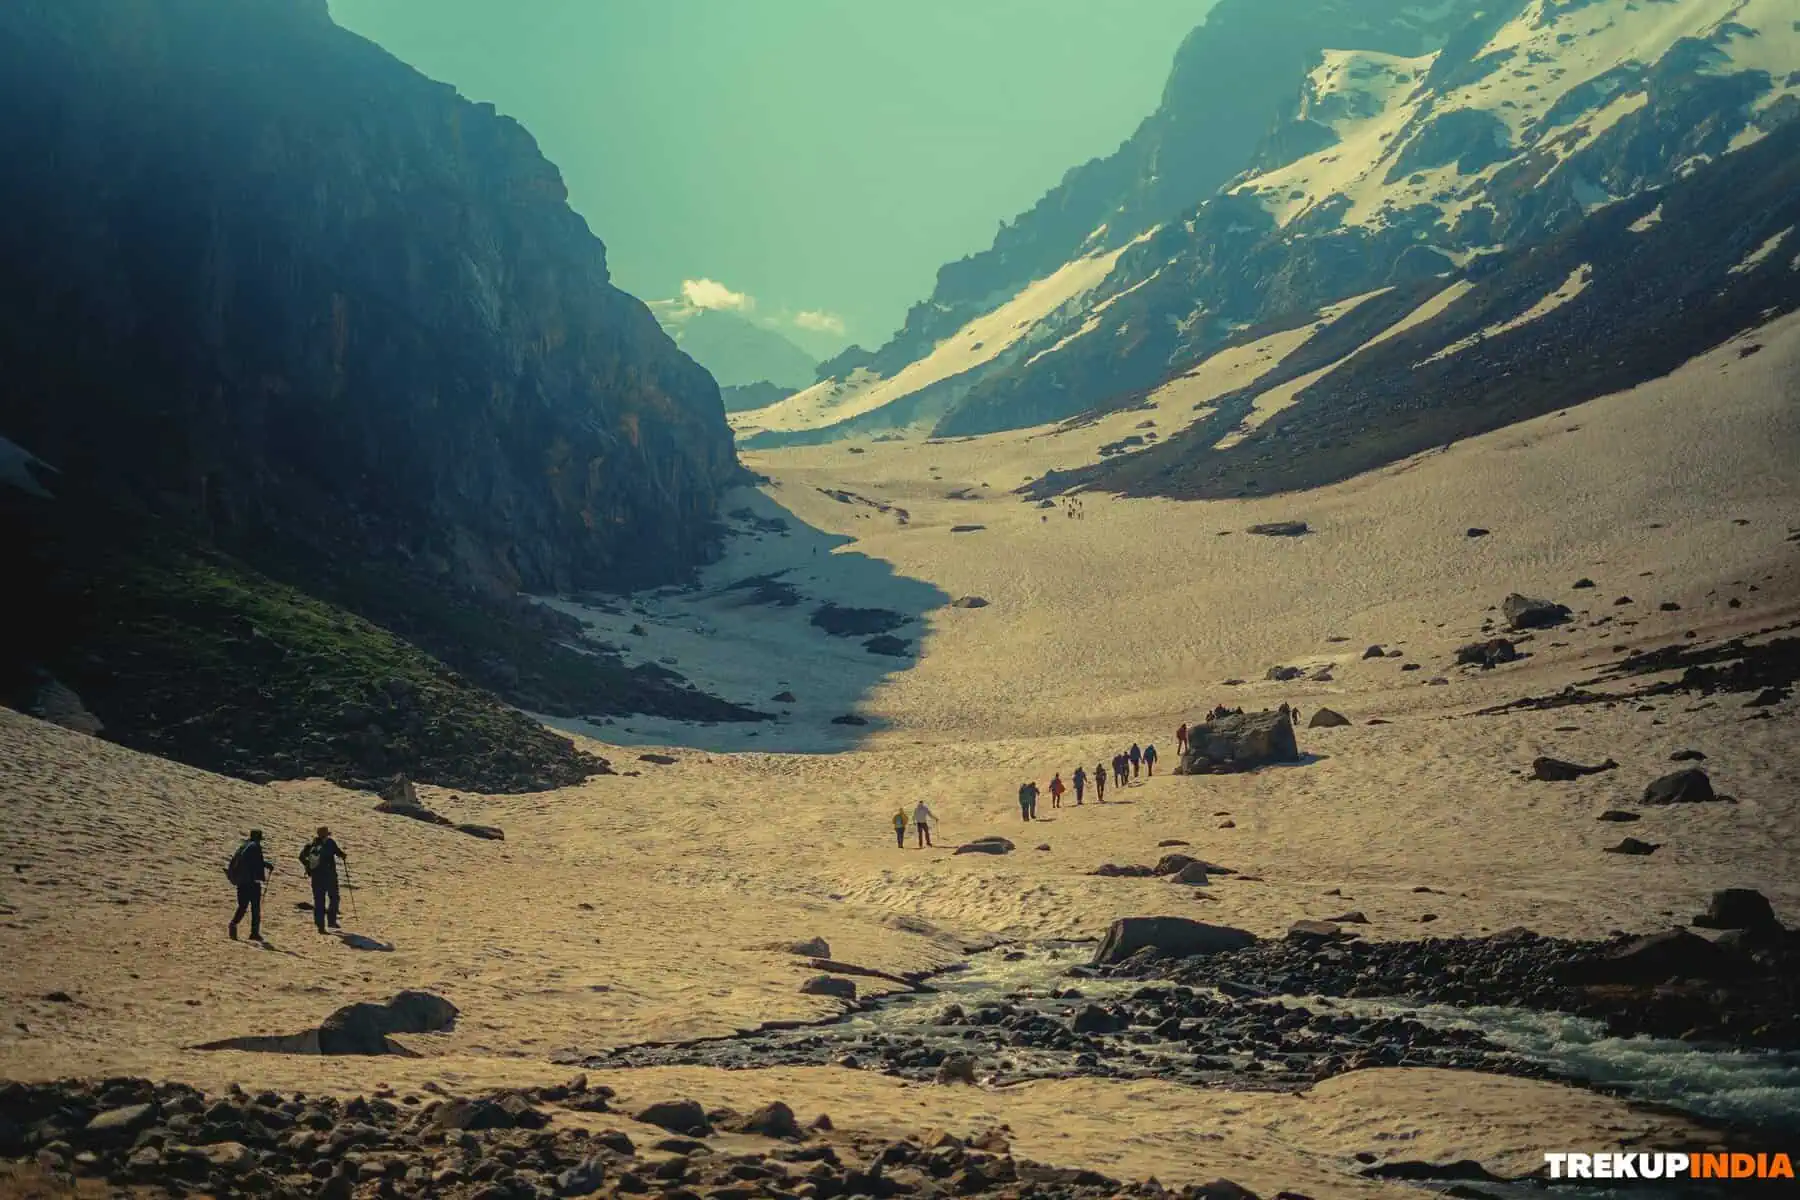
Categorized as a moderate trek, Hampta Pass has the capacity to introduce trekkers how to perform techniques that are typically only used by professional mountaineers over a short period of time. This will require an active engagement with the elements where you will have an opportunity to cross glacial rivers (the frigid temperature of the Rani Nallah River will challenge your nerve), negotiate to traverse glaciers (natural snow bridges) with large amounts of water roaring beneath the glacier, and finally, slide and glide down the steep slopes of Lahaul Valley for approximately 500 m. in total with a great deal of speed because the slide is accelerated by the thrill/excitement generated from this technique only.
3. Base to Summit Logistical Efficiency
Most high-altitude treks require grueling, 10-12 hours of trek to reach a remote trailhead. The leg to the trailhead for the Hampta Pass trek begins in Jobra which is just a short 60 minute drive from Manali. The route consists of 40 wild hairpin turns from Manali to Jobra. In less than 1 hour you move from dynamic Manali at 6,700 feet to the wilderness of Jobra at 10,000 feet. The result is that you are in the middle of the high alpine environment in no time at all.
4. Ancient and Living Cultural History
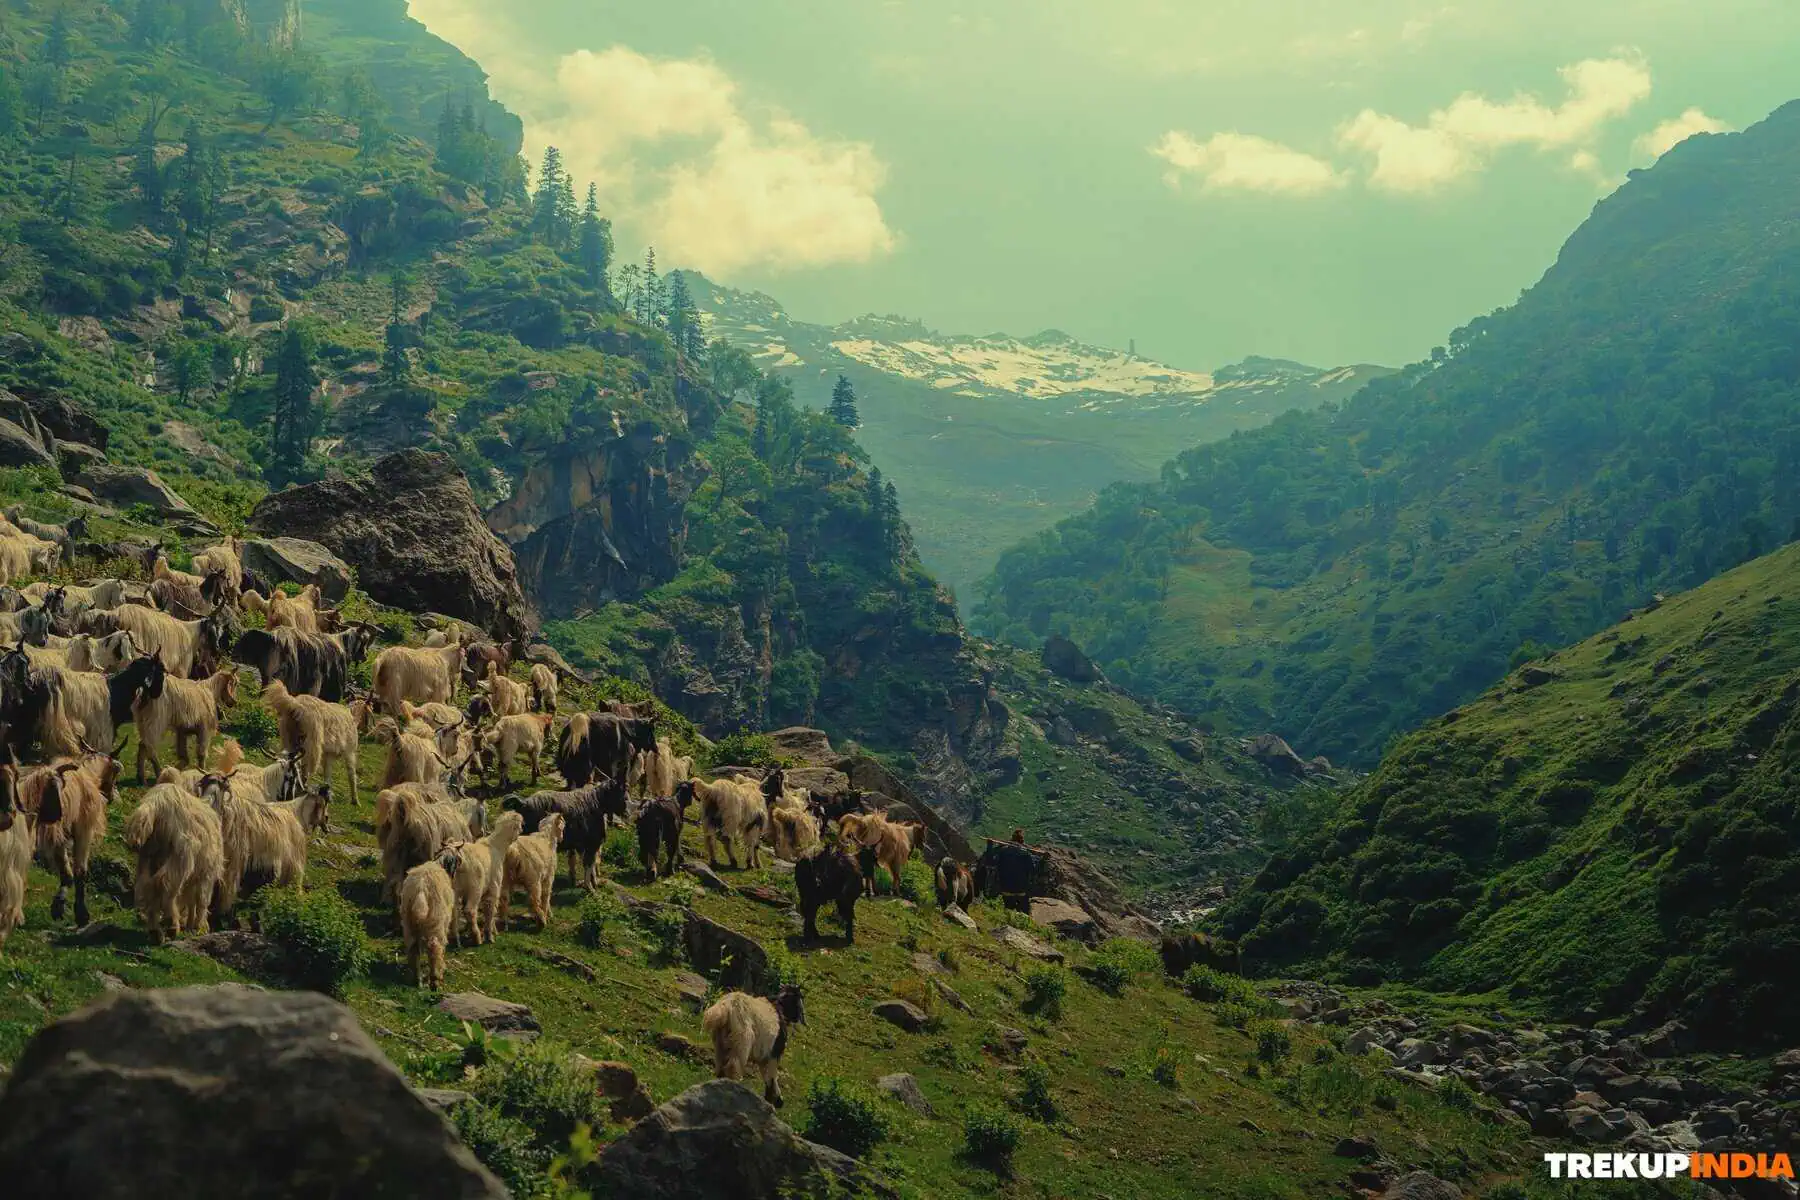
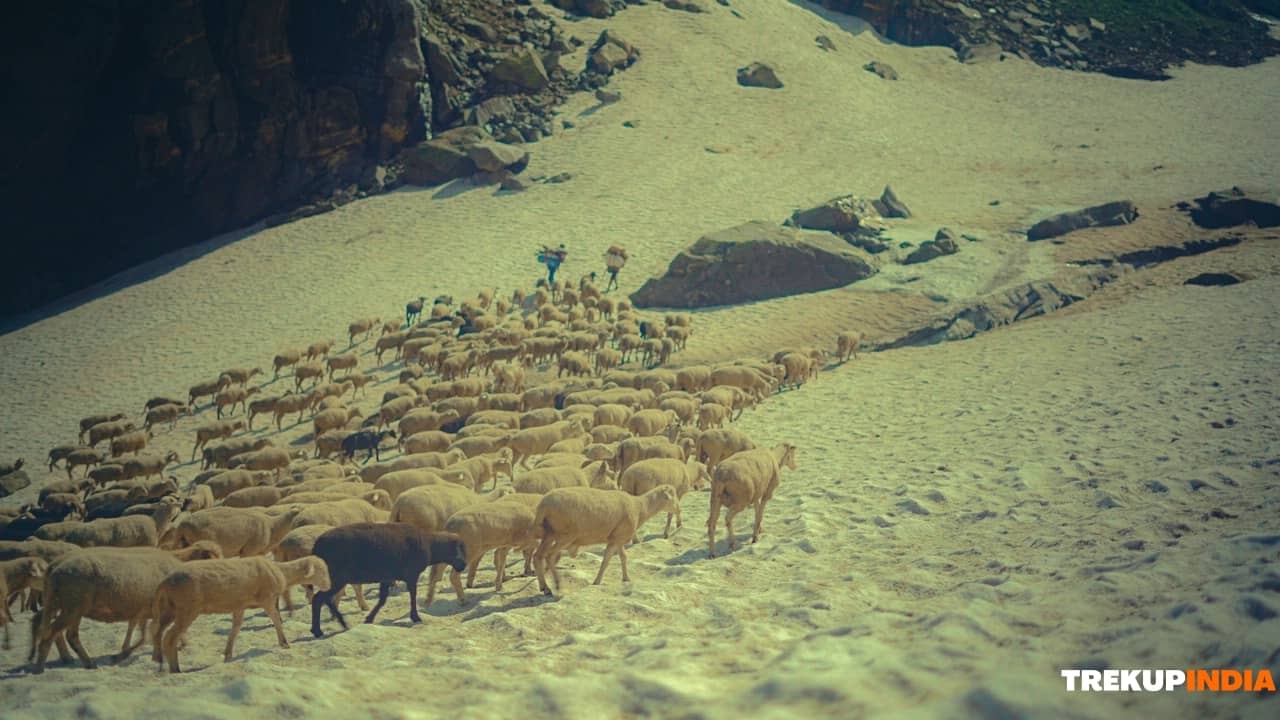
The Hampta Pass trail follows an ancient trade route that Gaddi and Gujjar shepherds have used for centuries to migrate their livestock across The Pir Panjal Range. During your trek you will encounter these semi-nomadic people moving thousands of sheep and goats across the rough, high pass in search of greener feed. Many Vedic Mythologies also run along this trail. For example, you will trek across Panduropa (a high marsh where the Pandavas are said to have cultivated rice while in exile) as well as follow the same path that Yudhisthira was said to have taken to walk to Heaven.
5. Elite Astro-Photography at the Shea Goru
The camp here at Shea Goru is a unique geographical anomaly due to the fact that this particular campsite is located deep within a glacial valley and on the leeward side of the rain shadow. Given that the atmospheric water content is virtually non-existent, and that the air is extremely thin and clear, this makes for world class conditions for photographing the milky way and deep sky objects. There is also no light pollution or humidity present to interfere with your view of the stars, which appear incredibly bright and dense, and are capable of casting faint silver shadows on the rocky floor of the valley.
6. The Spiritual Finale at Chandratal (Moon Lake)
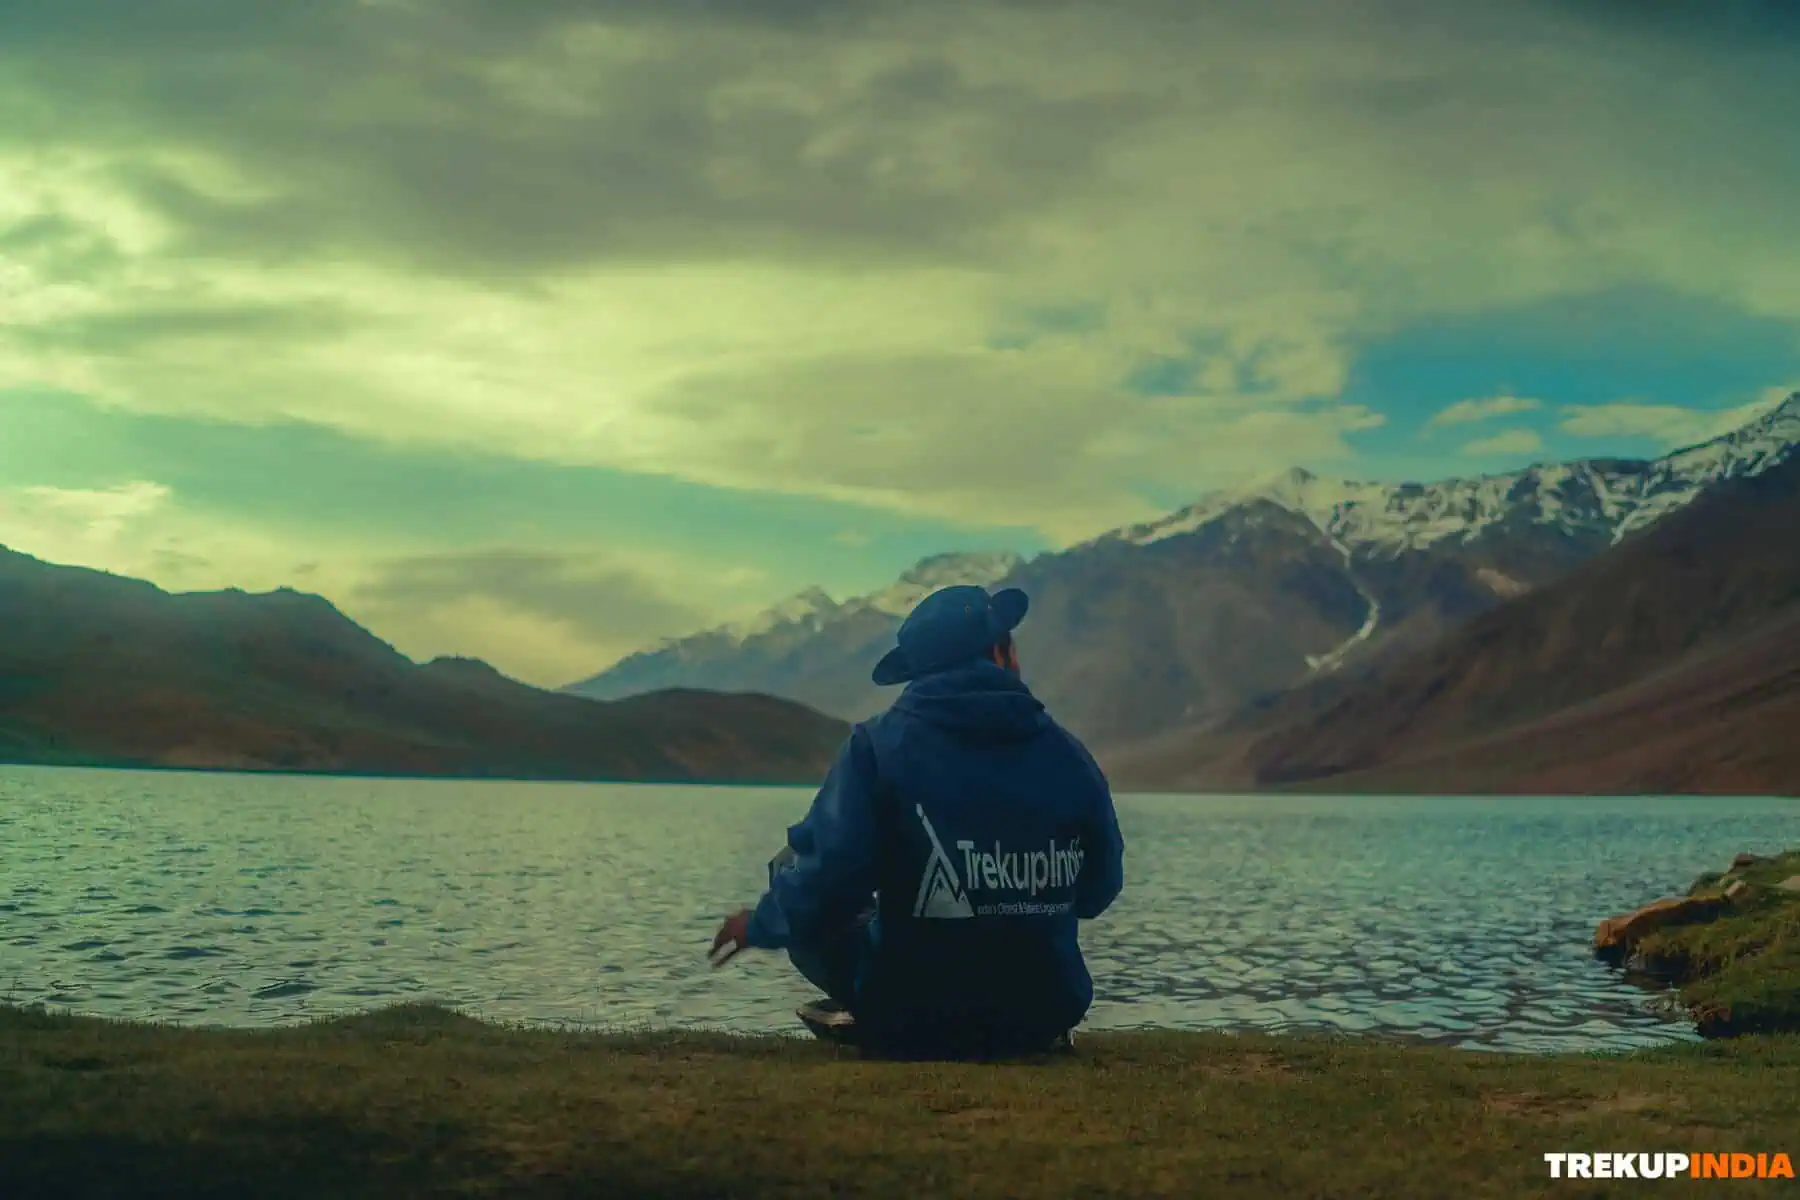
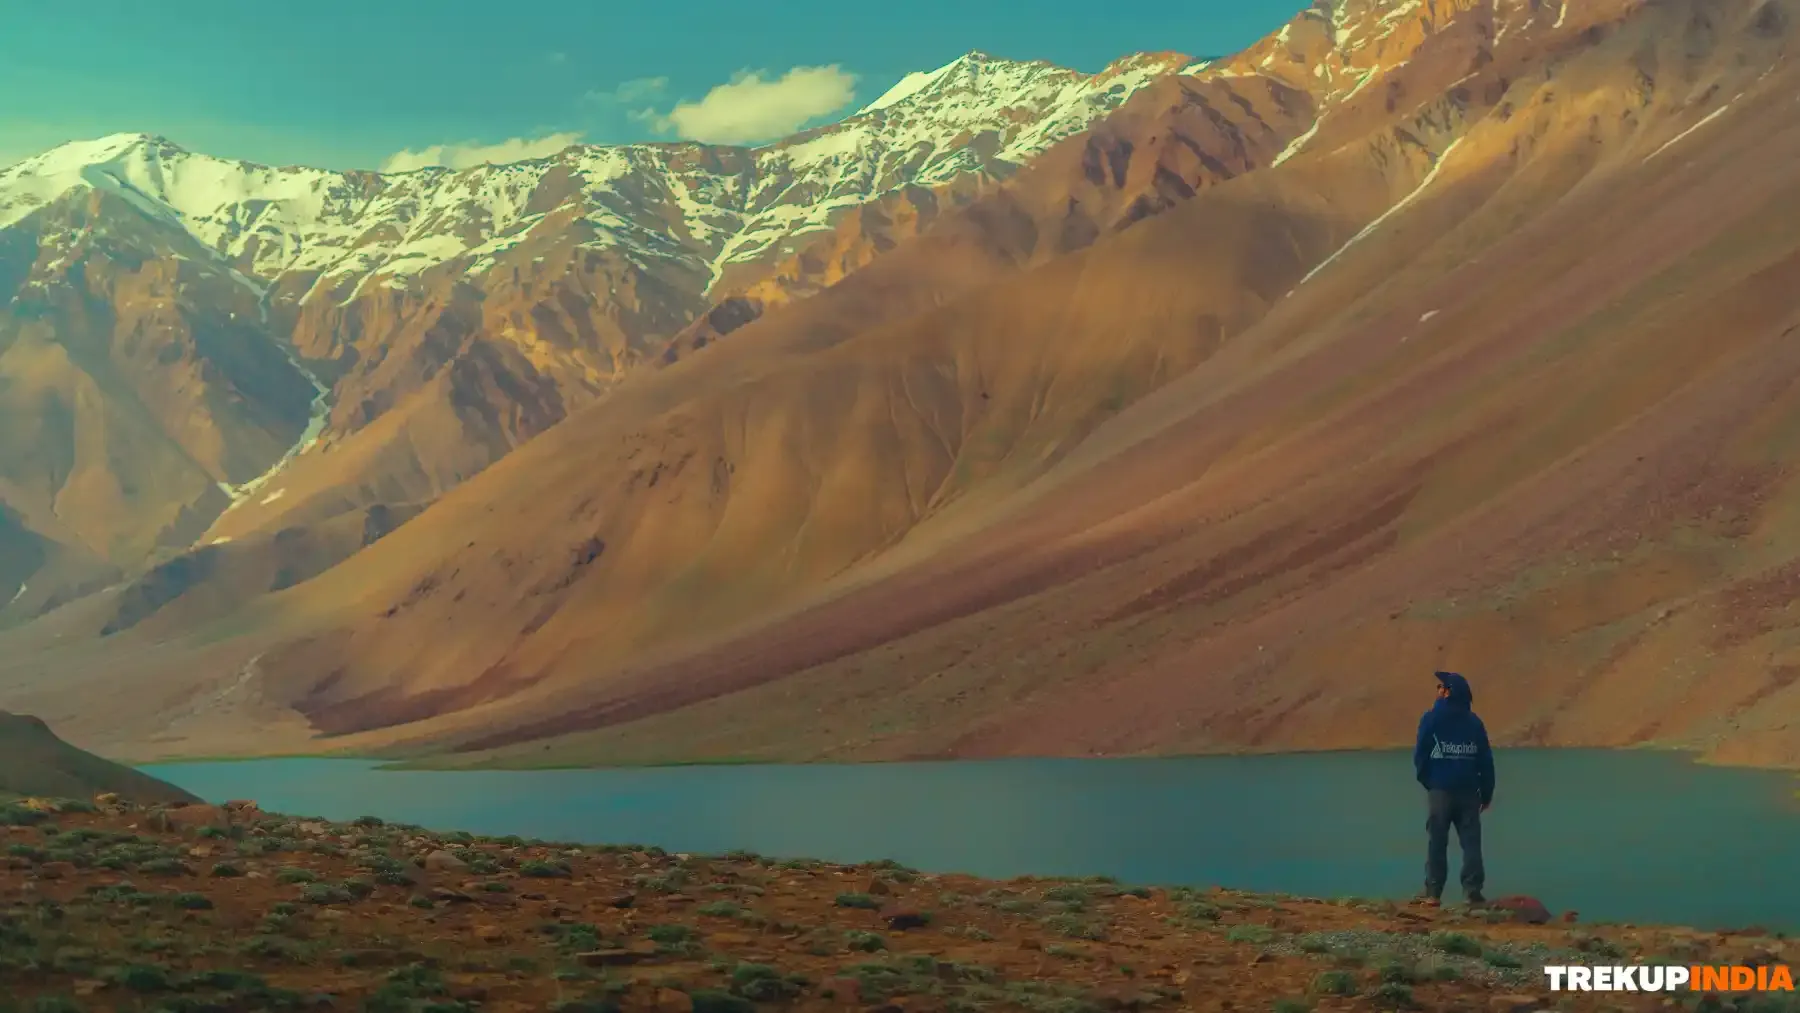
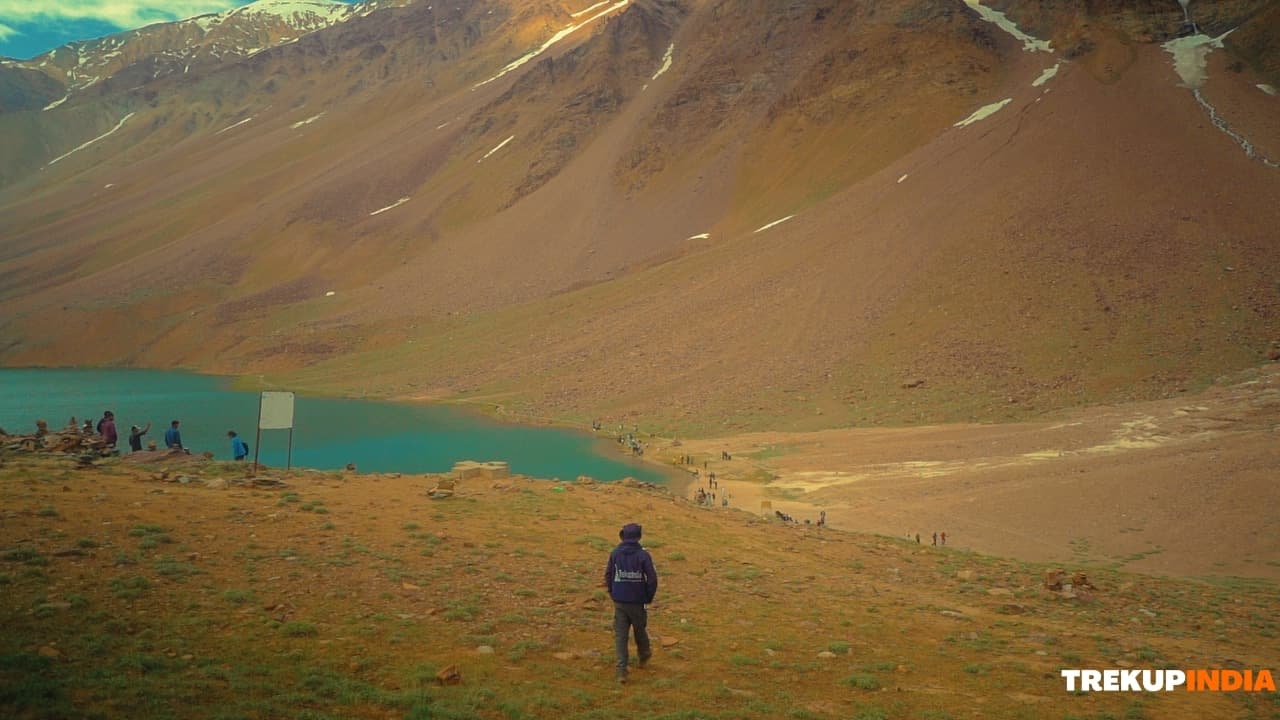
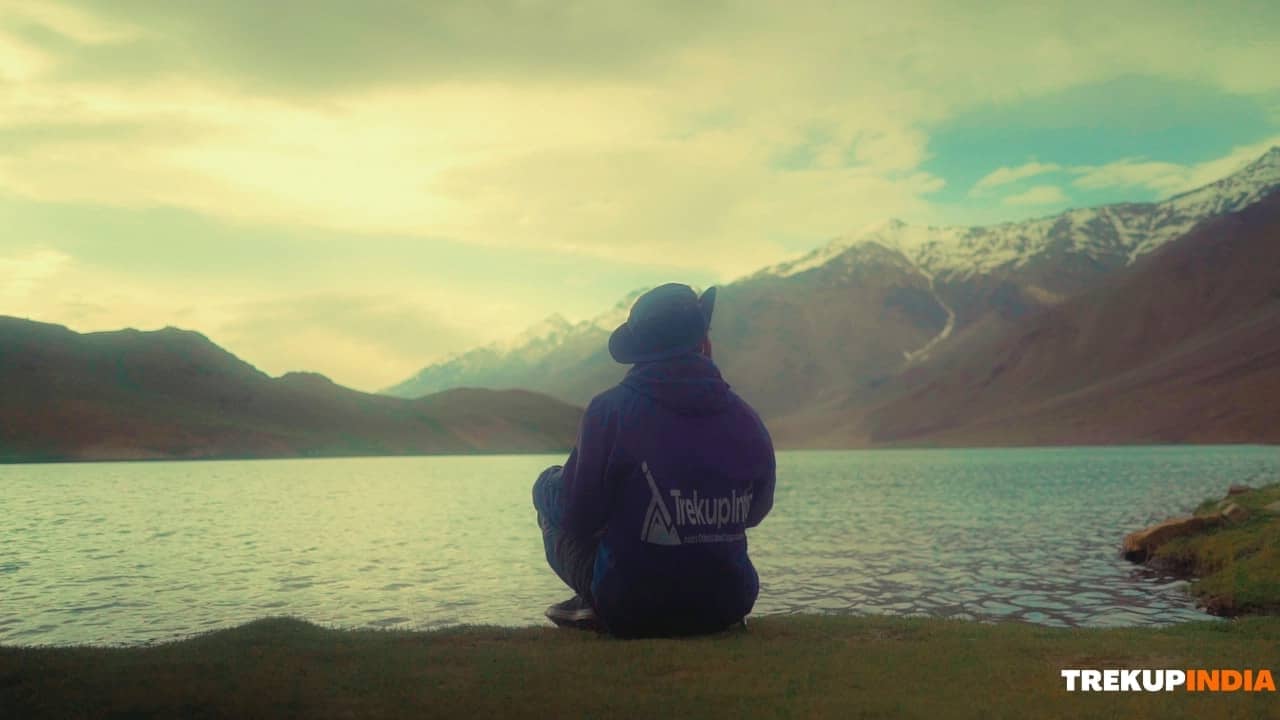
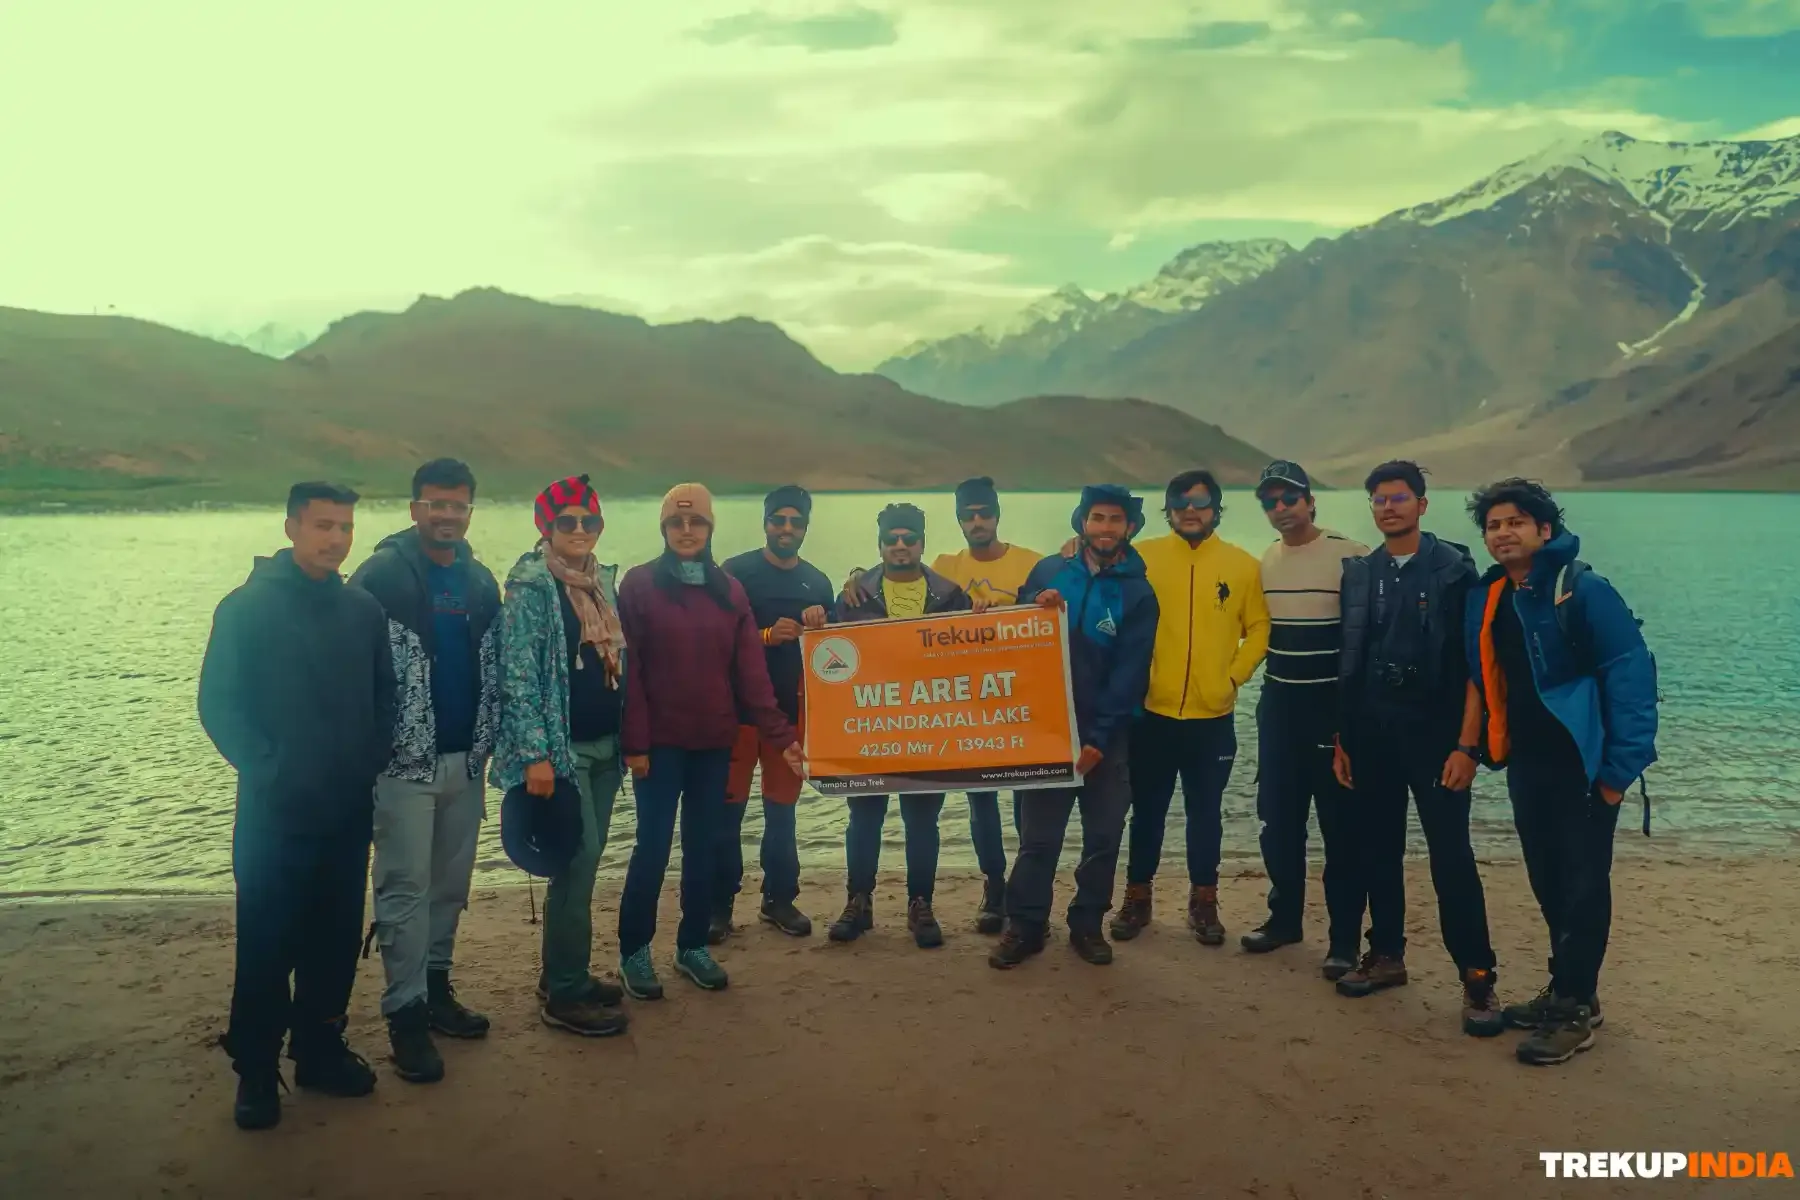
Part of the journey will be a rugged drive to the mystical Chandratal, or Moon Lake. Chandratal is located at an elevation of 14,100 feet (about 4,267 meters) and has been declared a Ramsar Protected Site, the only Ramsar Site in the Indian state of Himachal Pradesh. This glacially-formed, crescent-shaped wetland glimmers like a jewel as the sun arcs through the sky, reflecting its ever-changing shades of blue and green upon its surface. The Chandratal Lake, ringed by the towering, jagged peaks of the Chandra Bhaga Range, serves as both a symbol of physical exertion and an incredible alpine mirror by offering the final reward of your spiritual journey after crossing over the mountain pass at high altitude.
Trek Highlights
Unique Experiences
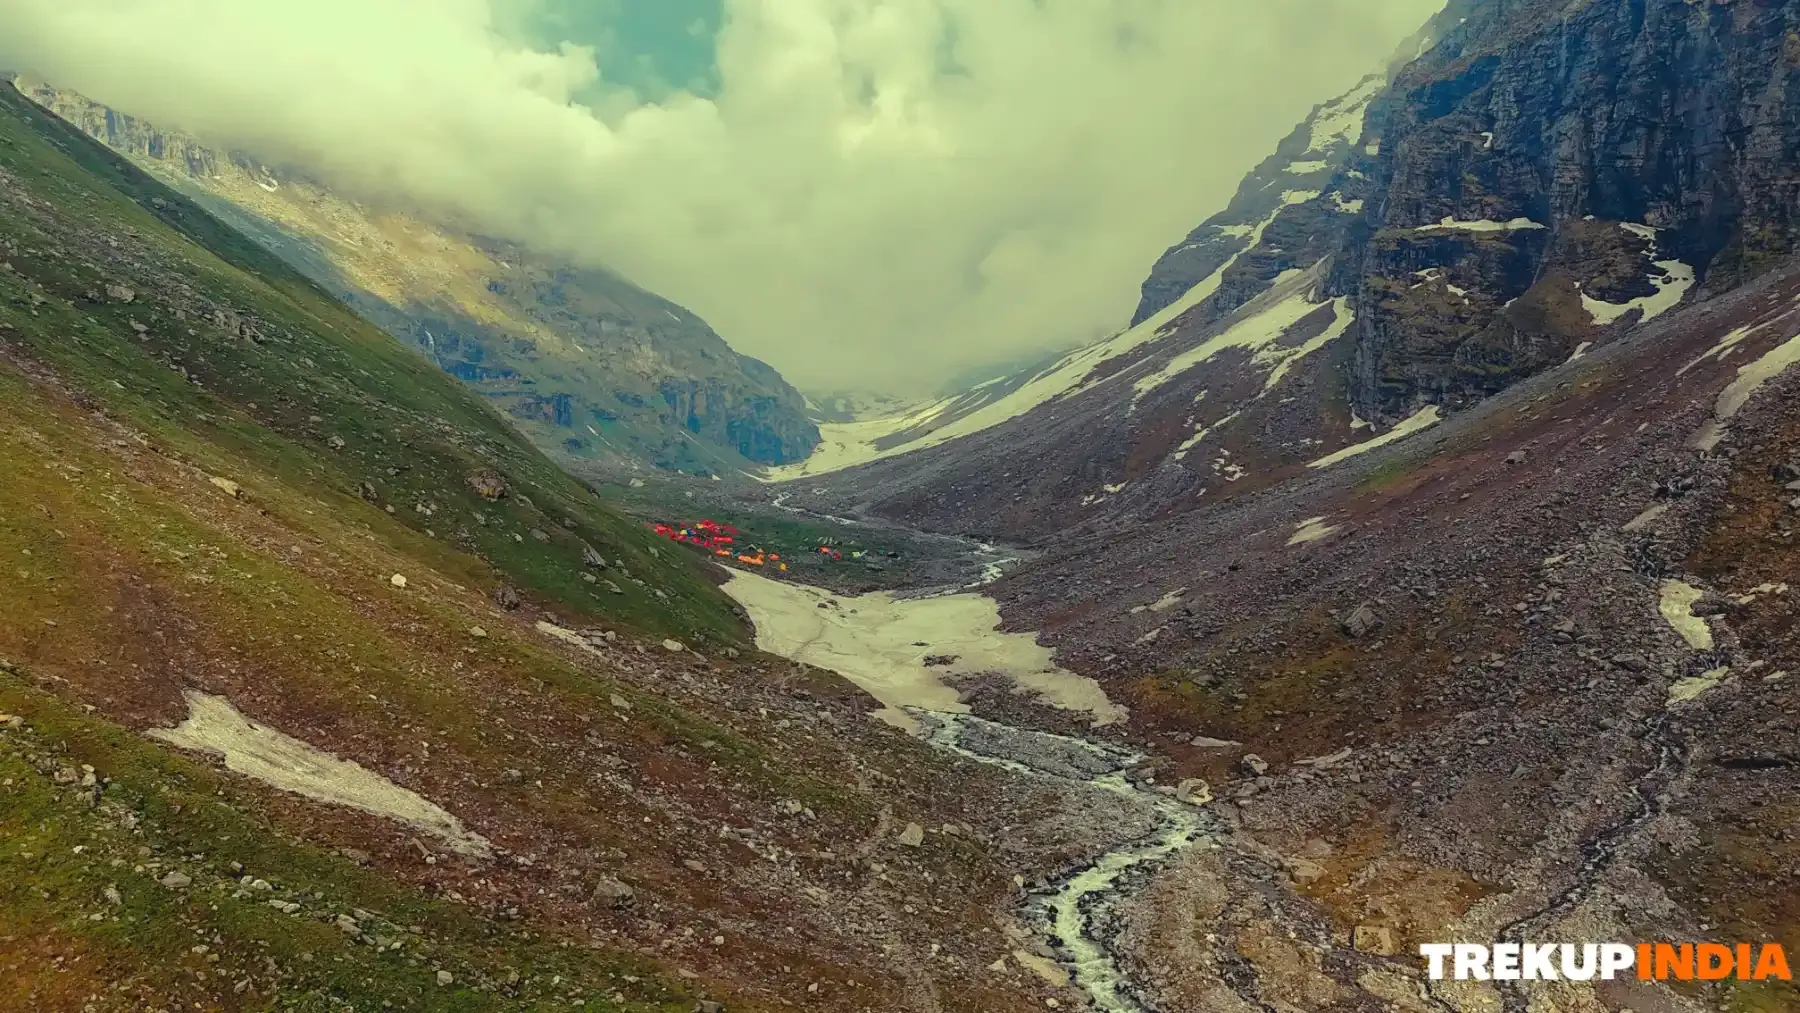
The trek offers two unforgettable experiences you can’t find any other place on Earth. First, the 500-meter Glissade, where you sit on the snow and slide down the steep face of Lahaul; this fast-paced, exhilarating descent transforms the difficult trek into utter joy. Secondly, camping at Shea Goru, otherwise known as the Refrigerator, because this campsite is located in a very deep glacial valley that has no light pollution and no atmospheric moisture, resulting in an incredible view of the stars as a bright, glowing bridge across the entire sky with light enough to cast faint shadows on the rocks below.
Adventure and Difficulty Level
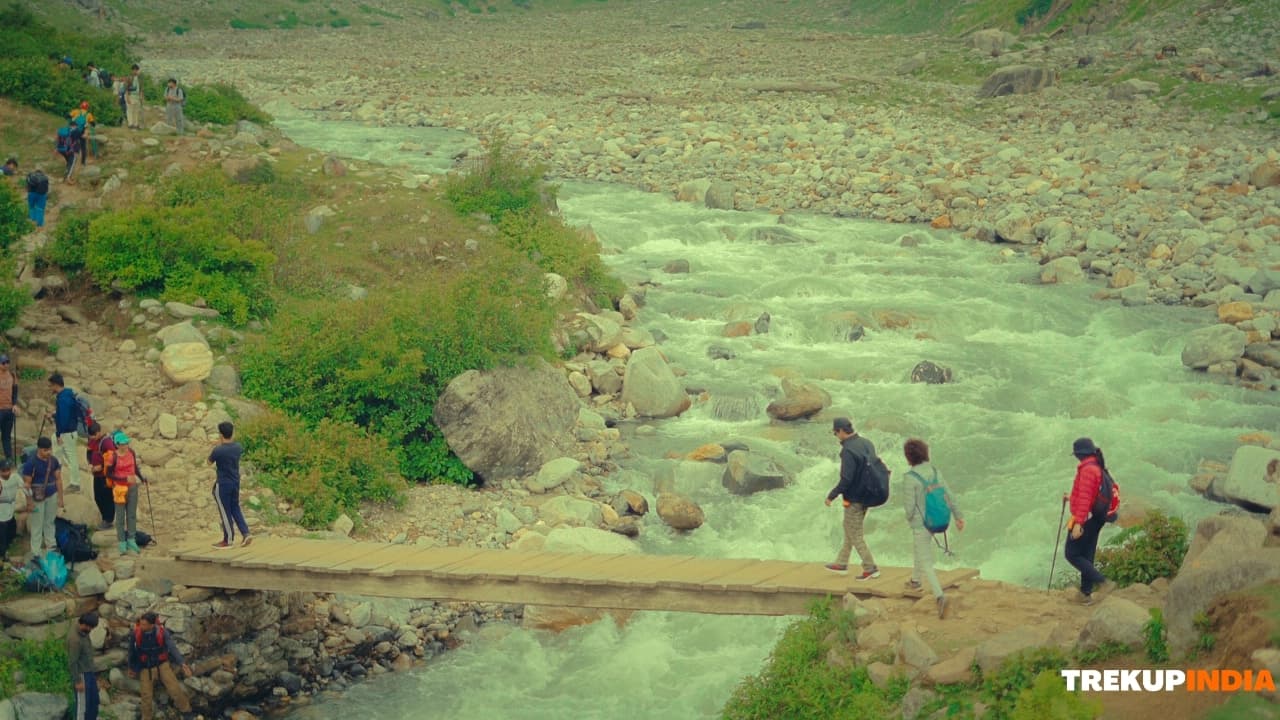
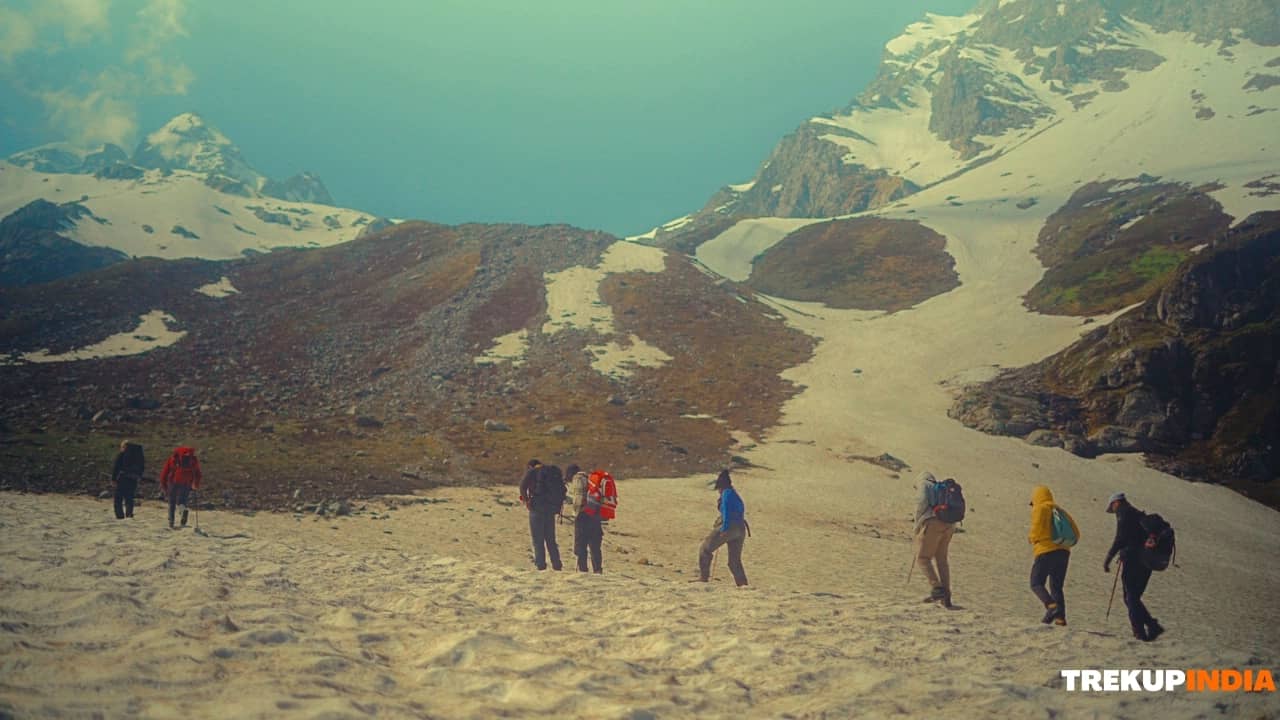
The Hampta Pass Trek is rated moderate and is a perfect introduction to technical trekking for anyone wanting to become a mountaineer. Trekking in the Himalayas is more than just trekking; it involves interacting with nature's elements. For example, you will cross a glacial river on a human chain at the Rani Nallah to endure the current of the icy meltwater. Also, you will trek on perilous snow bridges above roaring sub-glacial streams and descend through steep, knee-jarring terrain of loose scree and boulders on the Lahaul side, which will help test your physical endurance and mental toughness.
Flora & Fauna
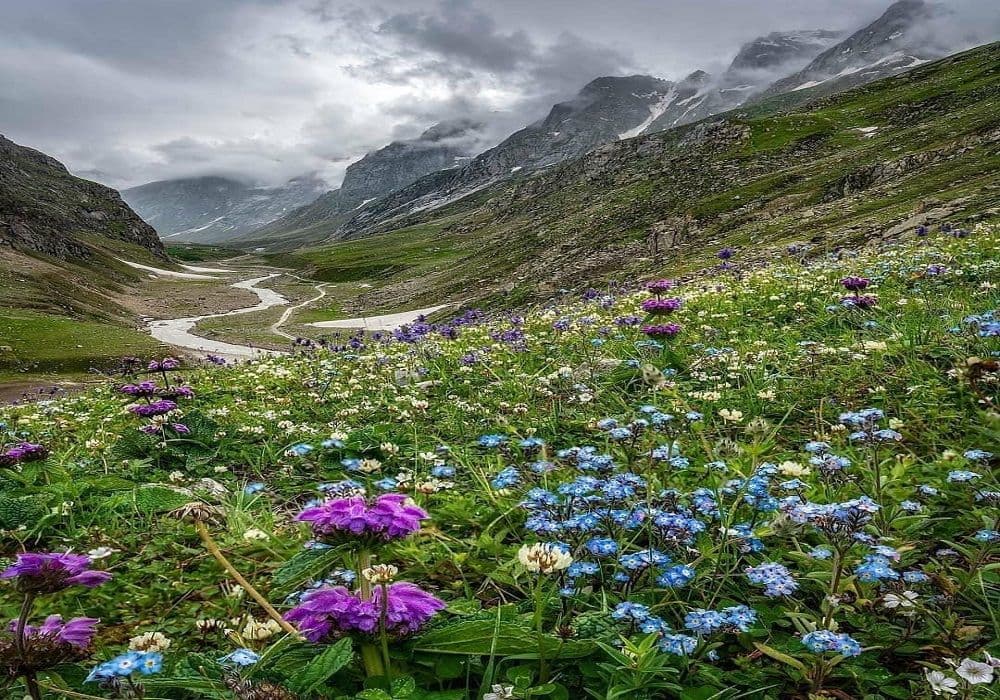
The Hampta Pass trek provides an ecological transition zone of different altitudinal zones in one area. You will also see many unusual Bhojpatra trees where the bark was originally used for writing ancient texts. When you arrive at the high alpine meadows, you will find many unusual medicinal plants and the lovely Blue Poppy. The animal diversity is just as amazing; be on the lookout for the colourful plumage of the Himalayan Monal and the little golden brown Himalayan Marmots running around in the rocks of the Lahaul Valley. You will also have many opportunities to observe the magnificent Lammergeier (Bearded Vulture) soaring on the thermal updrafts over the pass from a great distance.
Cultural & Village Life
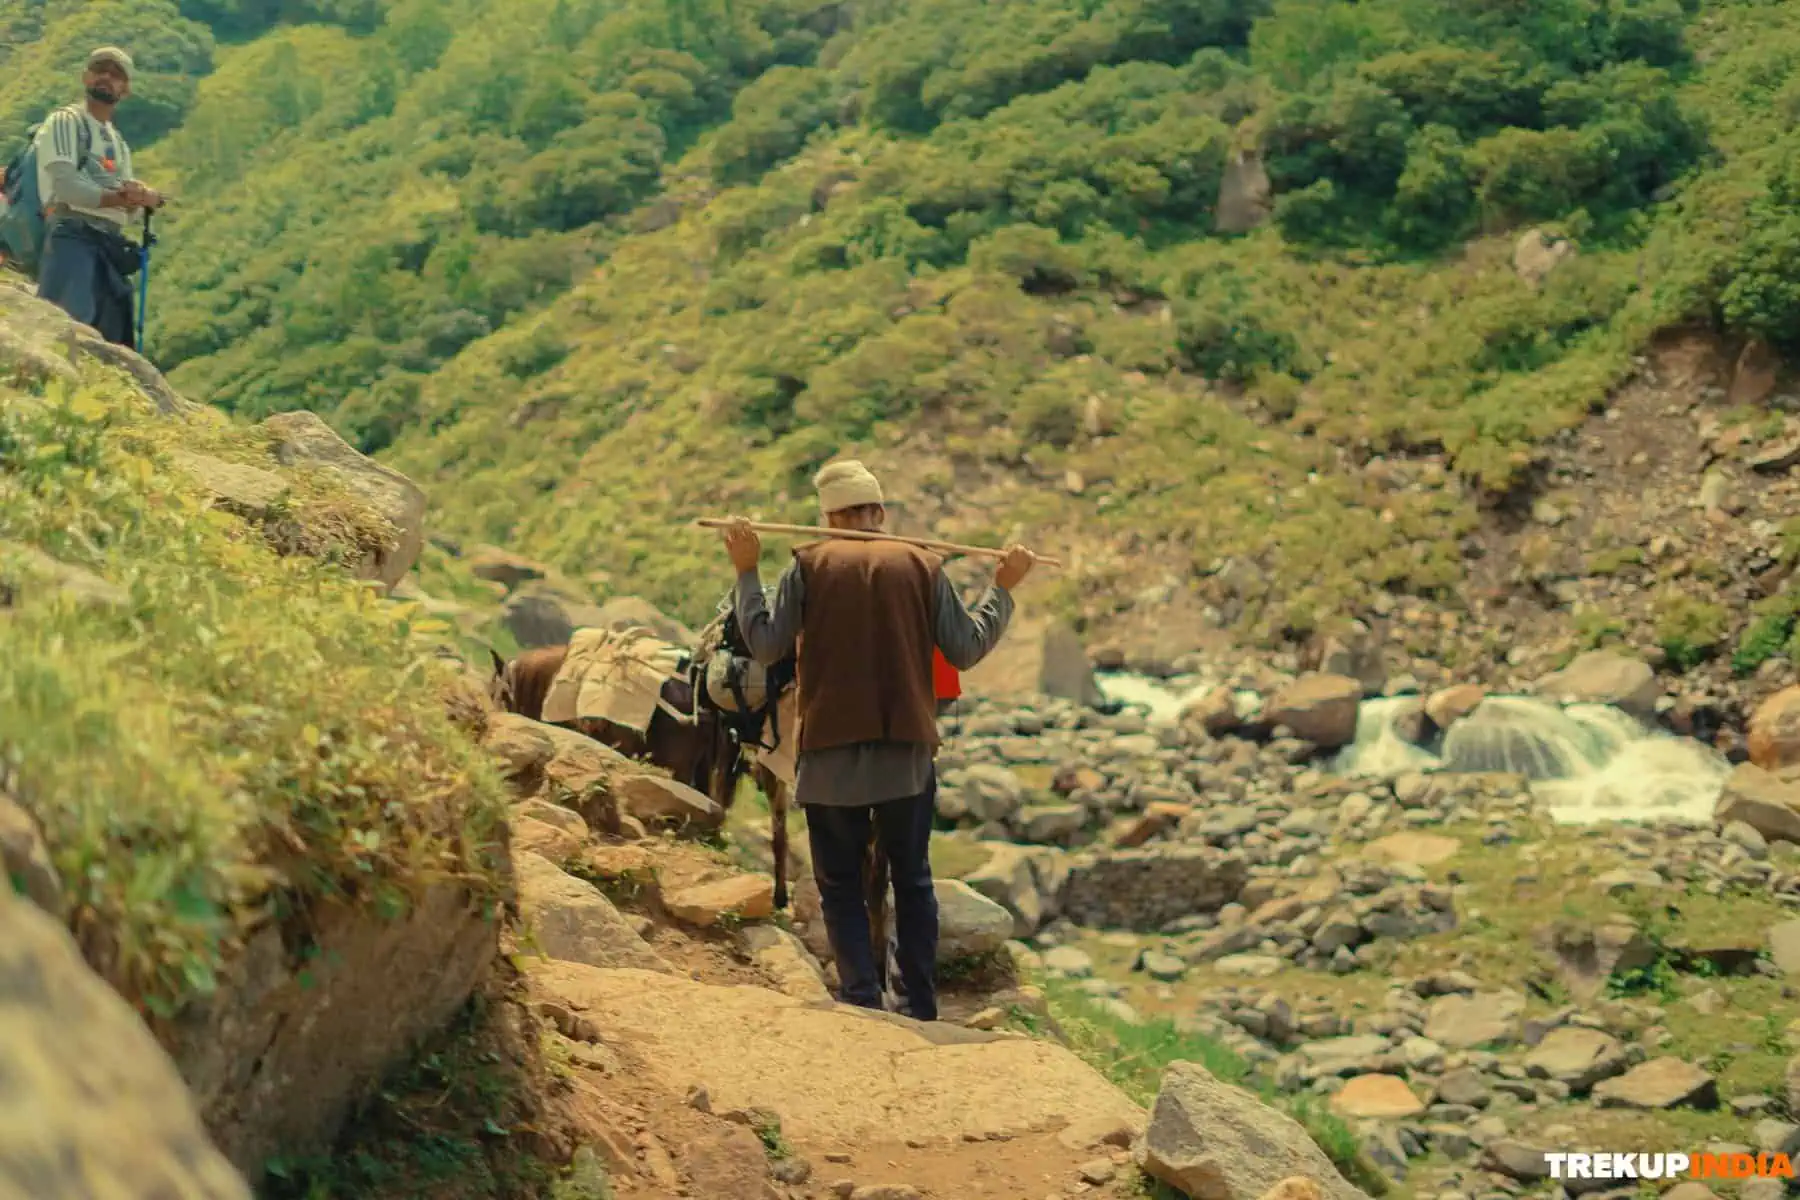
The human aspect of the Hampta Pass trek is related to the traditional use of the Hampta Pass over many centuries by the Gaddi and Gujjar shepherds as a seasonal migration route. When trekking along Hampta Pass, you will often see nomadic shepherds moving thousands of sheep and goats over the difficult pass to continue their seasonal migration to better pastures. Shepherds use temporary stone huts and fierce-looking Tibetan mastiffs to create a sense of history along the trail. The trek starts at Jobra, a remote village, where lifestyle is similar to how it was many years ago prior to modern development.
Best Season & Seasonal Beauty
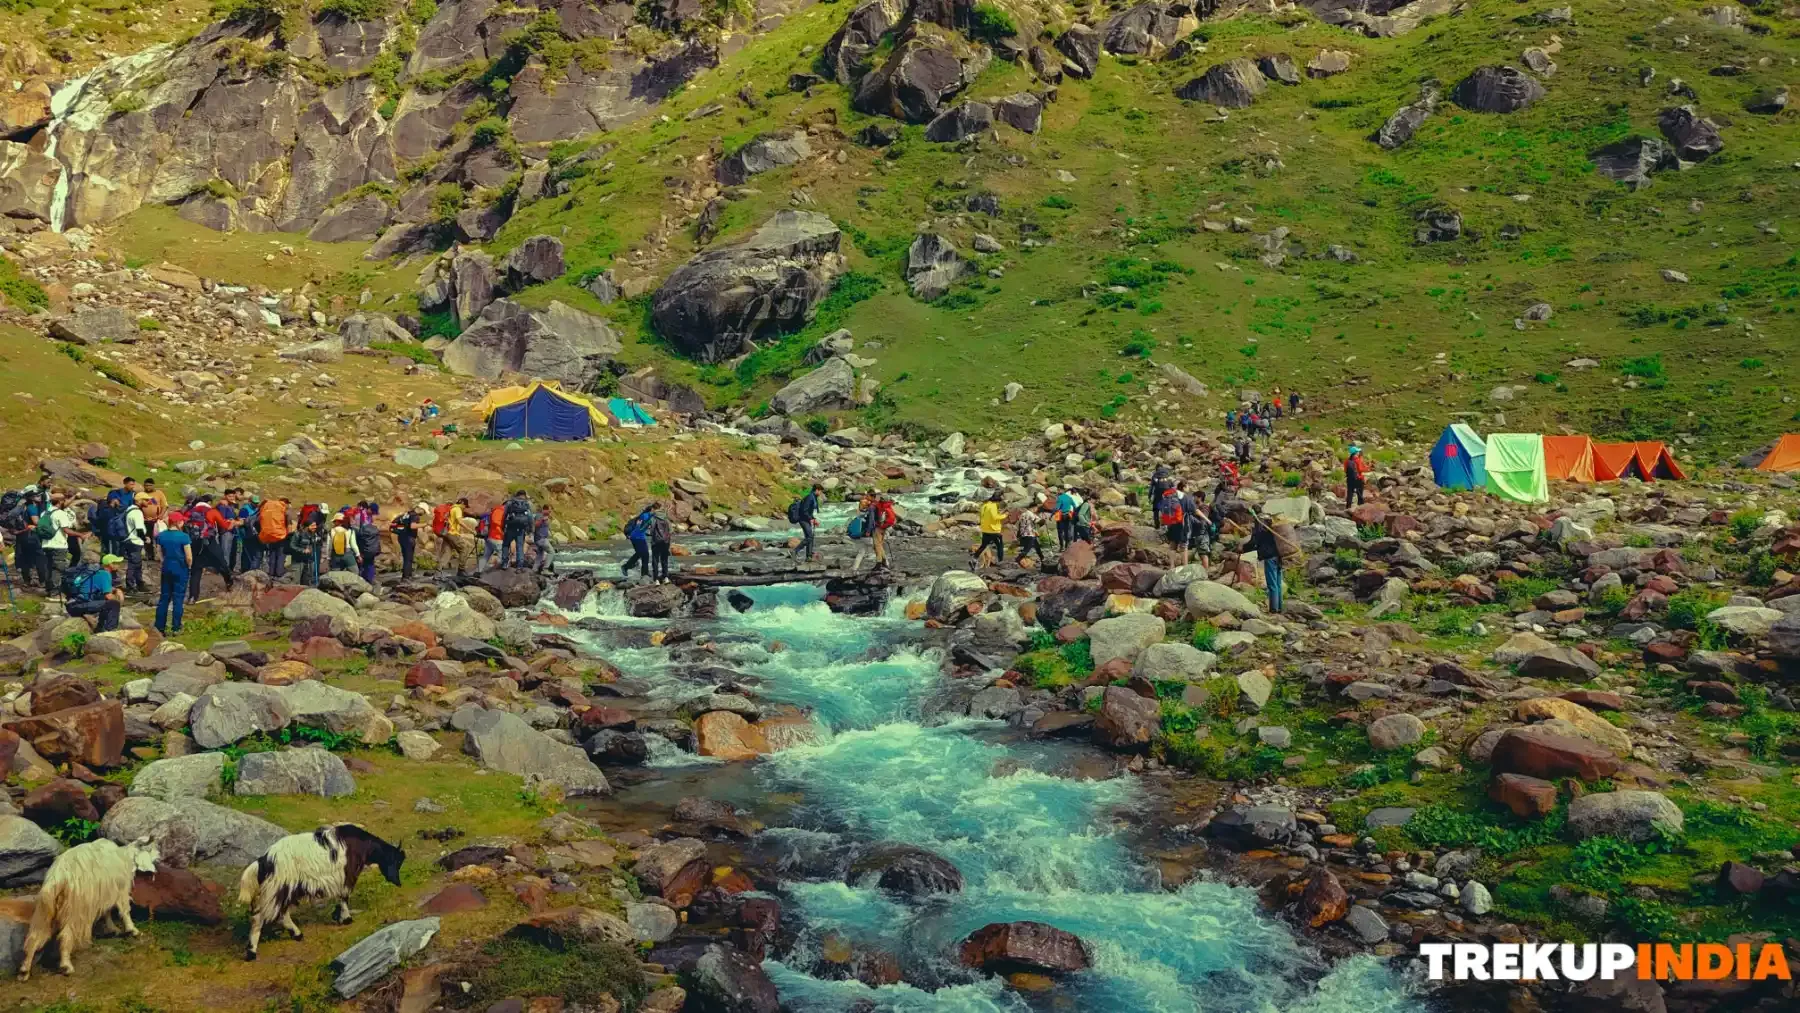
Depending on the time of year, the Hampta Pass trek can provide an adventure of completely different types. Due to heavy snowfall in the early summer months (June and July), the Hampta Pass can be enjoyed as a pure snow experience with glissading possible in all valleys (the pass is enclosed by huge walls of snow). Also, while much of India experiences monsoon rains during this period, the Lahaul region of the mountain remains rain-free and clear, while the Kullu region transforms into a green, misty paradise with significant contrast between the green and desert landscape.
Summit Experience
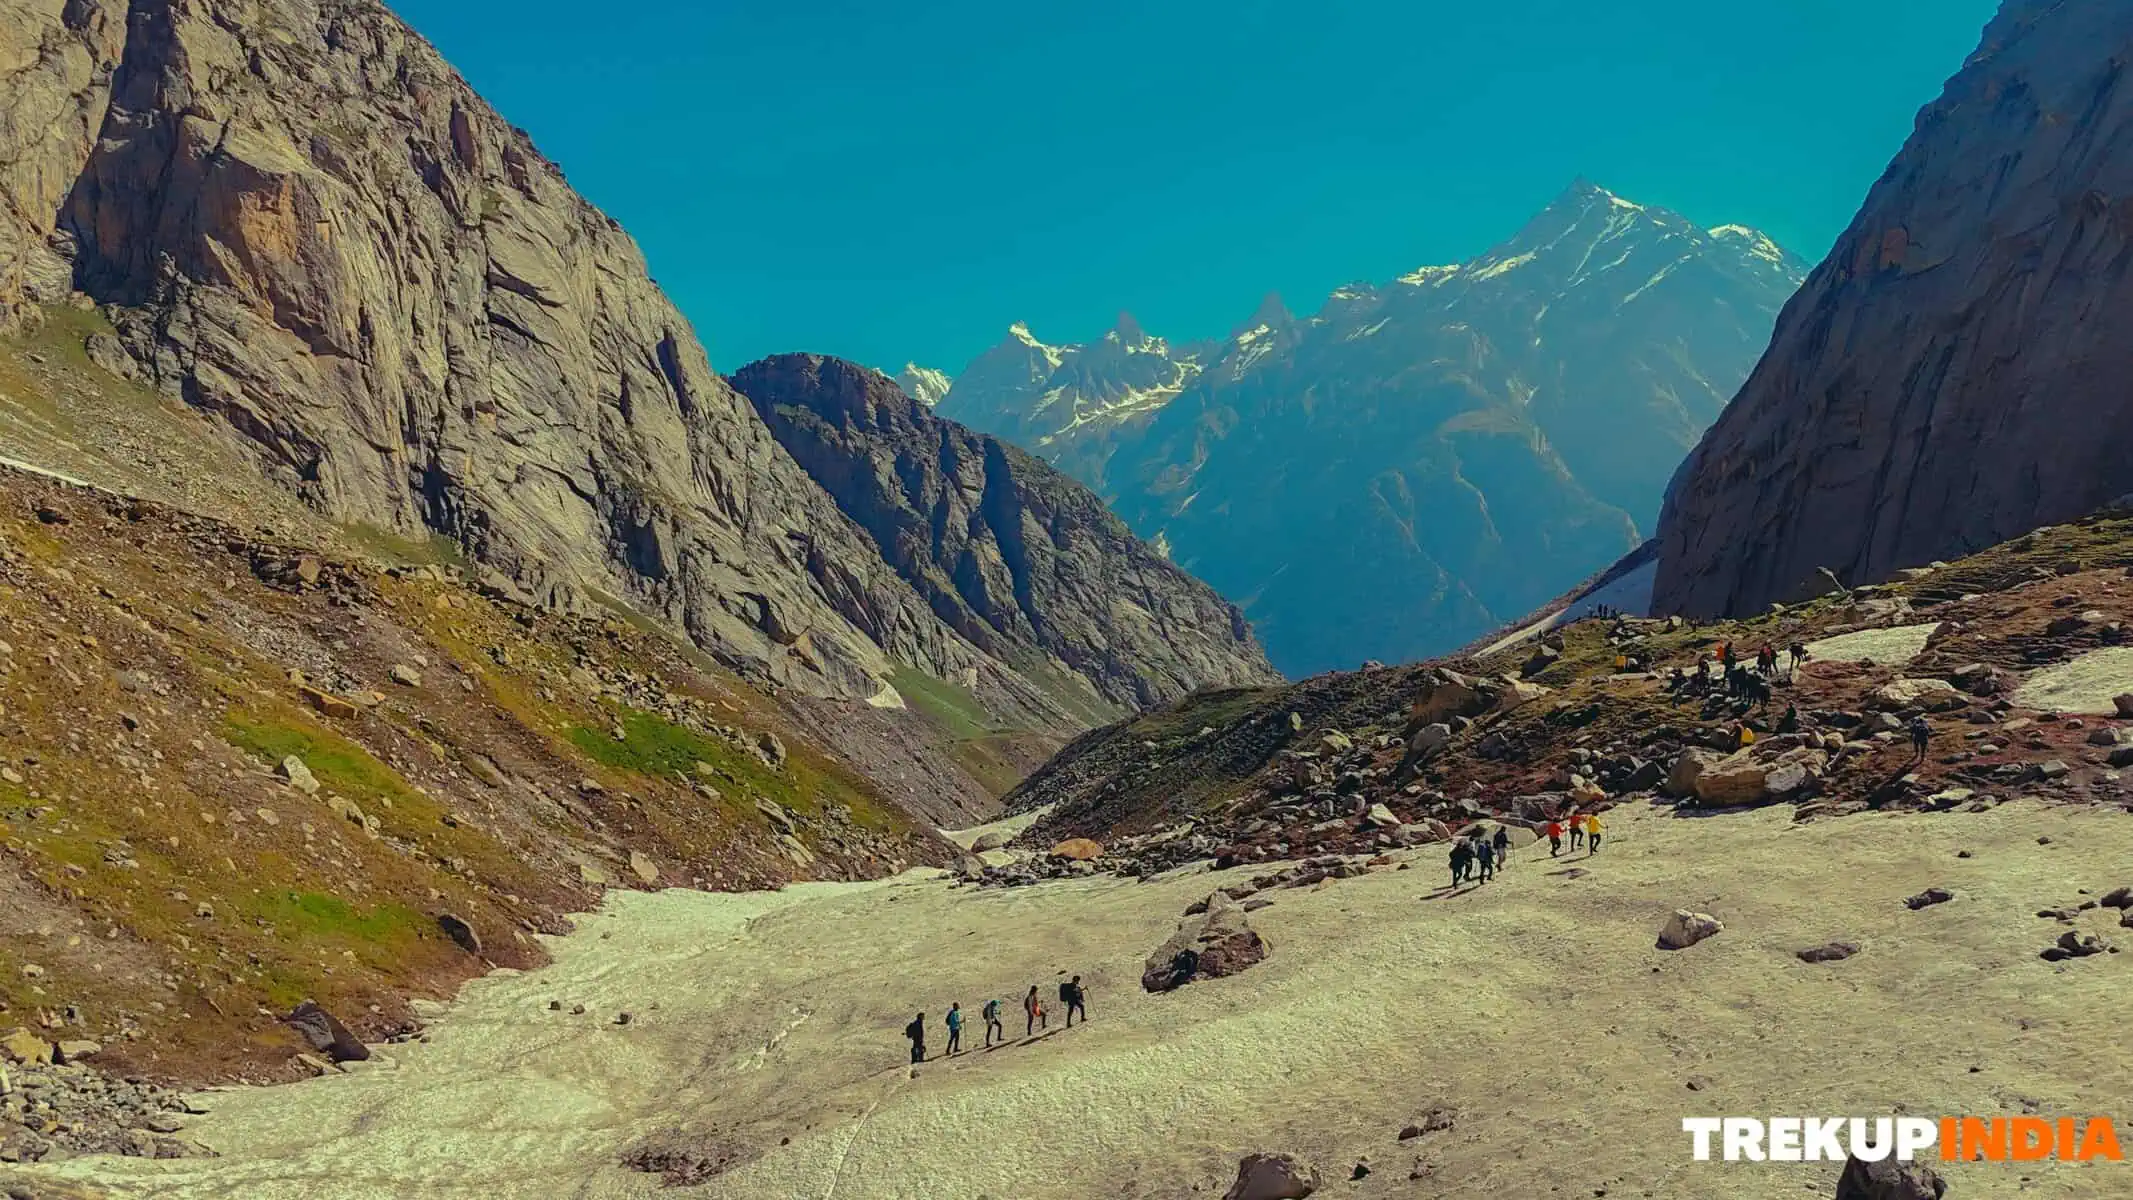
The 14,100 ft (4,270 m) summit itself is less about the height or altitude than it is about experiencing the theatrical reveal. The pass itself is a narrow ridge acting as the physical doorway between two contrasting worlds. At the peak, you will experience an incredible 360-degree sensory contrasting experience in which you see/feel the jagged, fog-covered peaks of the Pir Panjal range behind you and ahead of you, the huge, barren beauty of the Spiti mountains. From the summit, you will have a front-row seat to view the huge and spectacular Mt Indrasan and Mt Deo Tibba as they tower over the landscape.
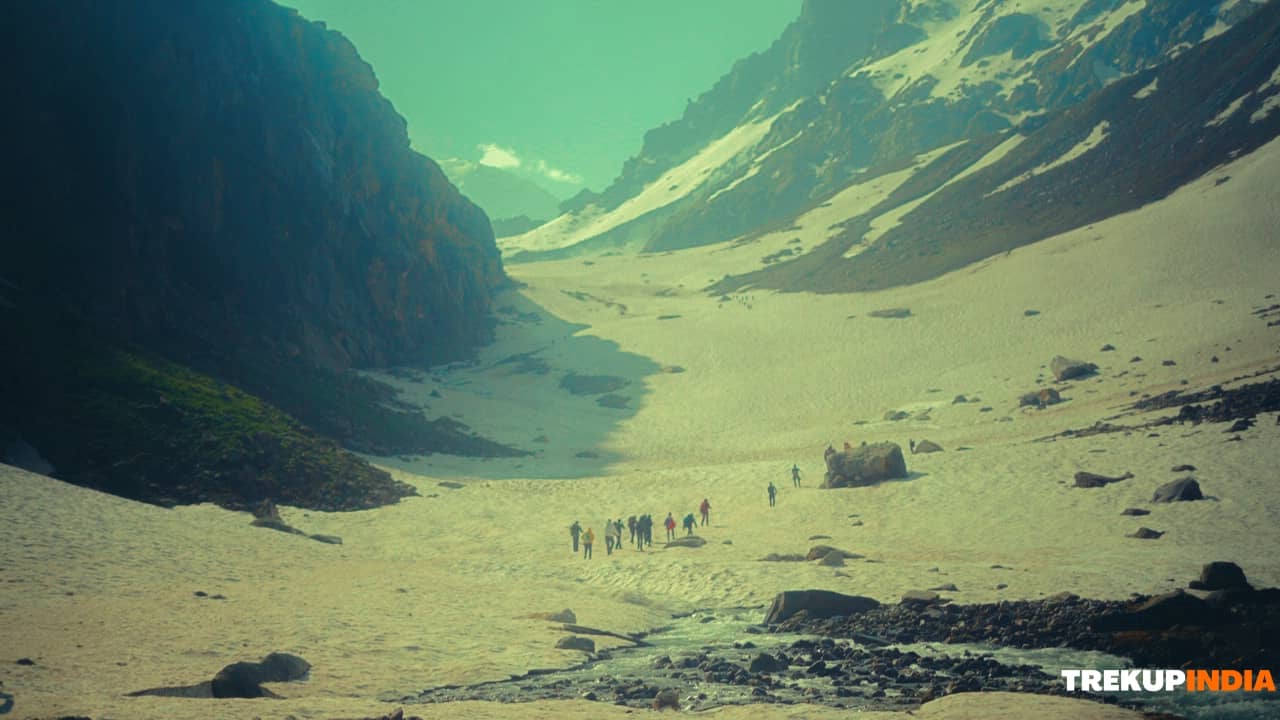
Scenic Beauty & Landscapes
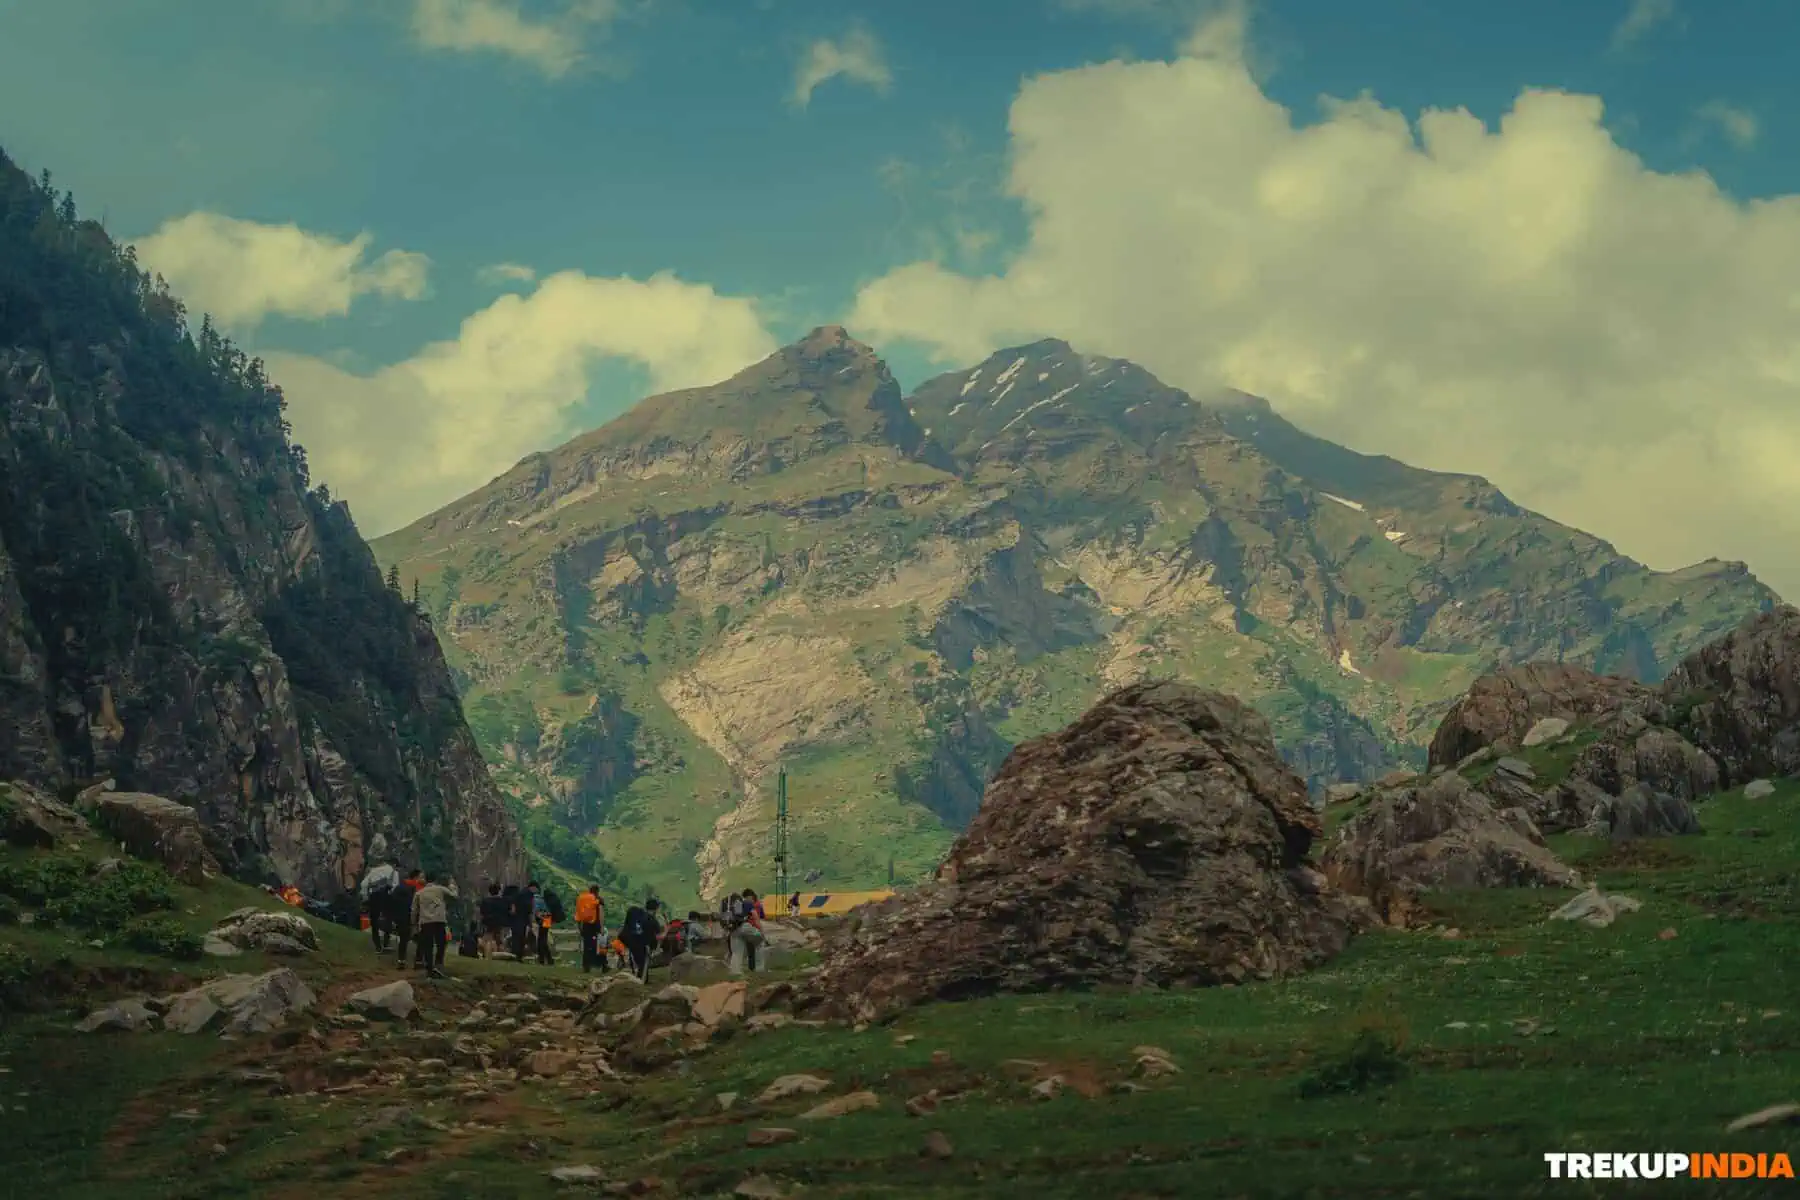
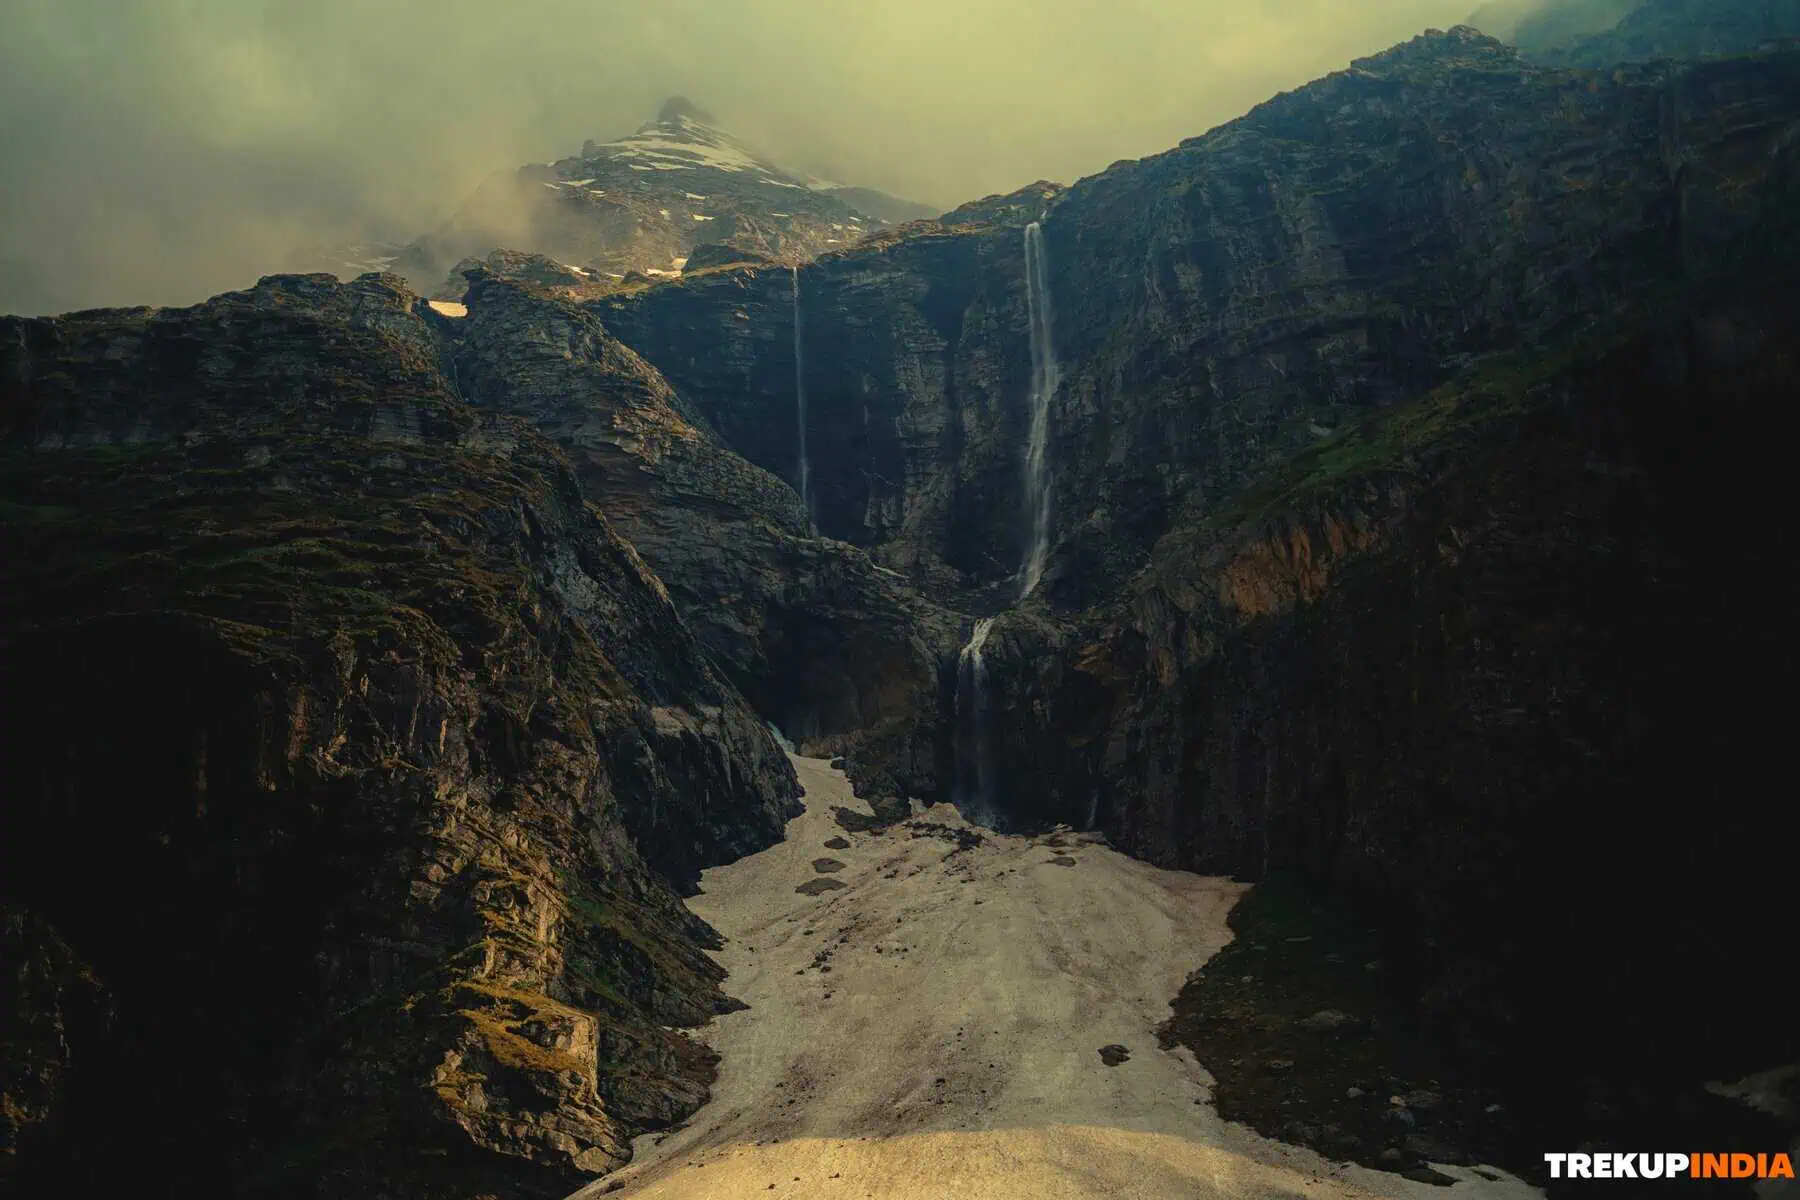
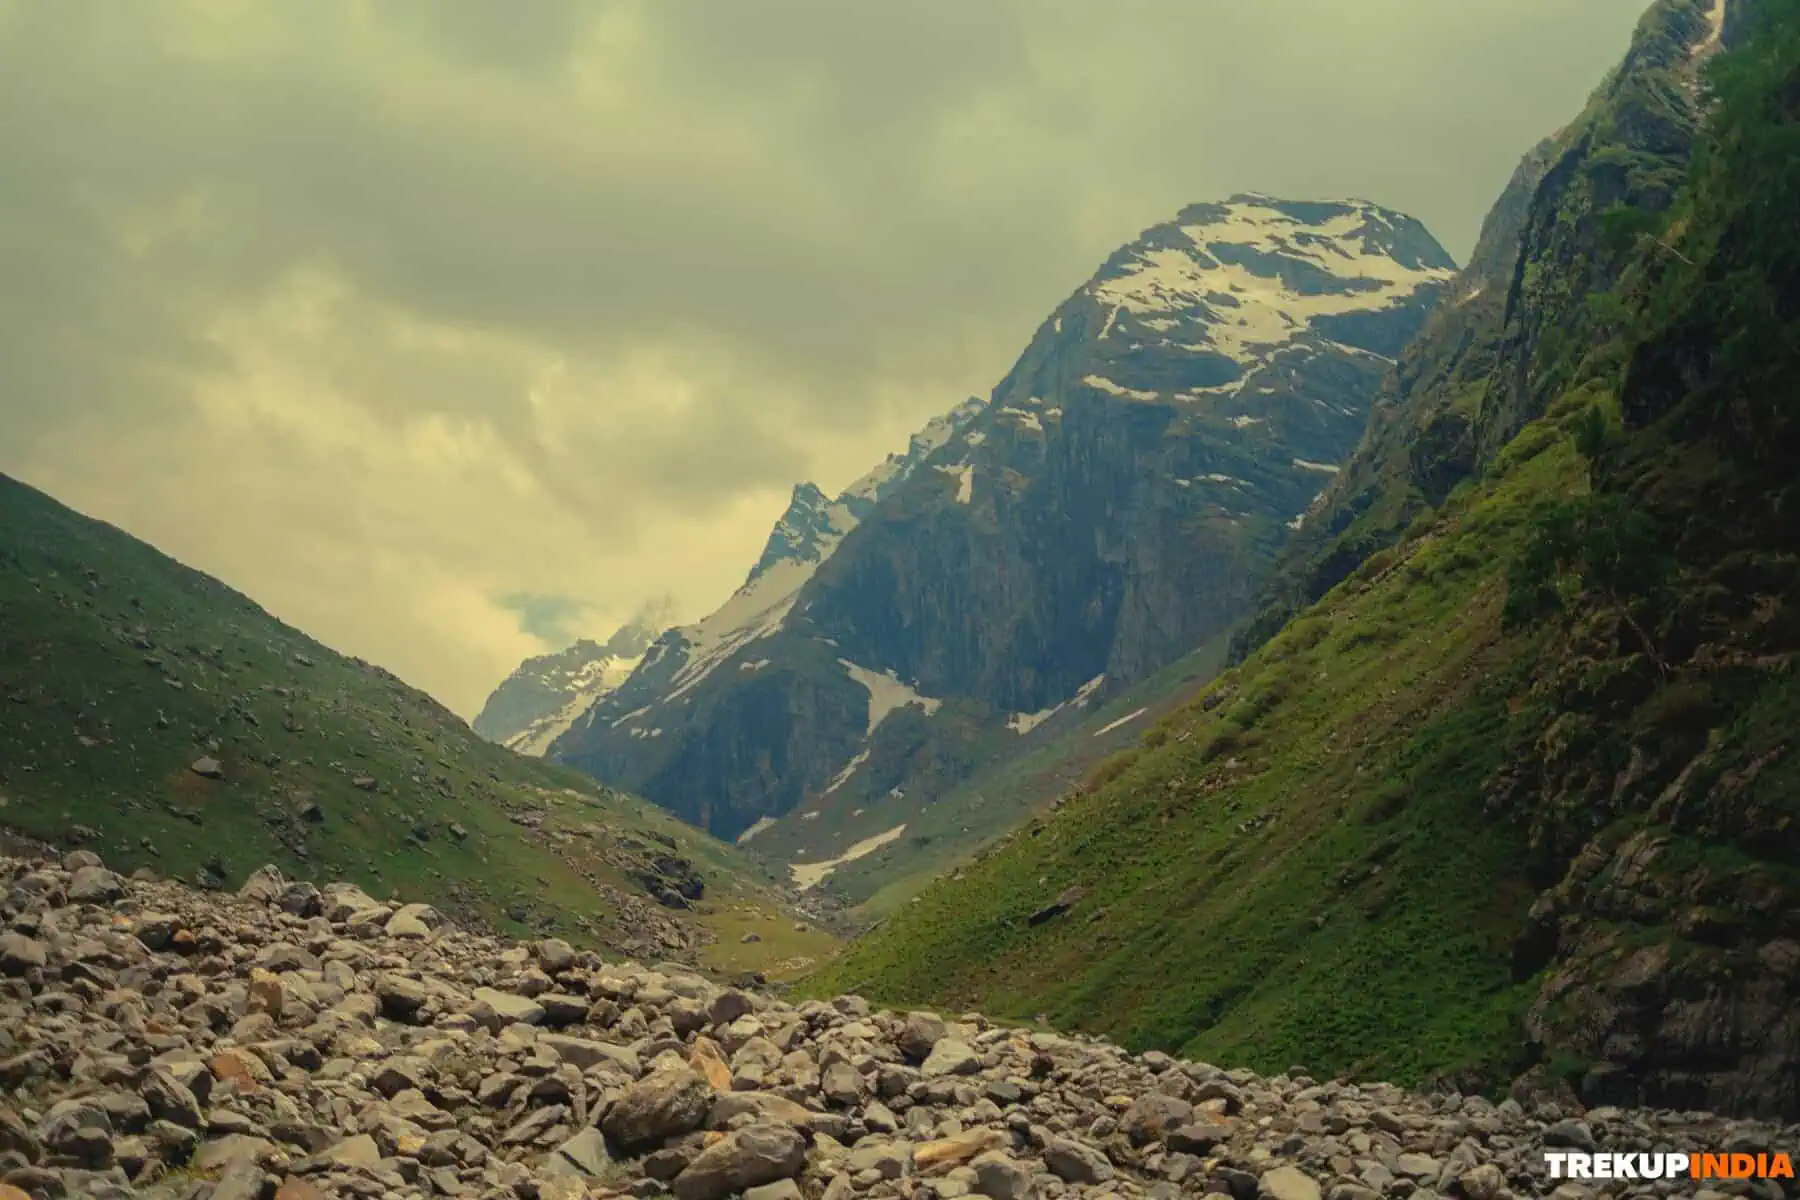
The Hampta Pass area provides excellent examples of the Himalayan rain shadow effect. As you trek and ascend from the lush, humid Kullu Valley with its thick, ancient Deodar, Horse Chestnut and Maple forests through the all colour carpeted alpine meadows of Jwara (during the monsoon), you transition from dense vegetation to high altitude barren land (almost instantaneously) upon crossing the pass and into the stark, colourless, wind-sculpted Lahaul Valley (a high altitude cold desert) where the earth has raw earth tones of rust, purple and brown, reminiscent of the lunar landscape.
Short and Detailed Itinerary, Trek Map and Altitude Chart of Hampta Pass Trek
This section provides a comprehensive, simple explanation of the Hampta Pass Trek, including general day-to-day routing, elevation gain, etc. The basic itinerary is designed to give an overview of the trek; all-inclusive itinerary allows for a more in-depth understanding of the various distances between campsites, the nature/type of terrain that trekkers will be traversing, and the locations of the campsite relative to one another.
In addition to the above, the trek map indicates the specific route of the trekking path, village locations, forest locations, and campsite locations within the trek area enabling trekkers to imagine their trek through snow-covered coniferous forests and alpine meadows. The elevation chart clearly indicates the total elevation gained and lost each day of the trek ensuring that trekkers can prepare adequately before arriving at the basecamp, acclimatize safely to altitude, and have a positive experience on their overall trek.
Best time for Hampta Pass Trek: Season by season guide
The best time to start the Hampta Pass trek - some people refer to it as either the right time or a good time is not simply dependent on finding good weather conditions but instead on identifying which particular set of Himalaya conditions you prefer. There are two completely different weather patterns along the Hampta Pass; on one side are moisture-heavy pine forests filled with rain from the southwest during summer, while on the other side lies the dry, arid region of the Trans-Himalayan desert, where rain does not fall. Depending on the season, the trail changes drastically from one extreme condition to another in just a few weeks' time. At the beginning of summer, you can expect to have high-altitude adrenaline-pumping adventures cold enough to wear a down jacket crossing snow-bridged rivers; at mid-monsoon, you will see vibrant wildflowers; and in autumn, the sky will be razor-sharp and brilliant with stars, unlike at any other time of year. Therefore, understanding these seasonal characteristics can help match the rapidly changing nature of the trek with your own enjoyment of adventure, plant exploration, or advanced photography.
Hampta Pass Trek: Month by Month Breakdown
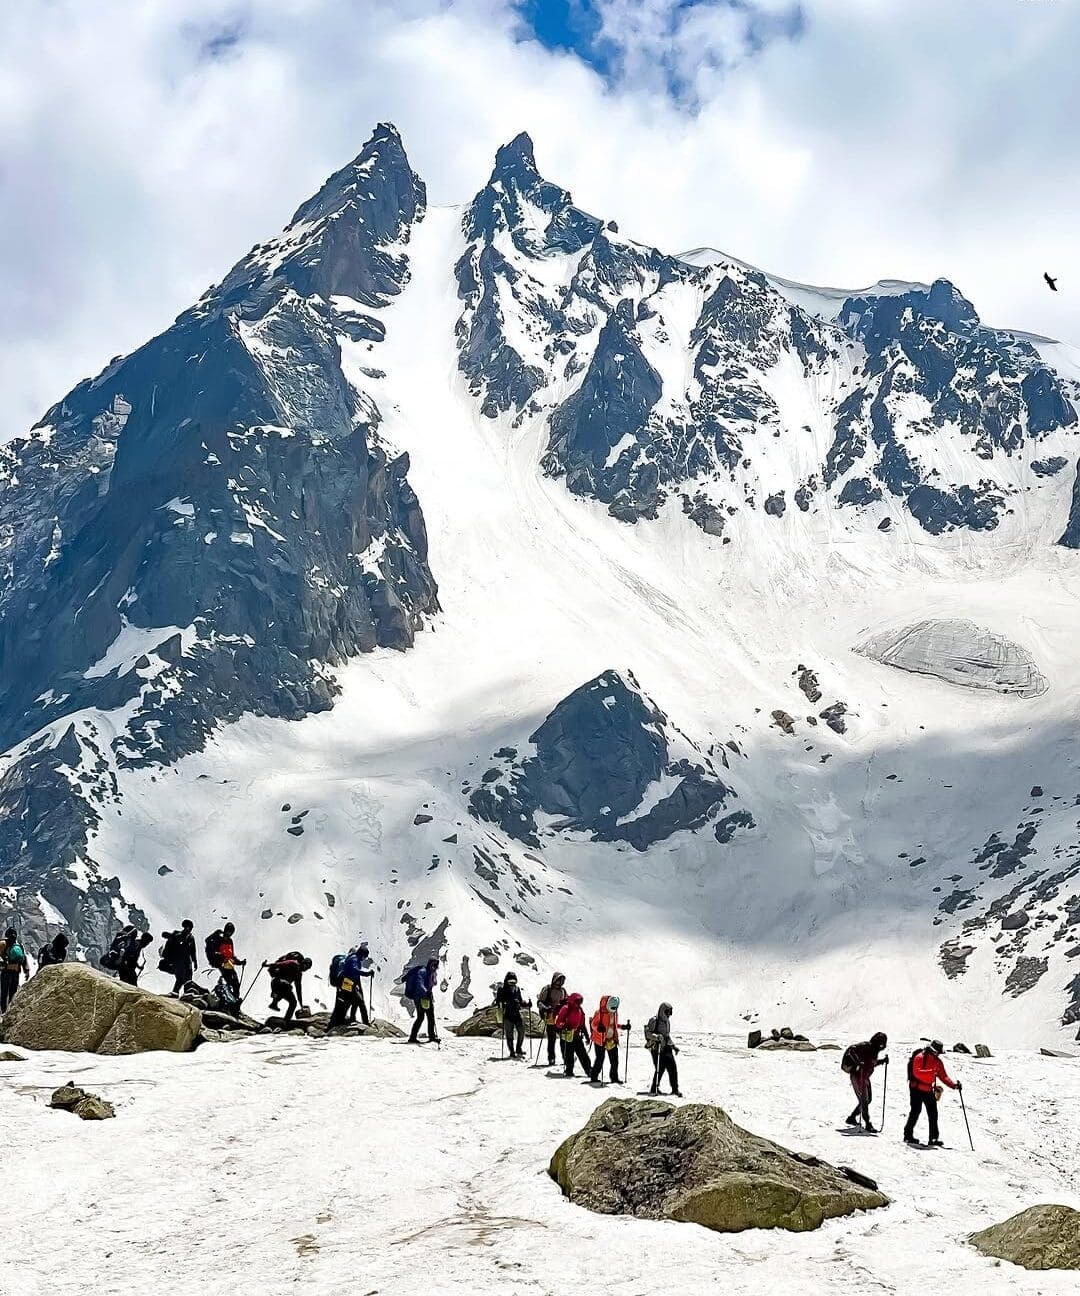
Advice by our Expert Team
Our Expert trek leaders and trek guides are well known about the trekking trails with the adverse weather conditions at higher altitudes and they know how to deal if any uncertainty arises. They have years of experience in trekking adventure and suggest you with some advice for the trek.
1. Prioritize Acclimatization: Stable weather in the spring and autumn makes it easier but never rush to the trek. There is a chance of AMS problems occurring due to dry cold so be prepared, take precautionary measures with yourself.
2. Proper Layering: Temperature fluctuates instantly, especially on the higher altitude, so layering should be proper (base, mid and outer) is critical for managing sweat and preventing the cold.
3. Premium Boots: Make sure your boots are long lasting and well broken or used before your trek starts. The risk of foot injury and blister from the new boot can end your trek journey
4. Hydration: It's advisable to drink 3 to 4 litres/day. Because of high elevation and exertion, you need constant intake of fluids to overcome the effects from AMS.
5. Pace Yourself: Walk at a comfortable pace using what is called the mountaineers shuffle. This will conserve your energy and help you manage your breathing.
6. Protect Against UV Rays: Use High-Quality UV Sunglasses (Category 3 or 4) to protect your eyes from snow blindness, and use high SPF Sunscreen on your skin to protect it from sun damage.
7. Healthy Consumption: Food should consist of small amounts consumed frequently and contain a lot of nutritious ingredients and minerals. This will provide you with the sustained energy needed for trekking at high altitudes.
8. Safety: Pay attention to what your body is telling you when you are feeling AMS Symptoms. Should you believe you might be suffering from AMS, report it immediately and prepare to descend. Descending is the quickest treatment you can receive.
How to Plan Your Travel for Hampta Pass Trek
Are you excited to start your adventure for Hampta Pass Trek? The travel journey starts from Mall Road, Manali where all the trekkers reach & move towards Jobra. In this section we will guide you how to plan & proceed your travel journey for Hampta Pass Trek. From your home town to pickup point Manali, we guide you with all the necessary means of transport for a smooth and adventurous journey. You can opt various means of transport like flight, train & bus to reach your pickup point at Manali.
Modes of transport to reach Manali (The base pickup city)
There are various means of transport to reach at your pickup point via flight, train & bus with variation in timings. All the flights, trains & buses have different arrival & departure times. So plan your travel journey accordingly. We have mentioned all the information regarding the travel perspective for your convenience.
1. By Flight (Fastest Means)
The Chandigarh Airport is located 275 km away from the pickup point. There are scheduled, nonstop flights from all major metro cities such as Delhi (DEL), Mumbai (BOM), and Bangalore (BLR) etc.These airlines offer direct flights from multiple cities.The timings are subject to change and will vary day by day. Below mentioned flights are directly departing from Delhi.
| Flight | Departure | Arrival | Duration |
|---|---|---|---|
Air India | 06:50 | 07:50 | 1 hour |
IndiGo | 08:20 | 09:10 | 50 min |
Air India | 11:10 | 12:20 | 1 hr 10 min |
Alliance Air | 13:50 | 14:55 | 1 hr 5 min |
Suggestions: Please make sure to arrive one day prior to the expedition journey starts as it will take about 5 - 6 hrs to reach Manali from Chandigarh Airport.
2. By Train (Dependable Means)
The Chandigarh Railway Station is 271 Km from the pickup point. You can cover the distance by changing vehicles from Chandigarh to Manali pickup point. The best train services for overnight travel from Delhi to Chandigarh:
| Train | Departure | Arrival | Duration |
|---|---|---|---|
Kalka Shatabdi Express | 05:15 | 08:30 | 3 hr 15 min |
Vande Bharat Express | 05:50 | 08:38 | 2 hr 48 min |
Cdg Shatabdi | 07:15 | 10:35 | 3 hr 20 min |
Klk Shatabdi | 07:40 | 10:59 | 3 hr 19 min |
Suggestions: Please make sure to arrive one day prior to the expedition journey starts as it will take about 5 - 6 hrs to reach Manali from Chandigarh Railways Station.
3. By Bus (Affordable Option)
The Manali Bus stand is the major and easiest way to directly reach the pickup point. Buses are well air-conditioned like Volvo, Sleeper, and Non-AC buses with departures mainly from Delhi, Jaipur, Mumbai, Bangalore and other cities. The timings are subject to change and will vary day by day. Buses from ISBT Kashmiri gate Delhi to Manali runs on a frequent basis starting from early midnight 12:00 and taking (10 - 11 hrs) to reach Manali. You can book your seat through Redbus, MakeMyTrip, Goibibo and other UTC buses. After reaching the bus stand in Manali, our Trekup India taxi will pick you from the Gujrati Cottage Road ,Prini, Manali, HP(Trekup India Base Camp) at 11:30 AM.
| Bus NameHimsuta AC Seater | Departure Time09:03 PM | Arrival Time10:00 AM | Duration12 hr 57 min |
|---|---|---|---|
Zingbus Maxx | 09:30 PM | 09:20 AM | 11 hr 50 min |
Zingbus Plus | 10:00 PM | 09:55 AM | 11 hr 55 min |
ReoBus Pro | 10:25 PM | 09:55 AM | 11 hr 30 min |
Laxmi Holidays | 10:40 PM | 10:00 AM | 11 hr 20 min |
Suggestions: Consider using an overnight air-conditioned Volvo/ac sleeper bus service to reach before 11:30 am.
How to reach trek base Jobra from pickup point Manali
Covering 22 kilometers in just over two hours, this is a dramatic and exciting ride up the mountain from Manali to the trek base at Jobra. Starting from Manali at an elevation of 6,400 feet (1,950 meters), the road winds its way up through a series of 42 hairpin turns to the Rohtang Highway and then branches off onto the Allain Duhangan Hydel Project. During the drive from Manali to Jobra, you will see a shift in the scenery from a variety of dense apple orchards to towering forests of pine, cedar and maple along the way. You'll end your drive at the Jobra trailhead, which is located near the hydel barrage at an elevation of 9,100 feet. This is the last portion of the road, the motorized portion ends, and your trek begins.
Means of transport from Base city Manali to Jobra
1. Trekup India Vehicle:
If you book with the Trekup India, transportation depends on the number of trekkers according to their size, vehicles will differ like tempo traveler, bolero, innova or mini bus. Our cab picks you from Mall Road, Manali & drops you at Jobra safely. Our vehicles are well maintained & hygienic for your travel journey.
Here are the pickup details from the base city Manali (If you opt our transport facility):
- Pickup Point: Gujrati Cottage Road ,Prini, Manali, HP(Trekup India Base Camp).
- Pickup Time: 11:30 AM
- Drop Location on Last Day: Mall Road, Manali
- Drop Time for Last Day: 03:00 PM - 04:00 PM (expected)
2. Public Transport Bus:
You can opt for a public transport bus early in the morning to reach base Jobra on time for the next day's trek. But make sure you are particular with the bus time in the morning as there are very limited buses between 5:30 AM to 7:30 AM. There is no bus after this so try to pick a bus early from Manali.
3. Private Taxi/Cab:
If you miss your bus from Manali, another way to reach Jobra is by taxi/cab. You can book a taxi/cab on a sharing basis with a shared price. But make sure that your timing is matched with the taxi timing as the number of taxis are very limited in the morning and generally operated early in the early morning from 5:00 AM onwards.
Tips for Mountain Drive
Whenever you are planning to trek on the mountains, health plays a crucial role. Your main motive on any trek is to be physically and mentally healthy. Here are all the important travel suggestions that you are going to face on your travel journey.
- Motion Sickness: Take medication Dimenhydrinate (prescribed by doctor) - 30 minutes before your journey starts and make sure to sit in the front seat of the taxi.
- Punctuality: Being a wise person, always be on the time whether you are on the camp site or on the trek.
- Inhand Case: Have an adequate amount of cash because you never find any ATM. at a nearby location.
- Proper Hydration: Always take the water and fruits throughout your travel to avoid dehydration & other health related issues.
- Charge: Make sure that all electronics / power banks are fully charged before being stuck in a long taxi ride, as there are not many charging stations available on the route.
- Check luggage: always make sure to check your luggage when you are on the trek or during the trek.
Day 1 - Day 4 (The Trek Days)
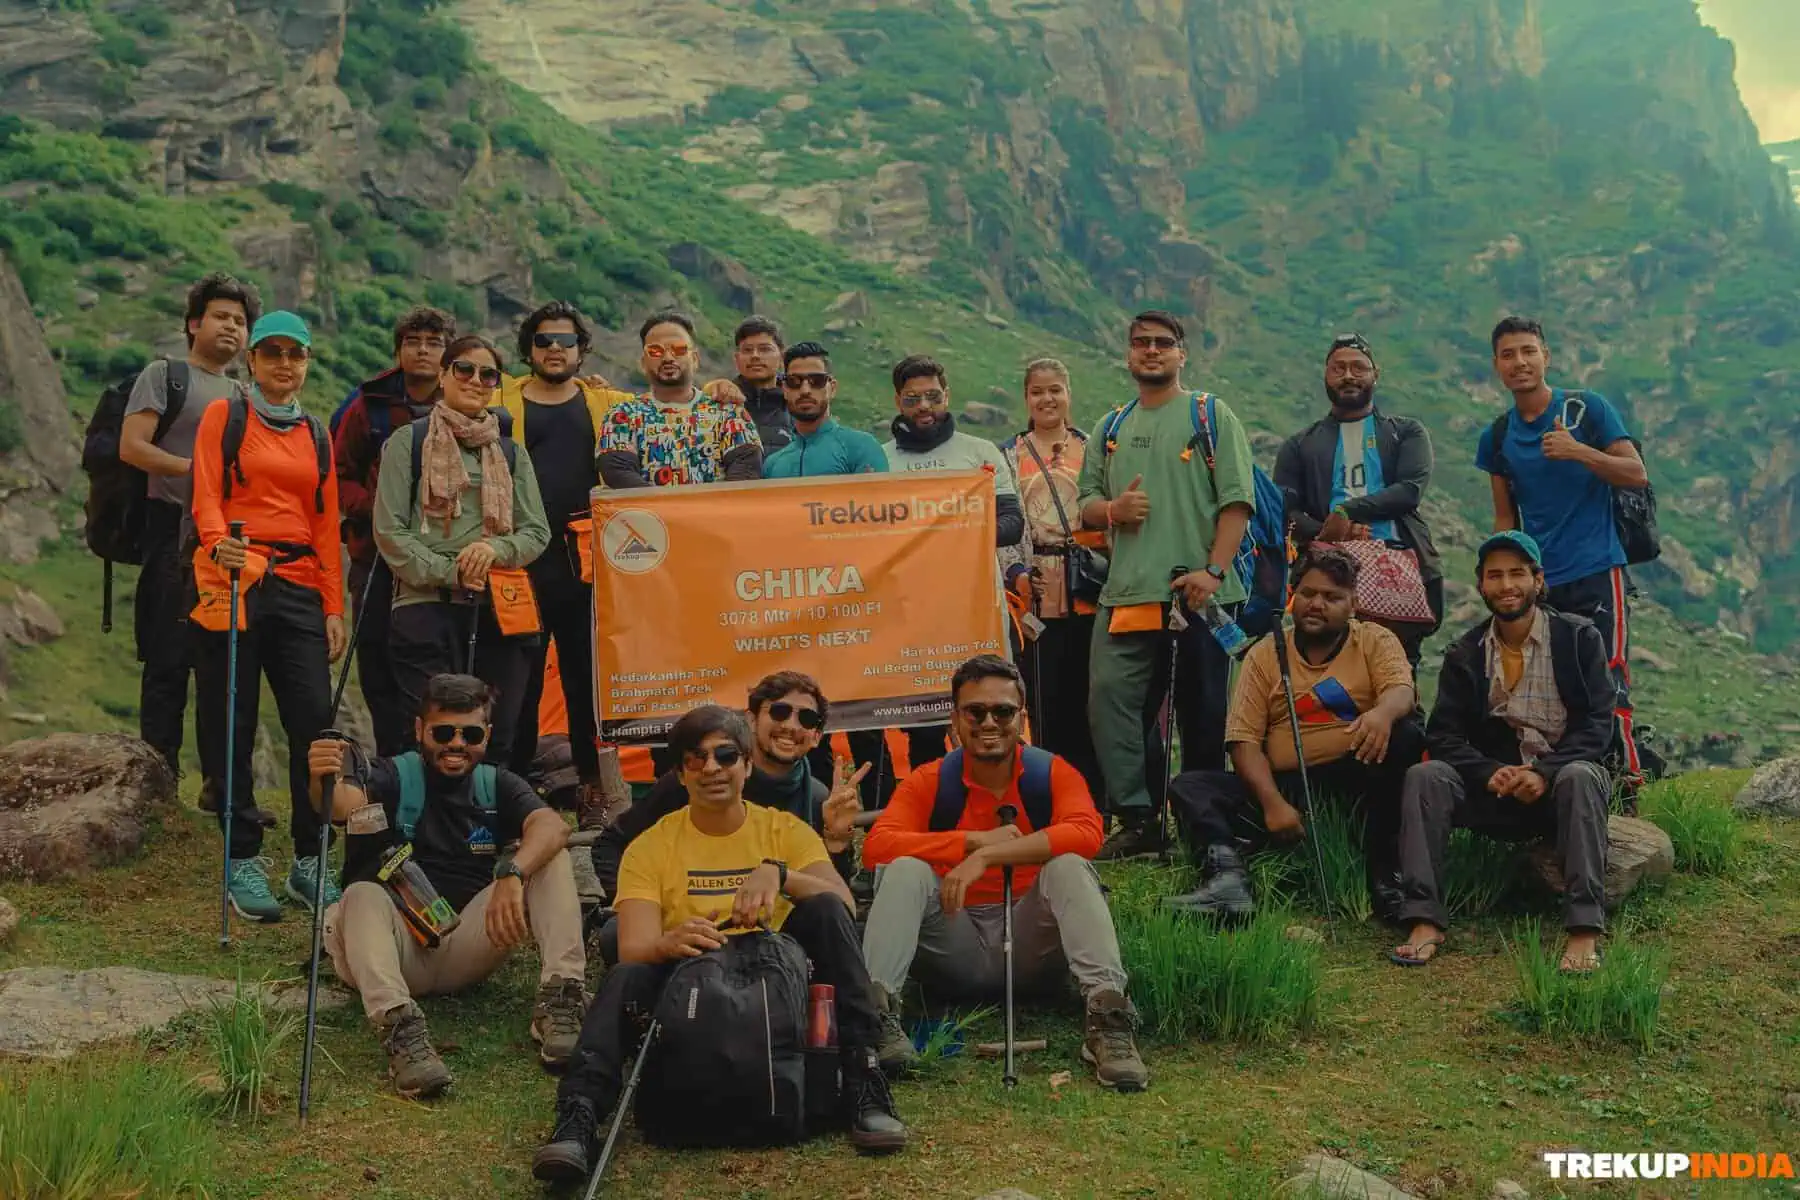
There are four days of trekking planned for the Hampta Pass Trek, and the total trek distance will be approximately 26 km not including the drive to Chandratal. On Day 1, after you leave Jobra, you will trek the gentle 2 km to Chika (10,100 ft), at the river-side camp, which is a very nice way to start your trek. On Day 2, you’ll trek 7 km in about 5 hours as you trek along the Rani Nallah heading upstream to Balu Ka Ghera (11,900 ft). You will be trekking through meadows of flowers, and it is a steady incline the entire way. On Day 3, the most challenging and rewarding day of the Hampta Pass Trek, you will trek 9 km in about 8 to 9 hours as you go from Hampta Pass (14,100 ft) down into the Lahaul valley to Shea Goru (12,900 ft) this will be very steep and will require much effort. On Day 4, you will trek down 7 km in about 4 to 5 hours through rugged terrain with moraines until you get to Chatru (11,000 ft) where the trekking route meets the Spiti highway.
Planning Your Return Journey from Chatru to Manali
Once you have completed the Hampta Pass Trek, returning should be overwhelming with good memories, pictures and new friends on the trek. Our Trekup India vehicle will pick you from Chatru and leave you at the dropping point Mall Road, Manali. If you have already opted for transport with us.
| Element | Timing | Proactive planning |
|---|---|---|
Breakfast | 07:00 AM | 07:00 AM - This is the ideal time to get some breakfast at Chatru campsite. |
Departure | 08:00 AM onwards | Departing on time means you have no delays to reach Manali. Your guide must confirm the taxi departure time in the morning or a night before. |
Arrival in Kasol | 03:00 PM – 04:00 PM (Expected) | After covering the beautiful trek, it's time to go back with good memories. Our taxi is going to leave you at the dropping location Mall Road, Manali. |
Suggestions: Book your return transport after 04:00 PM & for security you should also keep a buffer of 1-2 hours for your return journey in case there might be delayed due to traffic, land slides or vehicle breakdown.
Return From Manali to your Hometown
We have mentioned details of various means of transport like flight, train and bus with the estimated timings, so book accordingly with your prefered time. Below mentioned information helps you to choose and book for your return journey from Manali to Delhi.
Note: The timings are subject to change and will vary day by day. Also the mentioned timing is written in 24 hours format.
By Flight
There are a number of flights departing from Chandigarh Airport to Delhi on time. On the whole, you can book your flight from different online platforms as there are many availability of flights directly to your hometown.
| Flight | Departure | Arrival | Duration |
|---|---|---|---|
IndiGo | 06:30 | 07:25 | 55 min |
IndiGo | 15:30 | 16:35 | 1 hr 5 min |
Air India | 15:50 | 16:55 | 1 hr 5 min |
Alliance Air | 17:40 | 18:45 | 1 hr 5 min |
Suggestion: Keep a buffer day so you can reach Chandigarh by covering 5 to 6 hours drive from Manali.
By Train
The Railway Station Chandigarh is 271 Km away from the pickup point Mall Road, Manali. There are a number of train services for overnight travel from Chandigarh to Delhi so book priorly.
| Train | Departure | Arrival | Duration |
|---|---|---|---|
Karntk s Kranti | 03:25 | 07:50 | 4 hr 25 min |
Kerla s Kranti | 09:20 | 01:20 | 4 hrs |
Paschim Exp Spl | 12:20 | 04:25 | 4 hr 5 min |
Netaji Express | 01:20 | 06:30 | 5 hr 10 min |
Suggestion: Keep a buffer day so you can reach Chandigarh by covering 5 to 6 hours drive from Manali.
By Bus
There are a number of buses departing directly from Manali to Delhi with variation in departure and estimated arrival time. Make sure you book your travel according to the time that suits you after reaching Manali.
| Bus Name | Departure Time | Arrival Time | Time Duration |
|---|---|---|---|
Zingbus Plus | 17:35 | 05:00 | 11 hr 25 min |
Laxmi Holidays | 17:30 | 03:55 | 10 hr 25 min |
IntrCity SmartBus | 18:00 | 05:00 | 11 hr 00 min |
Flix Bus | 18:15 | 04:55 | 10 hr 40 min |
Subh Yatri Holidays | 18:30 | 06:30 | 12 hr 00 min |
Safety Aspects and Emergency Exit for Hampta Pass Trek
1. Understanding Trek Safety
Your trek leaders and trek guide have years of experience in getting you to the summit but most importantly back to safety. Trekking at high-altitude requires a huge amount of respect for the mountains and therefore is a correct, safe way of doing things throughout, especially on a moderately challenging trek like Hampta Pass Trek. This responsibility starts with full understanding of Acute Mountain Sickness (AMS) prevention, a strict adherence to the gradual ascent plan, and absolute understanding of emergency procedures. Your ability to follow safety procedures will determine the success and enjoyment of the trek.
2. Acute Mountain Sickness (AMS)
Altitude sickness (Acute Mountain Sickness or AMS) is the result of the body being unable to adapt lower levels of oxygen pressure (*hypoxia*) at high altitudes (usually over 8,000 feet). The risk is that untreated AMS will progress to High Altitude Encephalopathy (HACE) or High Altitude Pulmonary Edema (HAPE) if the person keeps trekking higher in a state of unequipped acclimatization.
Important Symptoms of the Acute Mountain Sickness (AMS):
Mild AMS:
- Headaches are the most significant and common sign.
- Nauseous feeling, lack of desire to eat, and general tiredness.
- Poor sleep (insomnia).
Severe AMS (HACE warnings):
- Difficulty balancing and walking straight (unable to walk a straight line - "heel-to-toe" test).
- On-going severe headache that can't be helped with medication.
- Confusion or some alteration in understanding.
Severe AMS (HAPE warnings):
- Unable to breathe without feeling short of breath.
- Persistent cough with wet/sputum or sometimes pinkish-tinted frothy mucus.
- Excessive tiredness and feeling of heavy pressure in the chest area.
Precautionary Measures of AMS
1. Ascent Gradual
- The 5 day itinerary from Manali to Chatru has been set up to allow for acclimatisation. You are advised not to skip camps and rush up the mountain.
- The principle of "Trekking High and Staying Low" at the Base Camp helps you get acclimatised.
2. Hydration and Nutrition
- You need to drink 3-4 litres of water every day. If you become dehydrated, it will only make any AMS (Acute Mountain Sickness) symptoms worse.
- You should continue to drink a lot of water, even when you don't feel thirsty. At the campsite, you will also be provided with a high-carbohydrate diet which will give you the energy to acclimatise.
- Do not drink alcohol or caffeine.
3. Pacing and Movement
- Use the Trekker's Shuffle to keep a slow and consistent pace. Do not waste energy on speed and frequent stops.
- Use trekking poles to maintain your balance and to absorb some of the pressure on your joints when doing the long descent on day four.
- Always try to remain in sight of your friends and the guide when out walking.
4. Medication
- Talk to your Doctor regarding the use of Diamox (Acetazolamide) to help alleviate AMS.
- Discuss starting this medication one or two days before reaching altitude if it is prescribed over a prescription.
- Remember to carry any personal prescription medications and basic pain relief (for example Ibuprofen) in your day pack.
3. Emergency Response and Evacuation
There needs to be careful and precise management of Emergency Response and Evacuation for the Hampta Pass Trek because it is a very isolated trek with a high-altitude crossing and, due to the nature of the trek, will likely involve a medical emergency which will require a swift movement down to lower altitudes for treatment. This medical emergency can include both Acute Mountain Sickness (AMS) and a physical injury. The primary point of evacuation on the Manali side of the Hampta Pass is Jobra (where the trail begins); Jobra is the last place to evacuate a patient to the nearest medical facility (located in Manali). Once a person has crossed the Hampta Pass and entered into Lahaul, however, the environment becomes an extremely dry and rugged one and patients will need to be taken to Chatru; this is the main location where patients are picked up by vehicle and taken through the Atal Tunnel back to hospitals (Manali). In the case of severely injured patients or life-threatening altitude sickness, helicopter evacuation will typically provide the fastest means of evacuation; however, the availability and viability of helicopter evacuation is entirely weather dependent, as the weather conditions in the Pir Panjal range are often unpredictable. Between Jobra and Chatru there is no cellular reception and therefore there will be reliable telephone communications through either a Satellite phone or radios.
Action Plans: High Altitude Emergency
- Immediate Identification of Symptoms: At the first indication of either HAPE (continual cough) or HACE (ambling gait), the trek leader must stop all upward movement. Moderate symptoms can be dealt with rest and fluids; however, if you encounter red flag symptoms, we need to evacuate immediately.
- Rule of Descent: The most critical treatment for both conditions is immediate descent. A descent of more than 1,000 – 2,000 ft could save your life; while on the Hampta trail this means getting from the Pass back to the flat refuge of Balu Ka Ghera, or from Shea Goru to the road-head at Chatru.
- Administration of Supplemental Oxygen: In the case of HAPE/HACE, the professional trek operators must have portable oxygen, which can be used throughout the descent to maintain the patient's SpO2 levels at an acceptable threshold, thereby preventing escalation of the physiological deterioration.
- Logistical Evacuation: From Jobra to evacuate a patient from an emergency that occurred between Jobra and the Pass, the patient will either be carried out manually by a stretcher or pony to Jobra, where they will be taken via a 4x4 vehicle to the Hospital in Manali (approx. 2 hours).
- Communication Protocol: Due to lack of cell service from Jobra onward, the team will send out a request for an ambulance or rescue vehicle at either the jobra or the chatru road head using High Frequency Radios or Satellite communication to ensure the ambulance is present when the patient arrives.
4. Trekkers Responsibility for the Trek
1. Personal Health and Honesty:
- Report Symptoms: You must report any illness symptoms to your trek leader or guide as soon as they occur. Symptoms include headache, nausea or any other uncharacteristically extreme fatigue. Do not attempt to conceal these symptoms so that the group will not be held up due to your illness symptoms.
- Fitness: You are responsible for preparing yourself physically for the trek and ensuring that you have consulted with your physician regarding the effects of altitude, vaccinations you may require, and the proper medications you may require as a result of altitude trek.
- Hydration: You are responsible for consuming your daily requirements of water (3-4 litres). Expect and do not wait for your guide to remind you to hydrate, as you are responsible for doing so.
2. Gear & Equipment:
- Mandate kit: Ensure you have the appropriate gear and equipment for the trek; this includes wearing clothes that are appropriate for the weather; layers for cold; and using well broken-in boots.
- Headlamp Readiness: You should carry an operational head lamp, and charge it before the trek. You should also carry extra batteries and keep sensitive electronic equipment and batteries warm to prevent them from draining due to cold conditions.
- Personal First Aid Kit: It's a good idea for you to carry a small personal first aid kit with you. Basic supplies should include band-aids, blister treatment, antiseptic, and any prescription medications.
3. Conduct on the Trek:
- Follow Instructions: Follow the trek leaders instructions regarding pace, route, camp protocols and the use of safety equipment such as micro spikes or trekking poles.
- Maintain group integrity: To maintain group integrity, do not travel solo on any trail or trek; always stay in sight of the group and be with the designated guide.
- Leave no trace: To reduce environmental impact, you must properly dispose of any non-biodegradable items (plastic packaging, drink bottles, etc.) and not pollute local water sources. Remember to respect the natural environment by respecting the plants and animals found in the area.
4. Teamwork & Respect
- Respect Local Cultures: Be conscious of the customs, way of life, and religious sites of the people who live near the trails and do not interfere with their lives.
- Support Other Trek Participants: Encourage other trekkers by giving them advice when necessary. Notify a guide if you think a teammate is in distress or danger. A team that cares for each other is a safer team.
5. Emergency Exit of the Hampta Pass Trek
For the Hampta Pass trek, the 14,100-foot elevation summit serves as the emergency exit point since it also is a geographic divide that can be used for evacuation purposes. In case of a medical emergency or severe weather conditions between Jobra and Balu Ka Ghera and if you backtrack to Jobra will be the primary exit. After reaching Jobra, you would have to drive 22 kilometers south to Hospital, located in Manali. However, after crossing the Hampta Pass elevation, the most accurate exit would be to proceed onward toward Chatru and then through the Atal Tunnel which is located in the Lahaul Valley. The Atal Tunnel is an all-weather corridor for motor vehicles to produce rapid evacuation from the Kullu Valley back to the Kullu Valley using low-elevation roads and allowing low-altitude evacuation in two to three hours while bypassing traditional Rohtang Pass logistical obstacles. Lastly, both the backtrack and forward track systems will allow trekkers to be no farther than10-12 kilometers from a motor vehicle road head at all times and provide a guaranteed lifeline even when altitude-based weather conditions become violent.
1. Primary Exiting the Ridge
While the evacuation plan is divided by the 14,100 ft ridge, an evacuation accessing the ascending route (Days 1 and 2) will exit via a backtrack down the Balu Ka Ghera route to the Jobra trailhead (9,100 ft). Evacuation from an incident that could occur at the summit or during the descent (Days 3 and 4) will continue forward toward the Chatru road-head (11,000 ft). This creates a crucial decision point where once you have started your descent towards Shea Goru, returning back over the pass to the Jobra trailhead for evacuation would result in being physically taxing and represent a risk of the casualty's condition worsening. Thus, the forward evacuation to Chatru is the only thorough and viable point of evacuation.
2. Hospital / Medical Facility Access
After reaching either road-head, both provide a direct route to advanced medical facilities. At the exit at Jobra, the casualty will be taken by vehicle 22 km (approximately 1.5 - 2 hours) to the Hospital in Manali, which is the primary receiving facility for high-altitude trauma and stabilization from HAPE / HACE. From the exit at Chatru, the vehicle will enter the Atal Tunnel and quickly traverse the Kullu Valley. In Lahaul, there are 2 primary health centres in the Sissu area; however, for severe/critical cases, the tunnel provides a direct and rapid 3-hour transit back to multi-specialist hospitals in either Manali or Kullu.
3. Authority of Police and Administration
There are two separate districts with the trek running through both. On the Kullu side of the trek, there is the Manali Police Station and the Sub Divisional Magistrate (SDM) for Manali, which are the responsible authorities for the trekking permits and the coordination for mountain rescue operations associated with that side of the trek, as outlined below. Cross from the Kullu side into the Lahaul side of the trek and now the authority transfers from the Manali Police Station to the Keylong/Koksar Police under the Lahaul & Spiti District Administration. Should a person go missing or if there were to be a major disaster, then the Himachal Pradesh Police and the National Disaster Response Force (NDRF), based in the area, would work together to conduct a coordinated rescue operation.
Emergency Contact Details
- Manali Police Station: 01902 - 252326
- Mountain Rescue Institute Manali: 01902 - 252342
- SDM Manali Office: 01902 - 252227
The Essential Hampta Pass Trek Packing List: Pack for Adventure & Safety
- Extremity Protection: Must have UV blocked sunglasses (the only way to protect against snow blindness), waterproof gloves, and a warm balaclava/cap to protect your most exposed areas.
- Layering System: Utilize multiple layers of synthetic or wool insulation clothing (acceptable, no cotton) to manage body temperature and moisture to prevent chilling.
- Waterproof Footwear: Durable waterproof trekking boots at least mid-calf are required so your feet and ankles remain protected on snow and ice.
1.Major gears: The frontline of protection
| Item | Characteristic Feature | Pro-tip |
|---|---|---|
Waterproof, Ankle-Height Trekking Boots | These are high quality boots with stiff rubber soles that prevent water entry. | Must be fully broken in. Good with a deep aggressive grip to avoid injury in toe or fingers. |
Trekking Poles (Pair) | Provide 2 additional points of contact for stability on snow / ice and reduce impact on knees while descending. | Use them together to distribute the weight of your pack, this can reduce stress on your knees and ankles. |
Waterproof Gloves (2 pair) | Protects against cold injury. Having two pairs that allows warmth while protecting your hands. | Keep the shell of gloves dry for a waterproof layer for handling snow and keep the inner liner for warmth. |
Gaiters (required) | Create a seal between your boots and trousers to prevent snow from entering your boots / sock. | Put your gaiters on as soon as you reach the snowline; avoiding snow wetting your socks / boots minimizes risk for cold injury. |
High-Grade SPF Sunscreen and Lip Balm | Protects against severe sun / wind burn. It is important for exposed skin at high altitude due to reflection from snow. | Reapply sunscreen to face, neck, and ears every 2 hours spent on the snow. |
Sunglasses (Category 4) | Highest level of protection required to protect against temporary blindness (photokeratitis) | Do not remove sunglasses when you are on the snow because snow can reflect 80% of UV light back into your eyes. |
2.Clothing: The layering system
| Category | Item | Specification & Reason |
|---|---|---|
Headwear | Warm Beanie / Balaclava | Must be thick wool or fleece; cover the ears completely. Important in retaining body heat, as a large percentage of body heat is lost from the head. |
Wide-Brim Sun Hat or Buff | Light material (hat) or synthetic tube (buff). Protects face, neck, and scalp from high-altitude UV radiation from the sun. | |
Upper Body | Moisture-Wicking T-Shirts (2) | Choose Synthetic (polyester) or thin Merino wool; short or long sleeve because cotton actively makes you cold and uncomfortable when you sweat. |
Thermal Base Layer (1) | Mid-weight Merino wool or synthetic long-sleeve top. Provides immediate insulation; it will lock in body heat as the starting point of your heat-trapping system. | |
Fleece Jacket (1) | Mid-to-heavy weight (200-300 GSM) fleece or softshell jacket full of insulation. This layer provides the best warmth-to-weight ratio It can be worn alone or under your shell. | |
Insulated Puffed Jacket (1) | Down or synthetic insulation; rated for 0∘C and below. Your main source of heat protection for cold night camping, evening, and the summit push when below freezing conditions are anticipated. | |
Waterproof & Windproof Jacket (1) | Shell material (e.g. Gore-Tex equivalent) with taped seams. Your outer barrier (shell layer) keeps the rain, snow and penetrating wind out from the mountains. | |
Lower Body | Quick-Dry Trekking Pants (2) | Synthetic, lightweight, and preferably stretchable or convertible. Durable for comfortable walking, fast drying after getting wet from rain or snow. |
Thermal Base Layer (1) | Mid-weight thermal bottoms (wool or synthetic). Vital layer of insulation under your trekking pants in cold walking conditions at camp. | |
Waterproof Rain Pants (1) | Lightweight, packable shell pants. These will protect your trekking pants and base layers from getting wet when it's snowing or raining heavily. | |
For Feets | Create a seal between your boots and trousers to prevent snow from entering your boots / sock. | Put your gaiters on as soon as you reach the snowline; avoiding snow wetting your socks / boots minimizes risk for cold injury. |
Trekking Socks (4-5 pairs) | Wool or some kind of synthetic blend (not cotton). 1-2 pairs should be extraordinarily thick for nights. These will manage moisture in your foot to reduce blisters and provide warmth at night sleeping in a bag or in boots! | |
Camp Shoes | Lightweight sneakers, sandals, or slippers. You'll want these to dry out your trekking boots and let your feet rest when at the campsite. |
3.Equipment & Essentials
| Category | Item | Important Notes |
|---|---|---|
Backpacks | Main Rucksack (50-60 L) | For Porter. Good frame of posture and hip belt required. |
Daypack (20-30 L) | Daily carry. Must have water, layers, snacks, camera, and gloves in your daily essentials. | |
Sleeping bag & liner | Sleeping Bag (Rated to −10∘C / 14∘F) | Confirm if Trekup India provides a sleeping bag; if you're renting your bag, make sure it is a reputable outfit. |
Sleeping Bag Liner | A liner adds additional warmth and keeps your bag clean. | |
Hydration | Insulated Water Bottles (2x 1L) | CRUCIAL: No hydration bladders (the tube will freeze). Insulated bottles will keep your water from freezing. |
Hydration Tablets/ORS | Make sure you have enough hydration tablets and/or Oral Rehydration Solution (ORS) which are important for replacing electrolytes lost at high altitude. | |
Safety & Navigation | Headlamp with extra batteries | Essential for crossing the pass started early in the morning. |
Basic First-aid kit | With plasters (Compeed!), Band-Aids, antiseptic, pain medication, and then any of your personal medications you might need. | |
Personal | Personal toiletries | Toothbrush, tooth paste, biodegradable soap, toilet paper (pack out!), and hand sanitizer. |
Quick Dry Towel | Material should be water absorbent with light in weight and small in size. | |
Power bank | There will be no place to charge devices on the trek. |
4.Essential Documents
- Government-issued Photo ID
- Indians: Aadhar Card, Voter ID, or Driving License.
- Foreigners: Passport and Indian Visa.
- Must Have: Necessary for verification at the Basecamp and Forest Department checkpoints.
- ID Copies (2 copies): Also submitted for the forest authorities for required trekking permits, etc.
- Medical Certificate & Undertaking Form: a form (usually provided by your operator- Trekup India) signed by an MBBS registered doctor confirming that you are fit for high altitude trekking.
5.Important tips by the trek leader (from their experience)
- Three Second Rule: If you can’t immediately think of a reason to pack an item, simply don’t pack it.
- Layer Duplication Rule: You cannot pack more than two of the same, heavy layer (e.g., two heavy fleece jackets). A proper layering system will give one item a temperature range.
- Multi-Use Only: Every item should have a minimum of two functions (e.g., balaclava can be a sweat rag, shade your face from the sun, or act as a neck gaiter).
- Boot Break-In Rule: Don’t take new boots on a hike unless they have over 50 miles already walked in them. Boots need proper break-in time before using them outside.
- Base System Check: Set up your sleeping system (sleeping bag, liner, pad) in your house, on the day before the trek.
- Pack System Test: Wear your complete layering and set it up in similar cold/wet conditions to find any cold spots and distributed moisture.
- Ear Plugs: These are essential to block noise from the other trekker/ trek activities at the camp site ensuring you get your sleep without interruption.
- Camp Footwear: Lightweight flip-flops, Crocs, or just down booties that you can wear inside the tea house tent. Getting your feet out of your boots is total bliss.
- Carry Everything Out: This is the most important. Nothing goes under the ground or in a fire pit—especially plastic, tin foil, or batteries.
- Human Waste: If there are no bathroom facilities, you need to bury human waste to a minimum of inches deep at least away from any water source or trail. Be sure to pack out toilet paper.
6.Final Verdict:
Hampta Pass Trek Cost Inclusions and Exclusions
The concept of pricing is the key part of your trekking journey. It defines the value and experience you receive for the price you pay for your trek. For a structured high altitude trek, like Hampta Pass trek operated by Trekup India provides transparency with the cost & amenities provided to our trekker. Inclusions provide clarity in respect to operator's responsibility; essentially every necessary service, logistical support, group equipment, and permit to have a safe and fully supported trek from start to finish while exclusions provide clarity in respect to individual's responsibility, for all expenses related to personal choice (like a porter), necessary contingency items (like insurance), or mandated fees examined outside the package price (like GST).
Total Trek Cost: 6,499 + 5% GST (Mandatory)
Included in the trek cost
All the items that are included in the trek cost customised by Trekup India are mentioned below with pre, during and post trek support.
1 - Pre-Trek Support by Experienced Trek Coordinators
This is a special component of Trekup India, where a personalized trek coordinator is assigned to each trekker and who makes your preparation easy before coming on a trek, all your doubts, queries, myths are clarified, and you are mentally and physically guided to ensure that you come fully fit for your adventure. Every aspect from what to carry, what exercises need to be done, and how to prepare yourself for the trek, all will be guided by Trekup India’s Experienced Trek Coordinators.
2 - What is included during the trek
The offered cost covers all major essentials that are mandatory for a successful adventure, such as accomodation, meal, permit, team of experts, trek equipment, safety gears and mules / potters support. We provide you all the services that are involved in the trek. Below find specifics.
Accommodation:
4 Nights accommodation in Dome style customised tents of Trekup India on Twin sharing basis. We provide you with the best tent facility with sleeping bags, sleeping mattresses to avoid any inconvenience in your sleep.
Meal:
Your meals with Trekup India starts with Lunch on day 01 in Chika and ends with breakfast on Day 05 in Chatru. All meals provided by Trekup India involve veg and nutritious meals. We offer you breakfast, lunch, tea, snacks and dinners. The meals are freshly cooked and non repeated with delicious sweet dishes each night.
Food Preferences for Jains
A large percentage of our trekkers belong to the Jain community, therefore we understand their concern very well. When we have Jain trekkers on our treks, we will create special, custom-made meals without garlic and onion. We cook these separately from other foods prepared by us, maintaining the same great quality, taste, and hygiene.
Special Occasions Celebration
Whether it is a birthday, anniversary, group summit, or another event, we enjoy celebrating all these occasions with you by presenting you with a cake that is freshly prepared for your special moment. Trekup India will ensure that every special moment you have here is never forgotten; in fact, it will become an extra special moment.
Permit: All camping and Trekking Permits from Forest Department, full assistance in documentation and formalities will be given by the team Trekup India.
Team of Experts & Professionals:
- Trek Leaders: Qualified and Experienced Trek Leaders to lead your group when on Trek. Trekup India Trek Leaders are AMC, BMC certified and trained for immediate First Aid with search & rescue Course.
- Assistant Trek Leaders: They are supervise under the Trek Leader guidance focussing on the safety, logistics and trekkers engagement.
- Local Guides: Experienced local guide familiar with region & routes. They understand the way of conduct better, especially being locals.
- Support Staff: A team of high altitude including mountain chefs and Helpers to prepare and provide you healthy and freshly cooked meals on your trek.
Trek Equipment: Trekup India provided high quality of trekking equipment's for your adventure, all equipment's provided on the trek is 100% customised by Trekup India, any equipment's provided is tested on high altitude by our mountain experts and thereafter qualified for use of our trekkers, each fabric and designed are carefully chosen.
- Dome Stye Trekking Tents: The sleeping tent we provide is 6/6 ft. in size giving extra comfort for your sleep in the high altitude.
- Sleeping Bags: To provide you warmth, comfort and cosy sleeping.
- Sleeping Mattresses: Warm Form mattresses are provided inside your dome tents.
- Kitchen tent: A designated area at the campsite where all the cooking staff prepare all the meals.
- Dining tents: A large common area where all the meals are ready to be served. It is the social space for enjoying meals together.
- Toilet tents: These are the private space away from the main campsite area to avoid smell and maintain hygiene. We have two separate toilets for male and female.
- Camp Chair/ Table: Portable stools and tables are provided at your campsite.
- Cooking & Service Utensils: All the necessary cooking and serving utensils.
Safety Gears: Trekup India stands proud itself that all our Treks and adventures operated since 1993 are without any single casualty as we take safety of our trekkers and staff on high priority, following are some of the gears that are included in your trek cost.
- Oxygen Cylinders
- First Aid and Medicine
- Stretchers
- BP Machine to regulate your blood pressure
- Oximeters to regulate your oxygen flow
- Health cards to measure your daily BP and Oxygen reading
- Walkies Talkies for Immediate communication
- Micro Spikes
- Gaiters
- Other Safety Equipment such as Helmets, Rops, Ice Axe, Carabiners much more as per technicality of a Trek.
- Porters / Mules Support: Porters / Mules are provided to carry your common trekking gear, rations, trekking equipment and other supplies.
3 - Post-trek Assistance
This section implies with the following -
- Trek Feedback and improvement advice call from your Trek Coordinators.
- How to overcome Trek injuries and settle to normal life.
- Advice and suggestions for Next Adventure Trek.
Completion Certificate:
It is the best way to recognize someone’s adventure journey with a certificate. A well recognized certificate (IMF, ATOAI & Uttarakhand tourism development board) approved is provided to the trekker by two ways:
- Reached at Summit: we are giving certificates of summiteer to those trekkers who have completed their trek at the Summit.
- Incomplete Summit: we also provide our certificate for those who have not reached the final summit due to medical reasons but they are part of the trek.
Hampta Pass Trek Difficulty: An Honest & Detailed Guide
The difficulty level of the Hampta Pass Trek is a moderate trek, however, the speed of ascent creates difficulty, and respect should be given to the rapid altitude gain. Although it does not require the use of technical mountaineering skills, you must trek from 9,100 feet to 14,100 feet within three days. This is a very steep ascent which puts considerable stress on your cardiovascular system and increases your chances of experiencing Acute Mountain Sickness (AMS). The type of terrain you will encounter during this portion of the trek is a never-ending combination of lush forest trails, slick crossings of the frigid Rani Nallah, and loose boulder fields. The longest and hardest part of the trek will occur on Pass Day, which consists of a 9 km trek that will take you approximately 8-10 hours to complete. This portion of the trek includes a taxing uphill trek followed by a potentially knee-jarring downhill descent into Lahaul Valley. Also, the trek traverses two different weather or climate zones, which means you must mentally be prepared for rapid changes in weather from humid to extremely high-velocity winds or more than 0°F at the summit of the pass.
Hampta Pass Trek Difficulty: A Factor-by-Factor Analysis
1. Terrain: The earliest hard trek you will do
- The Trail: The trail from Jobra (soft, pine-needle forest) to Chika (sprawling meadow) to the chaos of the boulders, glacial moraine & the steepest snow slopes leading into the Pass, is a dramatic evolution of the environment.
- The Challenge: You'll cross multiple rivers on your way through the Rani Nallah (icy cold), where the current can be strong and the rocks incredibly slippery. The final ascent to the Pass involves 60°-70° angle trekking on either loose scree or hard packed snow; this makes every step a test of balance.
- Honest Take: The trek is sold as a beginner trek; but because of the terrain, it is probably most people’s earliest hard trek. It is not just trekking; it is scrambling, balancing, and wading through ice cold water.
2. Altitude: Manageable but not negligible
- The Stats: Starting at Jobra (9,100 ft); you will reach 14,100 ft peak in approx. 48 hours. On average, that is over 1,500 ft elevation gain per day (at the recommended acclimatization rate).
- The Challenge: Due to the amount of elevation gain in such a short time; your body will have little to no time to produce the extra red blood cells that you'll need to survive in the thin air. Headaches, decreased appetite and mild nausea are common.
- Honest Take: You can only feel comfortable with elevation if you take it seriously. Hampta is often considered to be short because of its elevation, but at 14,000 feet, you can start to feel a lack of oxygen and you should be aware of the risk of AMS.
3. Weather: The defining challenge
- The Conditions: Hampta Pass acts as the connecting link between the monsoon rain-heavy Kullu Valley and the arid, desert-like Lahaul Valley. This creates a micro-climate where it can rain, hail, or be sunny all within one hour's time.
- The Shoulder: On June or late September nights, temperatures at Hampta Pass and Shea Goru can drop down to -5°C or -10°C.
- The Challenges of Winter: Hampta Pass trail will be buried in heavy snow in early June and October, which will add to the difficulty of the trek because you will expend so much energy trekking through the snow and the trail may be completely obscured by whiteout conditions.
- Honest Take: No one goes to Hampta to trek; they go to experience the weather. The rain from the Manali side creates muddy and slippery trails, but the dry, cold, high-altitude winds from the Lahaul valley leave severe wind burns and dehydration.
4. Duration and Remoteness: The Isolation
- The Stats: You will trek for 26 Kms in four days. There will be no access to cell phone service or any permanent human settlements from when you leave Jobra to where the road ends at Chatru.
- The Challenges: There will be no easy way out. If you are injured or sick on Day 2 or 3, it will take several hours of very hard trekking until you are near a road with motor vehicles. In fact, you are 100% reliant on your gear, your guide, and how physically fit you are.
- Honest Take: The short-duration aspect of this trek creates a false sense of security for many trekkers. However, the entire trek is completely isolated from civilization. As you will be trekking deep inside the Pir Panjal mountain range, if you require assistance in an emergency, the mountains are very vast and civilization will seem very far away.
So, is the Hampta Pass Trek Difficult? The Honest Verdict
The Difficulty of the Hampta Pass Trek is defined as Moderately difficult, due to the rapid elevation gain and exposure to high altitudes. Although the truth of this trek is that it is beginner-level accessible, there is a high level of physical demand involved, with an elevation gain to over 14,100 ft. in less than 3 days, which challenges your cardiovascular fitness end and altitude acclimatization. The top day of difficulty (the day that you gain your summit) occurs on the 8 -10 hour summit day, where you will be ascending steep snow-covered slopes or loose scree, and making a steep, down hill knee jarring descent into Lahaul. This trek presents a great deal of difficulty, and should not be taken lightly, with thin air, freezing river crossings, and unpredictable weather all being significant challenges to complete this trek.
1. Beginner Friendly: The Myth and the Reality
The misconception that Hampta Pass is a beginner-friendly trek means that it is not as demanding a trek as others in the Himalayas when it in fact is so demanding as to be impossible to do without the proper preparation. Whereas there are no technical skills needed for this trek (e.g., no ropes or ice-axes), there is a considerable learning curve on how to physically prepare oneself for the first 48 hours namely, that you will have to change your body's ability to use oxygen more efficiently at high altitude and cross over glacial rivers that are knee-deep from the start of the trek, creating a challenge for the average trekker. Because of the many demands of the trek, it is an excellent first hard trek as long as the individual has built an endurance base in terms of their lungs and legs.
2. The Summit Push: The Ultimate Challenge
Ascending from 14,100 feet (the summit of the Hampta Pass trek) is the ultimate test of this trek turning what was a picturesque trek into one of the most difficult endurance challenges one could imagine. This section of the trek takes approximately 8 to 10 hours due to the continuous, steep ascent involved (up over steep snow bridges and unstable scree), as well as the fact that reaching such an altitude creates almost double the effort (due to the lack of oxygen) to complete another step. Finally, once the pass has been reached, one has to descend vertically into Shea Goru, further compounding the problem of every other step being required to be done with intense concentration to avoid falling. This entire section creates the make or break moment, wherein an individual will rely entirely on their mental toughness to complete the trek.
Who is this Trek Really for?
1. The Aspiring Trekker
This trek is intended for trekkers who have crossed the 14,000 feet barrier but are still uncertain how much they can handle for longer technical adventures. It is a way to test your stamina in preparation for even more challenging adventures like trekking Roopkund or Bali Pass.
2. The Contrast Seeker
This trek is intended for those who appreciate different environmental extremes. Hampta is a long-distance, linear, trek journey that does not require you to trek back on the route you are taking. It allows you to discover the experience of the rain shadow and the transition from the lush vegetation of Kullu, peppered with colourful wildflowers to the stark, dry, icy, and beautiful cold desert of the Lahaul Valley in one natural afternoon.
3. The Efficiency Trekker
This trek is a good choice for those who have a limited time frame (4-5 days) but want to experience high altitude. The Atal Tunnel has changed the exit strategy, which means it is also a great option for the time-sensitive trekker who wants to experience the isolation of the high Himalayas and has a guaranteed, fast return to Manali. This trek offers those who enjoy a tight logistics trek a very high trekking time ratio.
4. The Resilience Trekker
This trek is designed for those who are willing to endure some physical discomfort in exchange for a great reward. For example, if you are willing to endure ice-cold river crossings (such as when crossing Rani Nallah), you may wish to undertake this trek because the steep descent from the pass can be very knee-breaking. If you like the mental challenge of a long summit day (over 10 hours) and want to camp in very high winds at Shea Goru, this trek will be another great opportunity for you.
Honest Comparison with other treks
1. Kuari Pass Vs. Hampta Pass: When comparing Kuari Pass and Hampta Pass, you can equate those two descriptions to being comparable to either a balcony or a gateway. Kuari Pass (12,516 ft) is at a lower elevation than the other pass and acts as a large viewing platform for the highest mountain ranges in India, including the impressive Nanda Devi. Compared to the other pass, Kuari Pass is a much more leisurely trek with plenty of trees and is a great winter trek. Hampta Pass (14,100 ft), conversely, requires a greater cardiovascular effort because of its steep and sharp ascent. While Kuari Pass has a more consistent, panoramic view, Hampta Pass is a more dynamic experience because you physically go from one valley (humid, green Kullu Valley) into another (barren, dry Lahaul) through a mountain gateway.
2. Sandakphu Vs. Hampta Pass: The two treks differ in their logistics - Sandakphu is a lengthy distance trek (50-60 km) along a ridge (Singalila range) with opportunities to stay in tea houses/lodges and on semi-paved paths (views of four of the five tallest mountains in the world); Hampta Pass is a very intense short 26 km trek through wild terrain. You will be required to cross freezing rivers on this trek and sleep in tents. Sandakphu provides an endurance challenge under civilized conditions, while Hampta provides a real backcountry adventure and poses a greater risk for developing AMS because of its rapid elevation change.
3. Sar Pass Vs. Hampta Pass: There are two treks - both are in the Kullu area, both have roughly the same height and both have a very different character. The Sar Pass (13,800 ft.) trek is known for its fun, active feel with large open snow fields and it has the famous 100 ft. glissade down the mountain. It is also entirely surrounded by greenery in the Parvati Valley. The Hampta Pass trek has a more dramatic and barren feel to it as you will be sliding down from snow to navigate over rocky moraines and boulder fields before entering the cold desert of Lahaul. The logistical side of things for the Hampta will also allow for a more practical trail, a straight line of four days compared to the circular six days required for Sar.
Final Advice: Prepare to succeed
When preparing for the Hampta Pass Trek, it is important to focus on the development of an adequate altitude engine and sufficient, reliable equipment. From a physical standpoint, the key to success is to have excellent cardiovascular endurance. For example, if you can complete a 5 km run in less than 30 min that provides your body with an ability to adapt to altitude changes on the trail as it goes from 0 to 14,100 ft rapidly, and reduces the risk of getting altitude sickness (AMS). To enhance your cardiovascular endurance and ability to run downhill safely and comfortably, you will need to train your legs by doing exercises that increase strength in your legs. Also, for optimum performance on the trek, invest in a good pair of high-ankle waterproof boots that provide a stable base on screen and use a layering system that can be easily transitioned from humid jungles and area of Kullu to cold and windy deserts at high elevations that have sub-zero temperatures.
1. Physical Preparation: Engine Building
Achieving an elevation increase of 5,000 ft. in three days requires that you maximize your cardiovascular efficiency. You need a powerful engine to give you the ability to perform at altitude in a low-oxygen environment; to accomplish this, you must be able to run 5 km in less than 30 minutes and walk over 200 stair steps with a pack weighing 5 kg. This ongoing training will condition your heart for an 8 to 10 hour summit push prior to total exhaustion when the risk of AMS (Acute Mountain Sickness) is at the peak level. In addition to building cardiovascular fitness, you will also specifically need to increase your eccentric leg strength so that your knee joints can be stabilized against the continuous, high-impact of losing altitude from the pass to Shea Goru.
2. Gear Preparation: Your Lifeline
Your gear must be able to cope with two extreme micro-climates because Hampta Pass is a crossover trek. You will require a three-layer modular system of clothing: a synthetic base layer that wicks sweat from your body (to prevent sweat chill), a heavy down jacket that expels moisture and is rated to -10 C, and also a high-performance waterproof shell that can withstand the enormous amount of rainfall during the monsoon on the Kullu side. The highest priority for your investment is a pair of good sturdy high-ankle trekking boots with deep multi-directional lugs and a waterproof membrane; these boots are essential when navigating the slippery moraine and providing ankle support for the steep, loose scree slopes. Finally, you will need a pair of aluminum trekking poles that have anti-shock features; they are critical in maintaining your balance while crossing the freezing Rani Nallah river and to provide support for your patellar tendons while descending.
Fitness Required & Preparation Guide For The Hampta Pass Trek
- Training Plan (8- 12 Weeks)
- Cardiovascular Training
- Strength Training
- Breathing Exercises
- Meditation
- Weekly based workout activity
- Gear Preparation for the trek
- Physiological adjustments on the trek
1. Training Plan: 8 - 12 Weeks
A structured 8–12 week training plan designed to build stamina, strength, and endurance for a safe and successful trek.
- To build your cardiovascular stamina
- To strengthen your muscle group
- To prevent from the injury
- To cope up with the breathing problems
- To keep you focus with calm during the trek
2. Cardiovascular Training
Exercises focused on improving stamina, heart health, and endurance to prepare your body for long trekking days.
- Goal: Walk regularly at least 2-3 km per day, gradually increase your distance day by day.
- Specification: There are many things that you can do to prepare for trekking, and walking with a backpack on the trail represents the most direct stimulation of the different types of actions (movement) that will occur on a trek.
- Focus Shift: While the primary focus of the walking must be the distance (km), the focus should actually shift to Time on Feet (walking). Once you reach a point of comfortably walking continuously for 2-3 km you must move into a mode of challenge and attempt to walk continuously for 60-90 minutes.
- Benefits: Consistent walking allows your ligaments, tendons and joints to withstand the cumulative stresses of walking for 5-8 hours at a time, thereby reducing your chances of developing overuse injuries when trekking.
- Goal: Jogging and running are another form of endurance exercise, so start slowly building up your tolerance by gradually increasing the number of steps you take each time you jog/run, as well as building up a morning routine.
- Trek Elaboration: Running/jogging is an effective way to quickly increase your body's ability to take in oxygen; the Higher Rate of Oxygen Consumption (VO2 Max).
- Specificity: Include increments of grades on your routes, as running/hiking up a hill assists in developing your climbing muscles and running down a hill develops the eccentric strength of the knee and quad muscles to minimise the impact when descending.
- Goal: Cycling is an excellent low-impact method that develops strength and builds leg endurance, while producing minimal impact on the joints.
- Specification: Cycling is a great way to develop strength as you can pedal in high-resistance (high tension) for short segments of time that will replicate the power you will require in your legs when trekking up steep hills.
- Trek Focus: Cycling can also serve as a form of active recovery (increased circulation through light pedalling to reduce lactic acid build-up) after heavy strength training and / or hiking days.
- Goal: Walking with a weighted backpack (made of heavy material such as sand, rocks or concrete blocks) is critical to simulate a proper load and endurance preparation.
- Trek Specification: You should begin this method of training with a light bag (5-10% of your bodyweight) for 1-2 months before adding additional weight until you reach a maximum of 15% of your bodyweight by the end of your training period.
- Integration: Integrate these walking workouts into hilly or uneven terrain with your hiking boots and hiking poles. Training your core and stabilizer muscles (agility) about the changes in your centre of gravity allows your heart to adapt to the increased demands placed on it from an elevated level of circulatory demand. It allows your body to maintain balance.
- Main Benefit: The Burpee significantly increases your heart rate in a short period of time, which is an important component of building anaerobic capacity, as well as developing explosive power in the lower legs for steep, difficult hills during long-distance trekking.
- Muscles Used: The Burpee exercises nearly all of the major muscle groups, including: quads, hamstrings, glutes, chest, shoulders, triceps, and core.
- Key Tip: To avoid hip sagging and to help with protecting your lower back, maintain a flat back and engage your core when kicking back into the plank position.
3. Strength Training
Exercises aimed at building leg, core, and upper-body strength to handle steep climbs, descents, and carrying a backpack during the trek.
- Begin standing with feet shoulder-width apart, with toes pointed slightly outward.
- Lower down with your body by bending your knees and bending at the hips by pushing your hips back, all while keeping your back as straight as you can.
- Lower down as far as you can, ideally until your thighs are even with the ground, then to a height that is comfortable for you.
- Push through your heels, and back to the standing position.
- Begin standing upright, with feet hip-width apart, and hands at your sides or on your hips.
- Step forward with one foot, lowering your body until there is a 90-degree angle between your front thigh and your lower leg, and a 90-degree angle between your back leg and lower back thigh.
- Push through the heel of your front foot to elevate your body back to standing position while lowering your back knee closer to the forms as much as possible.
- Start on your elbows and toes, making a straight line from head to heels
- Tighten your core and hold
- Continue to breathe, while not sagging/arching your back.
- Sit on the ground with your knees bent, and feet flat.
- Lean back just a little so your core is engaged.
- With hands together, twist your torso to one arm's side, and then to the opposite side.
- Repeat to the desired rep scheme.
4. Breathing Exercises
Techniques to improve lung capacity, oxygen intake, and breath control for better performance at high altitudes.
5. Meditation
Practices to enhance mental focus, calmness, and resilience, helping you stay relaxed and positive throughout the trek.
- Focusing: The practice of focusing your attention on one specific object (e.g. a mantra, a candle, the breath) For example, when the mind wanders, you gently guide it back to the focus.
- Open Monitor Meditation (Mindfulness): The act of being non-judgmental toward whatever comes into your awareness, whether it is internal (thoughts, emotions, sensations) or external (images, sounds).
- Lower Stress Levels: Meditation helps reduce cortisol, the stress hormone, and can help alleviate anxiety symptoms.
- Stronger Focus Ability: By practicing meditation, we strengthen the neural pathways that allow us to remain focused and flexible cognitively.
- Greater Emotional Regulation: Through practicing meditation, people develop the ability to become aware of and recognize their emotions before acting on them, providing greater emotional stability.
- Better Physical Health: Practicing meditation helps decrease or increase blood pressure, heart rate, and improve quality of sleep.
6. Week Based Workout Activity
A structured, week-by-week workout routine designed to gradually improve fitness, strength, and endurance in preparation for the trek.
| Day | Workout Focus | Week 1 Target | Week 2 Target | Week 3 Target | Week 4 Target |
|---|---|---|---|---|---|
| Long Endurance | Sustained hiking or walking with a good grip of boots. | 90 minutes | 100 minutes | 110 minutes | 120 minutes |
| Moderate Cardio | Walking, light jogging and cycling by maintaining steady pace where walking is possible | 30 minutes | 35 minutes | 40 minutes | 45 minutes |
| Intensity | Stairs, treadmill on incline or hill repeat | 20 minutes | 25 minutes | 30 minutes | 35 minutes |
| Day | Workout Focus | Week 5 Target | Week 6 Target | Week 7 Target | Week 8 Target |
|---|---|---|---|---|---|
| Long Endurance | Start carrying ¼ target pack weight | 2.5 hours | 3 hours | 3.5 hours | 4 hours |
| Moderate Cardio | Performing exercise at higher speed than before | 50 minutes | 55 minutes | 60 minutes | 60 minutes |
| Intensity | Increase the intensity of your repeats or steepness of incline | 40 minutes | 45 minutes | 50 minutes | 60 minutes |
| Day | Workout Focus | Week 9 Target | Week 10 Target | Week 11 Target | Week 12 Target |
|---|---|---|---|---|---|
| Long Endurance | Carry ½ target pack weight. Target daily trek duration | 4.5 hours | 5 hours | 6 hours | 5 hours |
| Long Endurance | Back to back sessions. This session is done on day 2 of fatigue. | 3 hours | 3.5 hours | 4 hours | 5 hours |
| Intensity | Maintain intensity but reduce volume slightly to allow recovery | 45 minutes | 45 minutes | 40 minutes | Rest or 20 minutes light walk |
7. Gear Preparation for the trek
Planning and organizing all essential gear in advance to ensure comfort, safety, and readiness throughout the trek.
- Trekking Boots: Good-quality trekking boots (mid- or high-cut) not only protect the feet from the environment but also provide stability to the ankle and prevent rolling when walking on uneven terrain. Good-quality trekking boots are made with waterproof membranes (Gore-Tex, for example) to keep feet dry if they come into contact with moisture from the environment.
- Trekking Socks: Trekking socks serve a dual purpose as insulation and the intermediary between your foot and the boot. Synthetics and Merino wool are the preferred materials because they wick moisture away from the skin and keep your feet dry.
- Fit: A frequent mistake is loading the weight on the shoulders. Correctly fitted backpacks are designed so that most (70-80%) of the weight is carried on the hips with a hip belt and this helps to distribute the load and stress to the larger, stronger muscles of the legs and hips. You will need to learn how to adjust the sternum strap (for shoulder stabilization) and load lifters (straps on top of the shoulder straps) as you train to achieve the most efficient balance while walking.
- Packing: Heavier items should be placed as close to the back as possible, centred between the two shoulder blades to maintain your natural centre of gravity while carrying the backpack. Bulky, lighter weight items that will not be used during the day should be stored in the bottom storage (sleeping bag compartment). Strategic packing increases stability when walking, reducing the chance of muscle strain and unstable gait, especially on steep terrain.
- Base Layer: A base layer is used primarily to transport moisture. When you sweat, a base layer moves sweat away from your body and into the air for evaporation. If you wear cotton, your cotton base will absorb moisture, which rapidly decreases your core temperature when you stop exercising because it traps the moisture against your body and creates a "chill factor."
- Mid Layer: The mid-layer forms an insulating air gap around your core. This layer can be made of lightweight and quick-drying fleece, or synthetic or down-filled puffy jackets. When you stop for a short break, you can easily add or remove this layer to help maintain core temperature without stopping for an extended time.
- Outer Layer: The protective outer layer is essential. It should be made of a high-quality, breathable waterproof and windproof shell. The key feature of the outer layer is the ability to let internal vapour (sweat) out of the shell while preventing external moisture (rain or wind) from entering.
- Height Adjustment: When using trekking poles and adjusting them for height, the elbows should be up at a right angle (90 degrees) when the tip of the pole is on the ground next to the foot. When climbing uphill, the trekking poles should be slightly shorter to provide a better uphill climbing position. When going downhill, the trekking poles should be slightly longer to give you more reach and to provide additional braking ability. Mastering the skill of getting the height adjustment correct is essential for any activity.
- Head and Neck: Approximately 30% of body heat is expelled through the head; thus, the best (and quickest) way to warm the entire body is with a beanie or hat. A neck gaiter or Buff (which can be pulled over the nose and mouth, thereby warming cold air before being inhaled and provides a compact storage size) has a better fit than a traditional scarf.
- Gloves and Hand Warmers: It is often observed that your hands and feet are the first to be affected by exposure to cold temperatures; therefore, wearing waterproof gloves on the outside will help protect your hands from the cold.
- Medical Check: Consult your doctor especially when you are going on a trek at high altitudes. Discuss medication like Diamox for altitude sickness prevention.
- Dental Check-up: Get any necessary dental work done, a toothache on the trail is miserable.
- Vaccination: Ensure all the standard vaccinations are up to date.
- First Aid Kit: Prepare a medical kit on your personal behalf which includes all the important medication that is required in the trek.
- Blister Treatment: Compeer, moleskin and medical tape.
- Pain Relief: Anti-inflammatory or paracetamol.
- Stomach/Bowel: Anti-diarrhoea medication and broad spectrum antibiotic (prescribed by doctor).
8. Physiological Adjustment on the trek
The body’s gradual adaptation to altitude, terrain, and physical exertion to maintain health and performance during the trek.
- Actionable Insight: Be aware of any early warning signs/symptoms that you may be experiencing, such as a constant headache, nausea, general fatigue, or appetite suppression. These are the first indicators of AMS.
- Rule for Descent: If symptoms are worsening while resting, then you must descend immediately! Do not ascend when your symptoms decline.
- Actionable Insight: Aim to drink 3 to 5 litres of fluids/day (i.e., water, soup, tea). Keeping well-hydrated in keeping the blood fluid, which facilitates efficient circulation for transporting of the limited amount of oxygen available for use during times of extreme exertion/motion (i.e., physical activity).
- Hydration Reminder: Check the colour of your urine. If it is very dark yellow; or orange, then you know you are dehydrated! If the colour of your urine is light yellow or clear, then you are well-hydrated.
- The Reason It Works: If you start off trekking too hard your body will enter into an anaerobic state or doesn't have enough oxygen to perform aerobic work. As a result, limited amounts of energy glycogen stores quickly, and fatigue sets very quickly. Trekking at a slow and steady rhythm allows your body to conserve oxygen and continue to burn fat for fuel, therefore giving you eight hours of walking ease rather than collapsing after two hours.
- The Reason It Works: By focusing on the external rewards of beautiful views along with the unique culture of your surroundings, you redirect your brain away from focusing on the discomfort of physical exertion. The physical challenge is just one small part of your whole experience; the real reward is the memory that you are creating and taking with you.
Local Culture & Attractions on the Hampta Pass Trek
The trek to Hampta pass is more than a physical experience; it is also a significant cultural shift from Kullu Valley's Hindu-based traditions to Lahaul and Spiti's Tibetan-Buddhist roots. The trek starts in a verdant Manali, with abundant orchards and an emphasis on old wooden temples and local gods. Crossing Hampta Pass leads into an area often referred to as a rain-shadow and marked by prayer flags, adobe buildings and quietness. A major cultural and visual highlight of your trek is an excursion after the trek to Chandratal Lake (The Moon Lake). This sacred turquoise glacial lake, situated at 14,100 ft., is a spiritual focal point of the region. The return trek via the Atal Tunnel, a marvel of engineering located at 10,000 ft., provides one last dramatic contrast between the ancient and rugged foothills you've just conquered and the contemporary infrastructure connecting these remote, high-altitude desert settlements (Sissu, Chhatru, etc.) with the rest of the world.
Nearby Villages and Communities
- The Gaddi & Gujjar Nomads: Throughout the trekking route, you will find two groups of nomadic shepherds - the Gaddis and Gujjars - living at locations known as Jobra and Jwara instead of having campsites or permanent dwellings in different villages. They are seasonal livestock herders who spend their summers in lush, high-altitude meadows. The nomadic lifestyle of the Gaddi and Gujjar peoples is centuries old and provides the foundation for the regional mountain-based economy.
- Chatru (the Lahaul Junction): This rugged countryside outpost on the banks of the Chandra River represents your first stop on the way back to civilization after completing your trek. It is a crucial transit point for transporting goods to various parts of Lahaul Valley. At Chatru you will find many small stone dhaba restaurants serving food (dhabas) that serve as a great set of social mixing places for trekkers, road builders and local merchants.
- Sissu (the Heart of Buddhism): Sissu is approximately a short drive away from the end of your trek, but the village is traditionally situated in Lahaul and represents the last vestige of Tibetan-Buddhist influenced architecture, characterized by flat stone roofs and large-scale terraced farming. From Sissu, you can get a clear view of how local communities adapt to survive the extreme arid climates of the Himalayan rainshadow.
Temple, Monasteries & Sacred Sites
- Manali (Hindu): Manali's drive begins with a visit to Hadimba Devi Temple, also known as Hadimba Devi Mandir, and a walk to the Manu Temple, which is named after Manu Rishi (the sage who created humans), both built from ancient wood. These temples were built in dedication to the goddess of the mountains and to the sage who created the world. This is where trekkers come for blessings and guidance before they go into the wilderness at high elevations.
- Lahaul (Buddhist): After crossing the pass, the energy changes from Hinduism to Tibetan Buddhism. The villages of Sissu and Tandi have many monasteries and shrines that are dedicated to Ghepan, the protector deity of Lahaul Valley. The monasteries, temples and shrines are marked by prayer flags and stupas, signifying a silent mindfulness of the high desert.
- Chandratal Lake: The most sacred site on the journey is Chandratal (Moon Lake). It is said to be where Indra picked up Yudhishthira, the eldest of the five Pandavas, to take him to heaven after he died. Trekkers to this lake are expected to keep quiet, refrain from swimming in the lake and avoid polluting the lake.
Festivals and Traditions
- The Devta Culture of Kullu: If trekking in autumn, you will be able to see the colorful and culturally significant activities of Kullu Dussehra before your trek begins. The Devta culture connects all of the villages in this area together through a local god (village deity) system based on each village's natural resources. Locals offer incense at the small shrines marking the beginning of all trails so the gods will grant them safe passage over high mountain passes.
- Lahaul's Losar and Halda Festivals: Lahaul's unique cultural practices are based upon the harsh conditions they endure during the long snowy winters. The most important celebrations are Losar (Tibetan New Year) and Halda (Festival of Lights). In January and February, Halda is celebrated by lighting cedar-resin torches to ward off evil spirits. When trekking there during summer, you will see evidence of this tradition at the most elevated location on the Hampta Pass: newly-painted Chortens and ritual cairns.
- Rituals for the Shepherds: The nomadic Gaddis have a strict tradition of seasonal migration, including specific prayers before they pass over the pass with their livestock. They believe that the mountains contain powerful spirits; therefore, they have rituals like whistling to communicate with their herds and making offerings of a portion of their flock to the mountain spirits.
Local Folklore and Stories
- A Renowned Discovery: Hampta Rishi is known as a legendary meditator. He is said to have carved this bridge into existence, thus providing an access point between Kullu, which is lush and populated, and Lahaul - a stark desert inhabited only by spirit creatures. The pass has historically continued as a mystical entryway into these two areas.
- Mahabharata Legends: The connection between the Lahaul region and the Mahabharata epic is profound. Pandavas are believed to have traversed the valleys during their banishment and it is believed that Chandratal is the location where Yudhishthira was taken to heaven by the celestial chariot.
- Guardian of the Mountains: Nomadic shepherds of the Gaddi tribe have described the Banshir (spirit guardians of the woods), plus other deities and spirit beings residing in the upper elevations of the mountains. Thus, the piles of stones located at the pass signify respect to these spiritual guardians and request safe passage through their gateway.
Cultural Awareness and Travel Responsibility
When you trek in the Indian Himalayas, you have a responsibility to take care of the environment as well as the culture of the people who live there.
- Treat Sacred Places with Respect: You should treat all temples, shrines, and sacred sites with respect. If you wish to take photographs of the local people, please ask first. Also, don't take photographs in a place of worship unless you have been granted permission.
- Follow the Leave No Trace (LNT) Principles: You must adhere strictly to the LNT principles. Carry all non-bio-degradable waste (i.e., plastic, wrappers) with you when you leave. You should camp in designated areas, and you should not disturb natural (freshwater) sources of water.
- Support the Local Economy: When trekking in the Himalayas, it's important to stay in local homestays in Lohajung, hire local guides and porters, and purchase local crafts and food, to help support the local mountain communities and to encourage the continuation of their traditional lifestyle.
- Dress Appropriately: When visiting a village or place of worship, it's a good idea to dress modestly in order to show respect for their culture.
- Interaction with the Local People: You should engage with the local people respectfully, try to learn a few phrases in their language (Hindi or Garhwali), and don't impose on them any customs or ideas from urban life.
Why Trek with Trekup India?
Our Unique Promise to Trekkers
Trekup India has the expertise and flexibility to tailor your adventure based trekking experience. Whether you are with your friends, family, colleague or being a solo we will provide you customised trekking experience according to your style and fitness level. Trekup India has completed 30 years above with the Adventure Tourism Industry for its commitments and trust. We have been delivering outstanding treks, expeditions, and outdoor programs in the Himalayas since day one. We operate in Uttarakhand, Himachal Pradesh, Jammu Kashmir, Ladakh, West Bengal, Sikkim, Nepal, Bhutan and South Africa with over 75 documented treks in the higher altitude of Himalayas. We are known for our professionalism, safety, and endless passion for the mountains. Below we have mentioned why to choose us, so have a look and be our next trekker for high altitude treks.
- Unmatched safety and medical preparedness.
- Deep local knowledge and experience longevity.
- Superior trek quality and trekker comfort.
- Commitments to responsible tourism.
1. Unmatched safety and medical preparedness
- Certified Leader: The organization provides complete safety and medical response capacity through its specific performance standard which requires all trek leaders to complete Wilderness First Aid and CPR training together with High-Altitude Emergency Management courses from NIM and IMF.
- Proactive health monitoring: The organization developed health tracking methods through their development of Pulse Oximeter systems which enable daily tracking of oxygen saturation and pulse rates through Health Card distribution to trekkers who must wear safety equipment during their activities.
- Emergency Infrastructure: The organization demonstrates its capacity to handle emergencies through its provision of first aid kits, oxygen cylinders and stretchers which they carry during high-altitude treks as evidence of their emergency response plans.
2. Deep local knowledge and experience longevity
- Durability: The business has operated for more than 30 years because its operations began in 1993 and it now serves as one of the Himalayan region's oldest trekking companies.
- Local Team: Many of the trek leaders and staff have been born and raised in the high-altitude, remote villages (e.g. Sankri), who have a unique, personal experience of the trails, weather patterns and mountain survival capabilities.
- Proven Credibility: The company has established its credibility through recognition from both Uttarakhand Tourism Board government agencies and Indian Mountaineering Foundation association memberships.
3. Superior trek quality and trekker comfort
- High-quality equipment: The organization delivers superior trek experiences which maximize both trek quality and trekker comfort. The organization delivers advanced seasonal equipment which includes 4 season tents and sleeping bags that protect trekkers from temperatures down to 14°F.
- Delicious healthy food: Our main motive is to provide you with good vegetarian food that is cooked at high altitude and freshly provided to trekkers, with an experienced chef able to cater to individual requests and prepare celebration stuff, like cakes, at altitude.
- Small group sizes: They always aim for smaller, well-disciplined groups, which enable the leader to focus on every trekker icon that is monitored acclimatization.
4. Commitments to responsible tourism
- Community support: They encourage local guides and support staff, benefiting from the community they guide and the culture that it enables.
- Environmental responsibility: They promote "Leave No Trace" principles and initiatives like "Save The Trail" for strict waste management, including recycling and composting, for the purpose of preserving the fragile Himalayan environment.
When you choose Trekup India, you select a company which provides safety endorsement through its experienced staff who deliver high-quality trekking services in accordance with their mountain expertise. The entire trek experience at Trekup India begins with our dedication to delivering high-quality services which maintain your safety throughout the entire trekking.
Why You Can Trust Us
Selecting a reputable company is one of the most important steps to ensure a successful, enjoyable, and safe trekking experience. To build your total trust in us, we have developed a comprehensive understanding of the four fundamental components of trust in the trekking industry that is: legally accountable, operationally excellent, satisfied customers and financially ethical. Our registered and recognized standing, our proven history of successful treks, and our excellent ratings are all factors of trust you can depend on so that you may enjoy your trek with complete peace of mind, while we take care of your safety and satisfaction every step of the way.
1. Registered and Recognized: A registration and recognition serve to show that we are a stable and trustworthy organisation and we operate under the legal guidelines and safety standards of our respective domains. In addition, you will have legal safeguards against unlicensed or unsafe tour operators.
2. Successful Treks: You can be confident we are competent operators with a proven track record of success. We have been operating since 1993, and our extensive experience has resulted in becoming one of the world's leading logistical, risk management and emergency response specialists in extreme mountain environments.
3. Good Ratings: The organization uses external assessments together with superior client evaluations to measure its performance because these two assessment methods function as its performance measurement system. The documented materials confirm our guides' professional proficiency together with our ability to deliver exceptional trekking services throughout different periods.
4. Transparent Pricing: Our cost breakdown system enables us to provide complete pricing information which prevents any possibility of hidden charges while we establish financial responsibility for our expenditures. All administrative shortcuts have been eliminated from your trek experience because we use your funds to implement essential safety measures and deliver our top-tier services.
Meet the Expert Behind the Above Insights

Preetam Singh Rawat
Director & Founder
How We Created This Guide?
1. Medical Safety Protocols: We worked with high-altitude medicine specialists to create a comprehensive system of medical safety protocols, including emergency response plans and acclimatization schedules for our high-altitude treks.
2. Testing Logistics & Gear: The success of a high-altitude trek is dependent on the quality of gear used. When we created this planning guide, we included only tested, reliable gear, such as weather resistant tents and calorie-rich nutrition meals.
3. Environmental Responsibility & Planning: The trail uses strict Leave No Trace environmental policies and waste management practices. The environmental impact assessment which we conduct before our trek will help us protect the untouched natural landscape for upcoming trekkers.
4. Transparent Costing: Our transparent costing works as a complete solution which demonstrates our commitment to transparent cost information because it shows all of our expenses in detailed form. We include all expenses which consist of permits and insurance costs and fair wages for our local employees.
Why This Content Exists?
1. To Mitigate Risks and Provide Safety: Trekking is a physically risky event, and this guide is meant to assure you that your safety is not left up to chance. By providing details of our on-the-ground research and medical protocols, we can demonstrate that all routes have been stress-tested.
2. To Create Total Financial Transparency: Many times within the trekking industry there are extreme cases of sticker shock from things like hidden permits, equipment charges, or unanticipated tipping. This guide creates price integrity.
3. Verified by Global Trekker’s: This content was created to demonstrate we have external validation of our performance and move the discussion from we say that we are good to our clients and our independent trekkers say we are good, making an important differentiation for those selecting a trekking partner.
4. Ethical and Environmental Concern: Today’s voices of modern trekkers are being heard more loudly than ever and they are aware of their footprint. By outlining our Leave No Trace principles and our partnership with local communities, we provide a moral compass for the trekker, ensuring your trek contributes to the conservation of wilderness instead of its degradation.