Bansi Narayan Trek
Bansi Narayan Trek
| Region: | Uttarakhand |
| Duration: | 5 Days |
| Trek grade: | Moderate |
| Maximum altitude: | 11,772 ft |
| Best Time to Visit: | Early Summer |
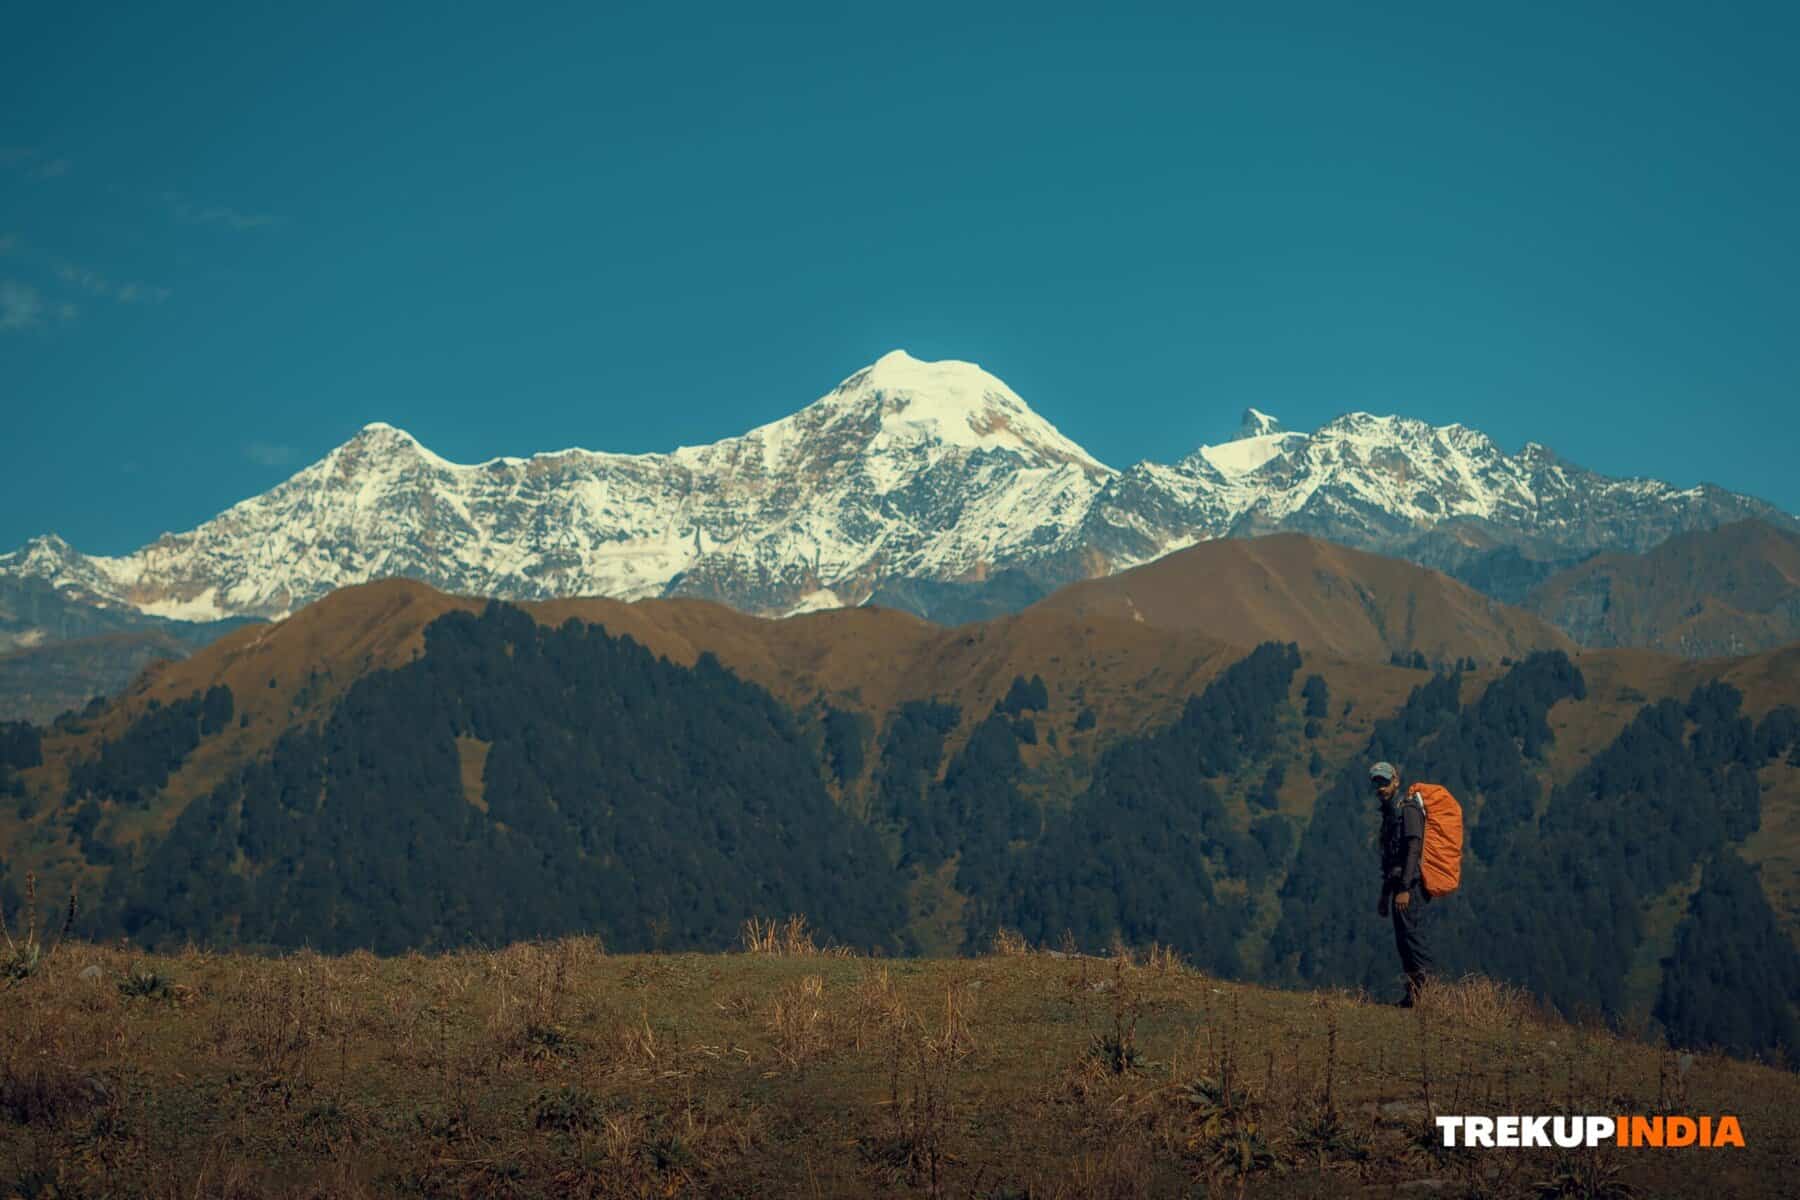
The grand views of mountains are as stunning as Nanda Devi , Trishul, Nanda Ghunti etc. is just one reason to go on this Bansi Narayan Trek. The region is also full of wildlife and flora. You can walk through rhododendron, oak along with pine and rhododendron forests. If you’re attentive you may spot an emerald-billed blue magpie with red bill, Himalayan monal, scaly breasted woodpecker, khalif Pheasant, or an emaciated thrush that is streaked with laughter.
Bansi Narayan Trek Detailed Trail Information
Day 1: Arrive at Joshimath / Helang.
- Altitude: 6,696 ft
- Time was taken: 9 hours drive from Haridwar or Dehradun
If you’re traveling by train, you must reach Haridwar as well as Dehradun earlier in the day or preceding night. Taxis with shared seats are available outside of either railway stations before dawn in the morning. These taxis cost Rs.600-800 per person. Another option is taking one of the buses that overnight that runs from Dehradun towards Joshimath. The trek begins at Devgram (6,614 feet) which is a village located situated in the Urgam valley.
Day 2: Drive to Devgram. Trek to Mulakharak
- Altitude: 8,907 ft
- Time taken: 1 hour drive + 2-3 hours trek
- Trek gradient: Easy-moderate. Ascent gradually for approximately 1.5 hours, followed by an ascent that is steep and zig-zag.
- Sources of water: You can refill your water bottles at an outlet that is about 70 minutes from Devgram.
The trek starts from Devgram. It begins by ascending slowly on a well-marked trail that leads to another village, Bansa. After 20 minutes you will cross the mobile tower you will be leaving behind the breathtaking views from Urgam valley. Then , it’s an upward climb to Bansavillage 7 277 feet7,277 ft. It takes approximately an hour to reach the community from Devgram.
Uruba Rishi temple (7,703 feet) is just a short walk away. The temple is accessible after walking for about 15 minutes along a road that leads towards the village. In just 10 minutes along the path, you will arrive at the first source of water 7963 feet along the way to Mulakharak. This is where the the steep ascent begins. The forest is thick with loose gravel and rocks along the way until you get to the campsite.
When you get to the top, the forest expands up into a huge meadow directly in front of you. This area is known as Mulakharak. A shepherd’s house is located in one of the corners of the meadow. The view of Kedar range is visible ahead as you get towards this point. On the other hand you will see the other major mountain ranges such as Barmal, Nanda Devi, Trishul, Nanda Ghunti etc. are stunning. The beauty increases with the moment of sunset.Jagdi Mata often referred to by the name of Bhagwati Devi’ The temple is located on a hill close by (9,042 feet). Spend the night at the camping site.
Source of water: Only thing to be concerned about is its about 20-25 minutes of walking from the campsite, and water is readily available 24 hours a day.
Day 3: Mulakharak to Bansi Narayan temple
- Altitude: 11,772 ft
- Time taken: 4 hours
- Trek gradient: Moderate. A gradual ascent of about 1.5 hours. Then an ascent that is steep and zig-zag
- The water sources are: You can refill water bottles with two sources along the trail today. They are 30 and 40 minutes away from the start point.
Begin the trek after breakfast. Take food while on the way. Today’s hike is long and somewhat strenuous. The trail begins towards Bhagwati Devtemple. The trail starts in a beautiful forest area. Oak trees in green are the predominant species on this trail. Continue to ascend to your Bhagwati Devi Temple. In just 20 minutes, you will reach the water source. This is the resting point. It is a midpoint , 9606 feetthroughout the hike that starts at Devgram towards Bansi Narayan. Continue along your trail another 10 mins until you reach a second source of water [9,705 feet]. The trail continues to climb upwards until it reaches a point that is also known as Berjik Dhaar 10115 feet. It takes approximately 25 minutes to reach Water Point. There, you switch directions and then turn westwards. There are prayer flags visible from this location, and it is called Chetarpal Mandir 998 feet.
The story: Chetarpal Bhumiyal is also popularly known as Ghanta Karna. He was praying to Lord Shiva when demons attempted to interfere with his prayer. To keep them away they kept ringing the bells constantly. The sound chased evil spirits away and gave him the blessings of Shiva. The trail will take you to the left of the temple. After about 20 minutes the view opens across forests for the first time on the trail today (10,456 feet]. At this point, the Rhododendron forests begin dominating other trees until the line of trees ends.
Continue on for around 35 minutes until you arrive at the place known as Nokchuna Dhar where there is a Ganesh/Ganapati Temple (10,991 feet) is located. The opposite portion of the valley is accessible from here. As you travel further to Bansi Narayan Be on the lookout for a cave-like structure that is located to the right as you ascend. There is a chance that you will see the bear sleeping in there! [11,106 feet]. It takes around an hour to get to Bansi Narayan temple from this point. The temple is which is on the left side, behind the large rock, a little walk of just 5 minutes takes you to a bowl-shaped meadow, which is that is suitable for camping. 11,772 feet
Day 4: Visit the region in the vicinity of Bansi Narayan temple
- Altitude: 11,772 ft
There are a variety of viewpoints that can be explored in the present. Chota Nandi Kund that is about 2 hours away from one of the most popular points is also a possibility to explore. Another sides of Kedar range, including Kedarnath, Kedar Dome and Kedar Dome. can be seen from high points close to the lake.
Day 5: Bansi Narayan to Devgram
- Altitude: 6,614 ft
- Time taken: 3-4 hours
- Trek gradient: Moderate. Descending trail throughout the way
- The water sources are: You can refill your water bottles with three water sources along the trail.
Return to Devgram. There is an alternative to go to Kalpeshwar temple before arriving in Devgram. Another reason to visit this location since it is sixth Kedar in the panch Panch Kedar. It’s situated beneath an enormous boulder and has a rich story to tell about the area.
Histories: Situated in dense valley of Urgam, beneath the huge stone that Shiva was worshipped in the shape of the Tree (jata). It’s an underground temple. According to legend the legend says that he was given water in a container drawn from a pool near the site. The container was made from sea churning from which 14 gems were derived. The Kalpganga river flows underneath the temple and is known as Himawati.
All priests belong to the the Negi family from the beginning. They are also referred to by the name of Bhalla by the the local dialects.
How do I reach Devgram?
If traveling by train, you must reach Haridwar and Dehradun at the beginning of morning or preceding night. Taxis with shared seats are available outside the railway stations before dawn in the morning. They charge Rs.600-800 per person. Another option is to catch the overnight train that runs from Dehradun towards Joshimath as well as Tapovan. There are also buses on a daily basis that run from Haridwar up to Badrinath. Pick one of them up and take a stop at Helang which is located just in front of Joshimath in the route to Badrinath.
The trek starts from Devgram (6,614 feet) which is a village located within the Urgam valley. Prepare yourself to wait in line for an open cab from Devgram because this is contingent on the number of passengers at any given point.
Essentials for the Kunagalu Betta Trek
- A well-stocked First Aid kit, including:
- Scissors
- Band-aids (regular and waterproof)
- Analgesic spray (Relispray, Volini, etc.)
- Antiseptic Liquid (Savlon, Dettol, etc.)
- Antiseptic powder (Povidone-Iodine-based powders like Cipladine, Savlon, etc.)
- Cotton roll and bandage
- Crepe Bandage
- 1-inch wide medical tape (paper or cloth)
- Micropore tape
- Tablets for motion sickness (Avomine) and acidity (Gelusil, Digene, etc.)
- Mild pain relief tablet (Crocin)
- Identity Card
- Cap, scarf, bandana, and sunglasses
- At least two litres of water
- Lemon, salt, or an electrolyte drink (Electoral/Gatorade/Glucon D, etc.)
- High-calorie snacks (nuts, dry fruits, home-baked cake, etc.)
- Safety pins, rubber bands, and a whistle (useful in emergencies)
- Quick-drying T-shirts (preferable over cotton tees)
- Poncho (only during monsoons)
- Plastic sheet to wrap electronic devices (only during monsoons)
- Sunscreen (SPF 50+)
- Trekking poles (optional)
Remember to always seek advice from a physician before consuming any medication.
Want To Trek Like Pro?
Check out the following videos if you want to trek like a pro trekker and improve your skills. These videos contain helpful tips, tricks, and techniques to help you trek like a pro. Whether you’re a beginner or an experienced trekker, these videos can provide valuable insights to enhance your trekking experience. So, watch the videos below by Trekup India experts to take your trekking skills to the next level.


Know Everything About Acute Mountain Sickness
Acute Mountain Sickness is a medical condition that can occur when individuals travel to high altitudes, typically above 8,000 feet. It is caused by the decrease in air pressure and oxygen levels in the air as altitude increases. Symptoms of Acute Mountain Sickness may include headache, nausea, vomiting, dizziness, and difficulty sleeping. To avoid Acute Mountain Sickness, it is important to gradually adjust to high altitudes and seek medical attention if symptoms worsen. To learn more about this condition, check out the videos by Trekup India.


